Activity 2: Create As-built joints
In this activity, you create a series of Revolute and Cylindrical As-built joints within the assembly.
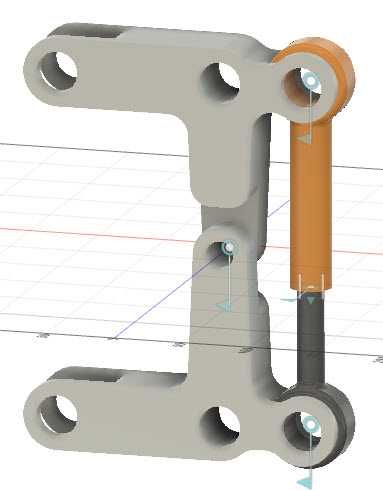
Piston assembly with joints added
Prerequisites
- The previous activity has been completed to convert the bodies to components and create the piston subassembly.
Steps
Add a Revolute As-built joint between the two arms. This step allows the two arms to rotate about their shared pivot point.
From the Design workspace, on the Solid tab, click Assemble > As-built Joint.
Select the two Arm parts:
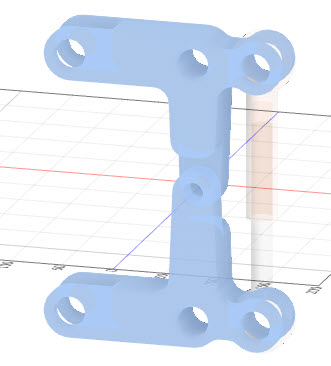
To set the joint type, on the As-built joint dialog, set the Type to Revolute.
To define the position, select the circular edge where both arms contact each other:
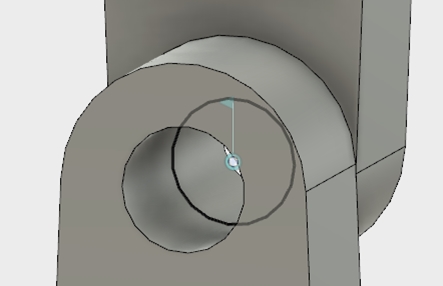
To complete the action, on the As-built joint dialog, click OK.
Add a Cylindrical As-built joint between the inner and outer piston components. This step allows the inner piston component to slide within the outer component.
From the Design workspace, on the Solid tab, click Assemble > As-built Joint.
Select the two piston components:
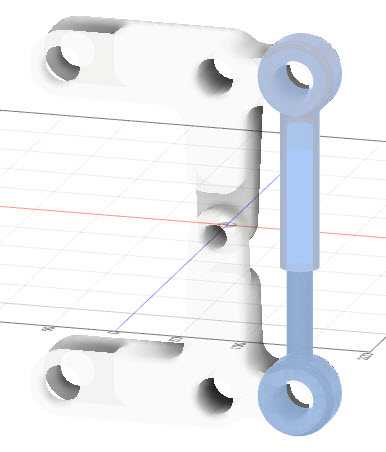
To set the joint type, on the As-built joint dialog, set the Type to Cylindrical.
To define the position, select the center point on the face at the end of the Piston - Outer component, which is where the other Piston slides into it.
To select the center point, hover over the circular edge of the end-surface, hold the Ctrl key (Cmd on Mac), and click on the center point. The Ctrl key (Cmd key on Mac) locks the selection to the specific face, which makes selecting the related center point much easier:
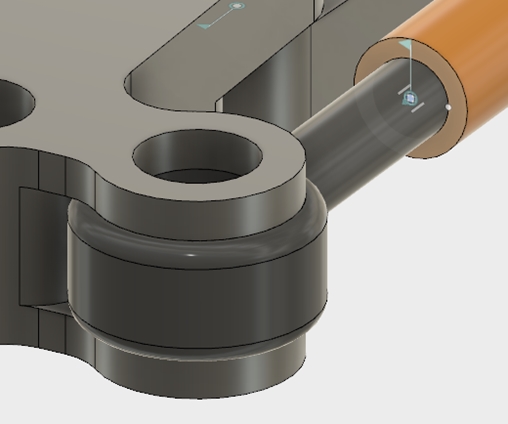
To complete the action, click OK.
Add a Revolute As-built joint between the Piston Subassembly and the Arm at the bottom.
This step allows the arm and the piston subassembly to rotate relative to each other about a common point at the bottom of the piston subassembly.
To reactivate the main assembly, right click on the top node (Piston Linkage), and click Activate.
From the Design workspace, on the Solid tab, click Assemble > As-built Joint.
Select the bottom Arm component and the Piston - Inner component:
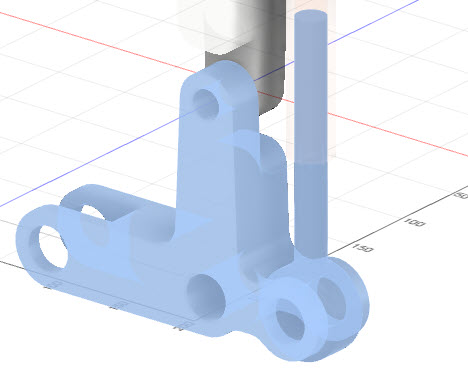
To set the joint type, on the As-built joint dialog, set the Type to Revolute.
To define the position, select the center point of the inner cylindrical face on the Piston - Inner component.
To select the center point, hover over the inside cylindrical surface of the Piston - Inner component, hold the Ctrl key (Cmd on Mac), and click on the center point:
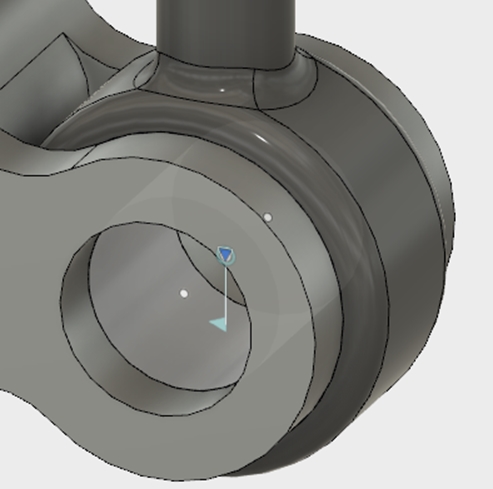
To complete the action, click OK.
Add a Revolute As-built joint between the Piston Subassembly and the Arm at the top.
This step allows the arm and the piston subassembly to rotate relative to each other about a common point at the top of the piston subassembly.
From the Design workspace, on the Solid tab, click Assemble > As-built Joint.
Select the top Arm component and the Piston - Outer component:
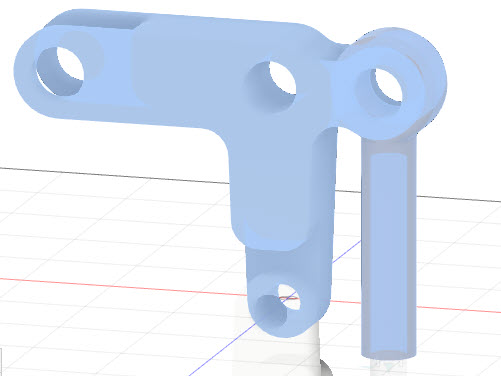
To set the joint type, on the As-built joint dialog, set the Type to Revolute.
To define the position, select the center point of the inner cylindrical face on the Piston - Outer component.
To select the center point, hover over the inside cylindrical surface of the Piston - Outer component, hold the Ctrl key (Cmd on Mac), and click on the center point:
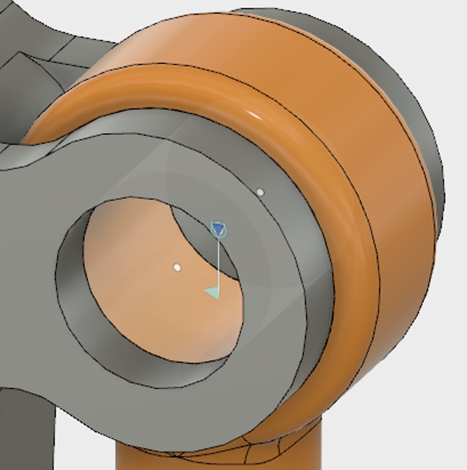
To complete the action, click OK.
To view the joints, right click on the Joints folder in the Browser, and toggle Show/Hide. The visibility glyph should be active:

Activity 2 summary
In this activity, you created several As-built joints to control the motion of parts in the assembly relative to each other. You created a Revolute joint between the two arms, a Cylindrical joint between the piston components, and Revolute joints between the upper and lower piston components and the corresponding arms of the assembly.

Piston assembly with joints added