Generate a Trace toolpath
On the Manufacture workspace toolbar, click Milling > 2D > Trace.
The Trace dialog opens.
On the Tool tab, click Select to pick a tool. If you have not created a tool to use, in the left panel of the dialog, from the Fusion Library, pick a tool from the Sample Tools library.
Tip: Chamfer/Engrave mills are best suited for the Trace operation.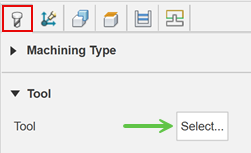
On the Geometry tab, with Curve Selections active, select edges or sketches as the machining area. If you select a sketch but need to machine at a further depth than the plane that the sketch is on, you can enter a negative Axial offset value in the Passes tab so that the tool engages with the material.
Tip: Mouse over the Curve Selections box for more information.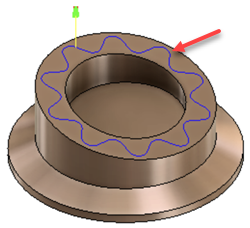
Optional steps:
If you are machining an inclined flat surface, on the Geometry tab, set the tool normal to the surface by using the Tool Orientation settings.
On the Passes tab, to machine at multiple depths, use the Multiple Depths settings.
When machining an edge selection, you can use the Sideways Compensation parameter to perform climb or conventional milling.
To reduce the NC program size, enable Smoothing.
Click OK.
The toolpath is generated.
