Workflow: Milling
Set the document's units
In the Browser, place the pointer over Units.
The Change Active Units button appears.
Click Change Active Units.
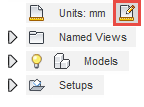
From the drop-down menu, select Inch or Millimeter.
Click OK.
Create a milling setup
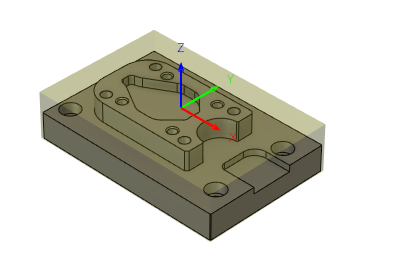
On the Manufacture workspace toolbar, click Milling > Setup > New Setup
 .
.The Setup dialog opens.
In the Setup group, from the Operation Type drop-down list, verify Milling is selected.
Click OK.
Create an operation
On the Manufacture workspace toolbar, click Milling > 2D > Face.
The Face dialog opens.
On the Tool tab, click Select to pick a tool.
The Select Tool dialog opens.
In the left panel of the dialog, select All. This lets you browse all the available libraries within the Tool library.
In the right panel of the dialog, filter the Type by selecting the Face mill checkbox.
In the middle panel of the dialog, choose the 1 - 50mm (Face mill) tool and click Select.
The Select Tool dialog closes.
In the Face dialog, click OK.
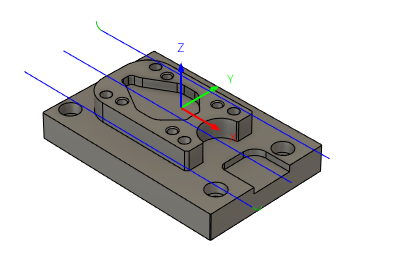
The toolpath is generated.
Simulate a manufacturing operation
In the Browser, select the setup containing the operations you want to simulate.
On the Manufacture workspace toolbar, click Milling > Actions > Simulate.
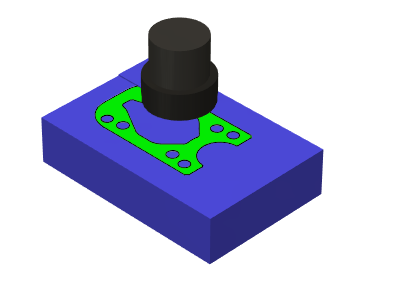
The Simulate dialog opens and simulation player controls appear at the bottom of the canvas.

In the Simulate dialog, in the Display tab, select the Stock checkbox.
Press the play button to begin simulation.
When simulation is complete, in the Simulate dialog, click Exit Simulation.
Generate the machine code
On the Manufacture workspace toolbar, click Setup > Create NC Program.
The NC Program dialog opens.
On the Settings tab under the Machine and post group, click the Post drop-down menu and select Choose From Library....
In the left panel of the dialog, select the Fusion Library and search for the Generic 2D post processor.
Choose the Generic 2D post processor and click Select.
Note: If a prompt appears to "Use post from Fusion Library?", select Use anyway.On the Operations tab, select the Face operation if it is not preselected.
Click Post.
Note: If you get a prompt to overwrite a file, go back and change the File Name to avoid overwriting. Alternatively, click Yes to overwrite.In the prompt that appears on the bottom-right of the canvas, click View NC Code.
Tip: If the prompt disappears, you can also right-click the NC Program in the Browser and click Open NC Output Folder.The NC Code opens for you to view. The NC Code is the file that contains the instructions for the machine to manufacture your part.
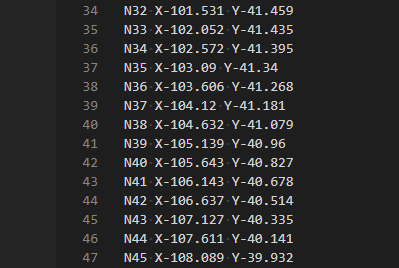 Note: You may need to choose to open the NC Code in a text editor that is installed in your computer.