Activity 3: Add a decal
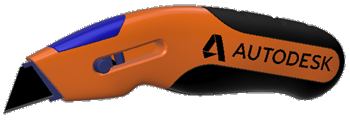
In this activity you apply an image of the Autodesk logo to the body of the utility knife using the decal tool.
A decal is used to mimic labels or other graphics that appear on the surface of your model. These can be numbers on a keypad or branding and logos. Decals sit on top of the model surface and are applied differently than materials.
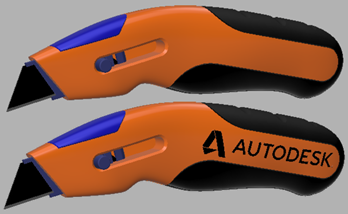
Knife without decal (top) and with decal (bottom)
Prerequisites
- Ensure you have assigned different materials to the utility knife as described in Activity 2.
- Ensure you are in the Render Workspace.
- Ensure the Utility knife model is open.
Steps
Download the image below and save it to the desktop.
Right-click on the image below and select Save image as.
Navigate to a location of your choosing and save the image as Autodesk-Logo.png.

Rotate the knife so you can easily see the left side of the knife.
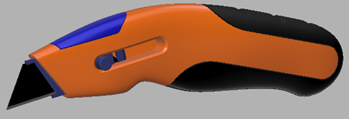
Select the Left face of the Utility knife.
Open the Autodesk-logo as a decal for the side of the knife.
Click
 Setup > Decal.
Click the image icon
 on the Decal dialog.
Navigate to the location you saved the Autodesk-Logo.png file.
Select the Autodesk-Logo.png and click Open.
Click OK. The logo is not positioned correctly. Positioning is done next. Positioning is done in a second step to show you can edit the location of the decal at any time.
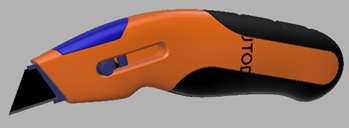
Adjust the position of the decal on the right side of the knife so it is readable and centered in the orange area.
Click on the decal to select it.
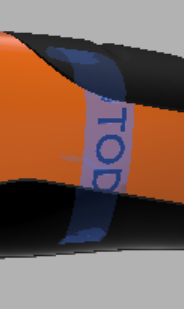
Right-click and select Edit Decal.

Use the Rotate manipulator to orient the decal so that it is lined up with the handle.
Use the Scale manipulator to size the decal.
Use the XY Plane manipulator to position the decal.
Click OK to accept the decal location.
Activity 3 summary
In this activity you added an image of the Autodesk logo to the knife by:
Importing an image of the logo as a decal.
Sizing and orienting the image on the knife.

Knife without decal (top) and with decal (bottom)