Tutorial: Create a T-Spline form using a reference image
When sculpting a shape with T-Splines it is helpful to have a reference image to guide you. Reference images can be plan view sketches or photographs that are set in the background of the workspace to model from. In this tutorial, you:
- Create a T-Spline box by:
- Inserting a canvas.
- Calibrating the canvas to the correct size.
- Create a T-Spline box with Symmetry.
- Edit the T-Spline box form to the shape of the image by:
- Using several controls on the Edit Form tool.
- Using the Insert Edge tool.
- Using the Insert Point tool.
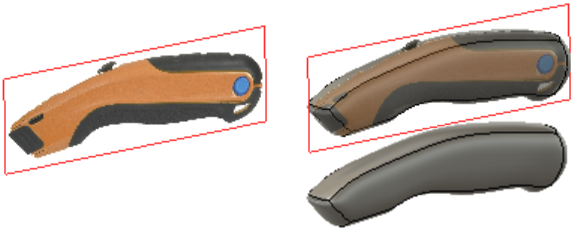
Image as canvas (Left), T-Spline form around image and T-Spline without image, (Right)
Prerequisites
- Ensure the Design workspace is active.
- Ensure an empty new design is active.
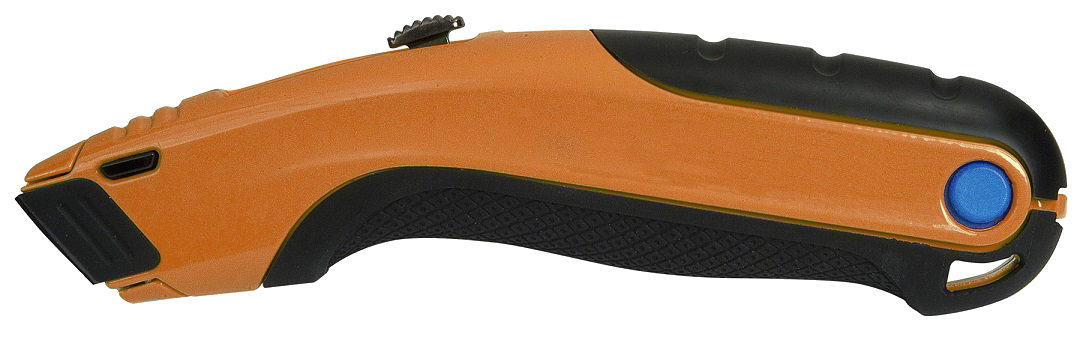
- Download the image below and save it to the desktop.
- Right-click on the image below and select Save image as.
- Navigate to a location of your choosing and save the image as UtilityKnife.png.