Add a collinear constraint to a sketch
Learn how to use the Collinear tool to constrain two or more objects so that they share a common line in a sketch in Fusion.
Note: The constraint tools are only available in the Sketch contextual tab as you edit a sketch.
Click Sketch > Constraints > Collinear
 .
.The Collinear constraint icon displays next to the cursor in the canvas.
In the canvas, select the sketch geometry you want to constrain.
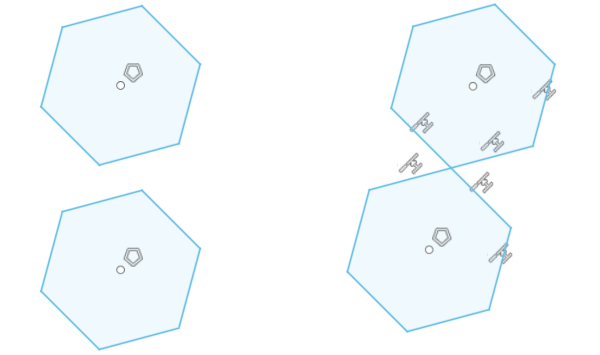
The sketch geometry snaps to lie along the same line. A constraint badge displays next to the constrained geometry in the canvas, indicating that the geometry is constrained to lie along the same line.
