| File/s needed: |
| Click to download the Advanced [US Units] tutorial model files. |
Open the file ID_US_Advanced_Tutorial_Ch2.iddx or continue working from your previous file.
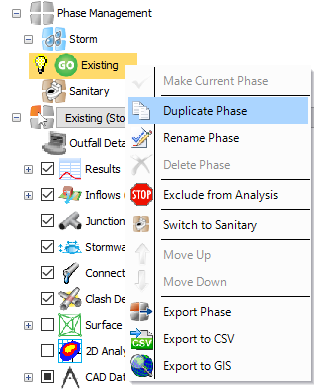
- Right-click the
Existing
phase under the
Phase Management, Storm section of the
Tree View panel and select
Duplicate Phase.

- We now have a couple of edits to make to prepare for setting up the new Phase.
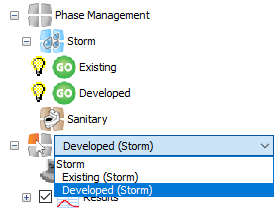
- Right-click again the new phase Existing (1) and select Rename Phase then change the name to Developed.
- Check that you have switched to the Developed Phase by selecting from the drop-down list on the left Tree View panel.

- Expand the options under the
CAD Data. Turn off all the layers by clicking the box next to the
Stormwater_dev.dwg file and then turn on the two Proposed layers to show the development layout. You can then close the expanded tree again.

- Before you plan the Developed site design, you can apply a deluge to the site to identify main flow paths and ponding areas based on the Surface that has been loaded. To use the Deluge quick overland flow analysis, right-click on the
2D Analysis option and select Deluge, as shown below:

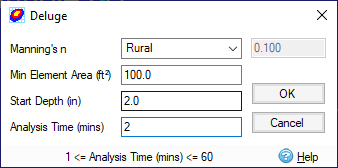
- Enter the analysis parameters below and then click OK.

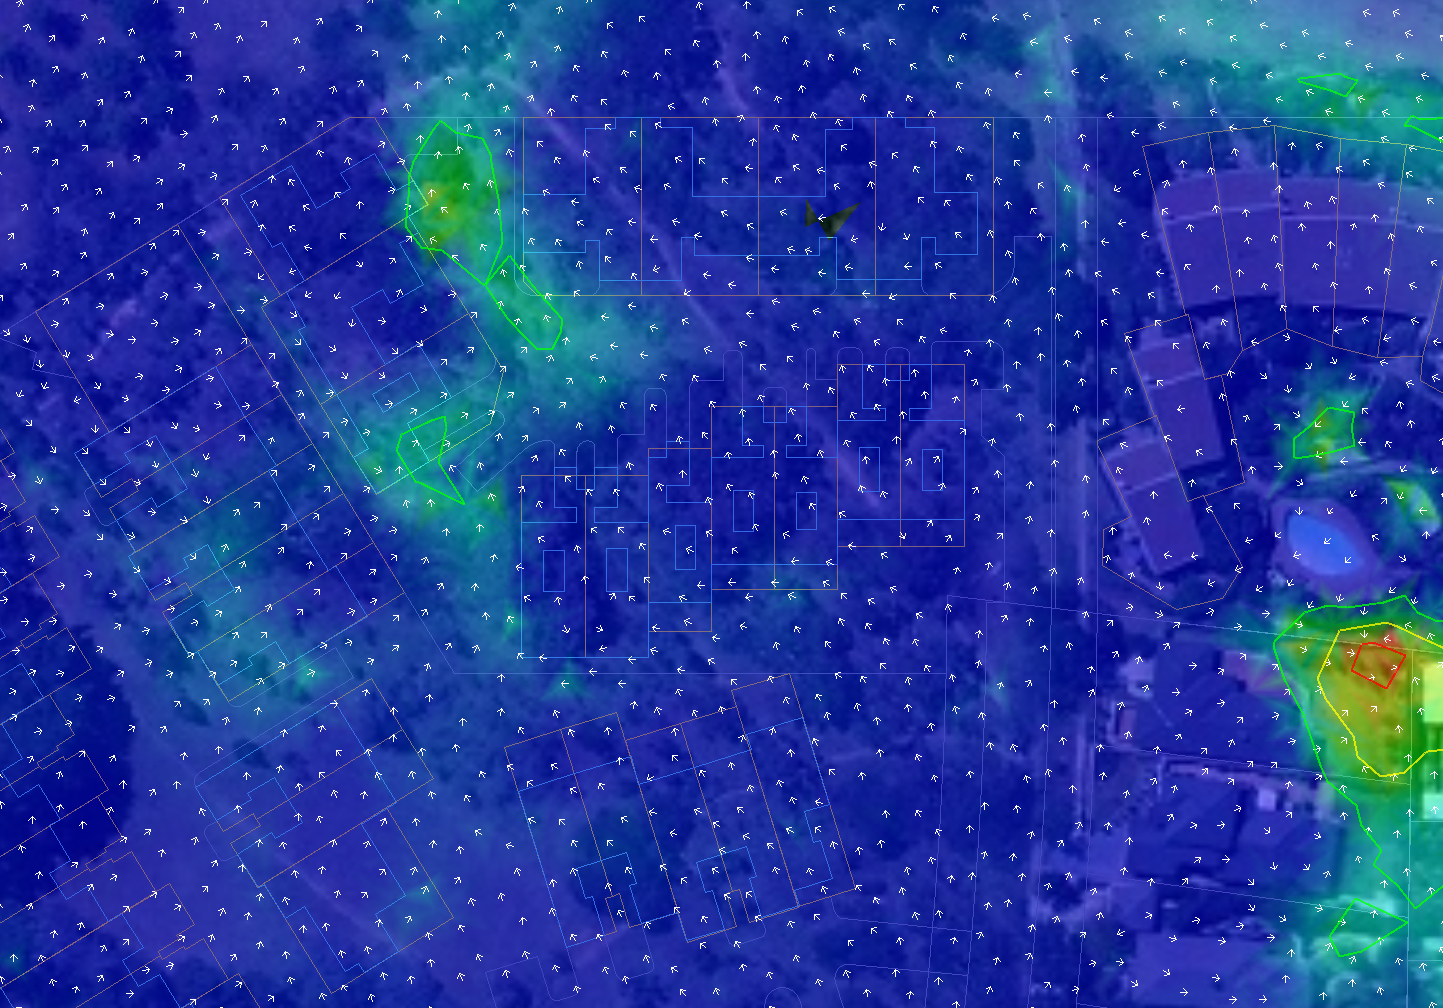
- A surface flow depth map will be shown. Select
Flow Direction in the Tree View to display the flow direction arrows. Right-click in the
Plan View and open
Display Settings
to change the colours used.
The Deluge map provides information on runoff within the site and can be used as a guide for laying out stormwater control systems and other site features. For example, swales can be located along natural flow paths, and buildings located away from ponding locations. The Deluge map is showing that runoff will naturally collect in the middle of the site and then drain to the north-most boundary. We will plan the placement of our Stormwater Controls in these areas to minimize site grading.
- Turn off the visibility of the Deluge map by clicking the
2D Anaysis
layer check box in the Tree View panel.
