| File/s needed: |
| Click to download the Introductory [US units] tutorial model files. |
Import CAD outlines for Inflow Areas
-
Begin by opening the ID_US_Introduction_Project_Ch1.iddx file.
Note: Note that the Existing site conditions have already been imported – don’t worry, importing and adjusting Inflow Areas will be covered in this tutorial! - Catchment extents have already been delineated within CAD so we can Import these into InfoDrainage as Inflow Areas.
- Right-click the Inflows layer and select Import from CAD.

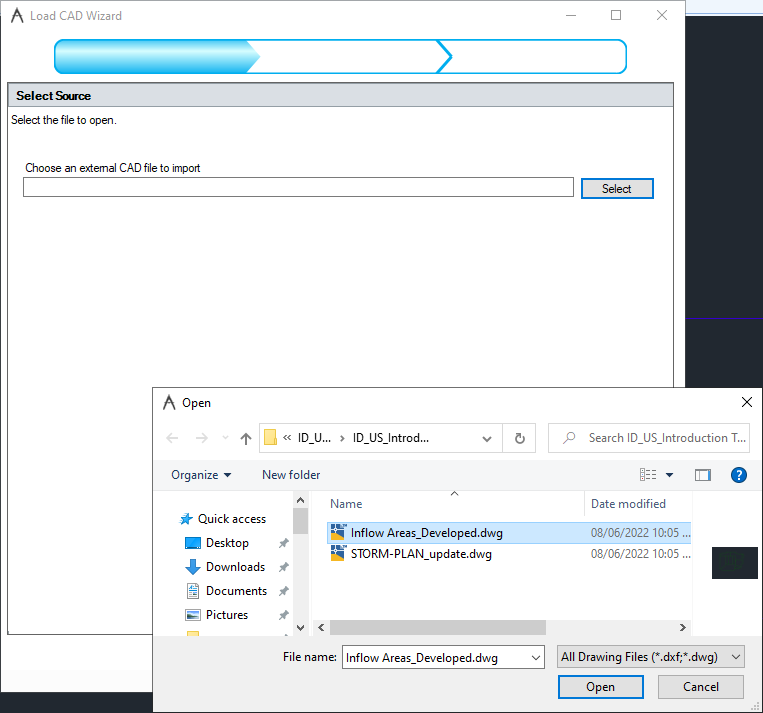
- Click
Select and then locate Inflow Areas_Developed.dwg and then click Open.
- Right-click the Inflows layer and select Import from CAD.
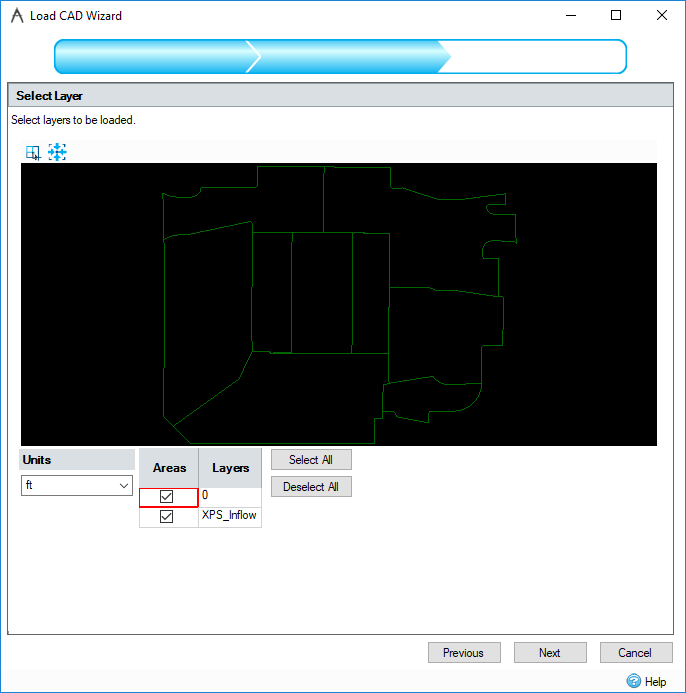
- Click Next twice in the Load CAD Wizard.
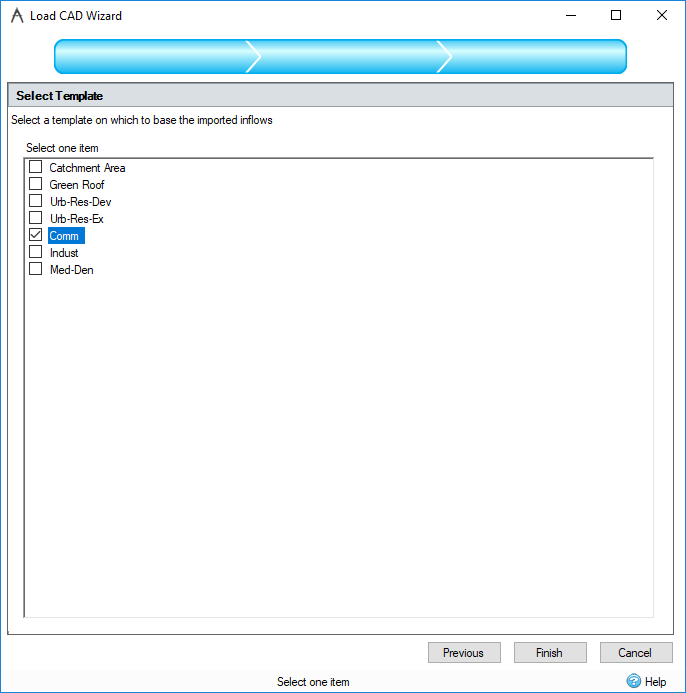
- Click the Comm Inflow Area Template on the
Select Template screen and then select
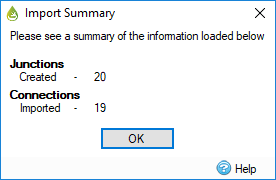
Finish. The Import Summary dialog will display. Click
OK. This Template represents commercial land use characteristics, which we can further modify later in the tutorial.
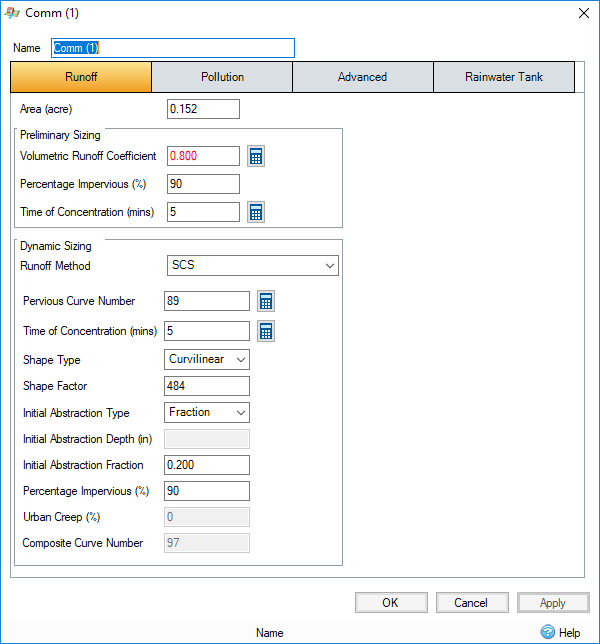
- Double-click or right-click and select Edit on Comm (1) in order to see the Inflow Area characteristics, which are applied based on the outline extents for that element and the details saved under the Comm Template. Click OK to close the dialog.
Note: You can also view and Edit data from one or multiple objects via the Properties. The default location for Properties is tabbed with the Toolbox on the right hand side of the screen.
Import Pipe Network from GIS
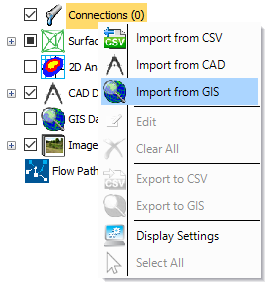
- Now that the Inflow Areas are set, right-click the Connection
layer on the Tree View and select Import from GIS, or select Connections within the From GIS group on the Import
ribbon.

- On the Import dialog, use the Select button to select the Pipe Network.shp file, and then click Next.

- The GIS file will be shown on the second Import step, as the units are set to feet by default, select Next to continue.

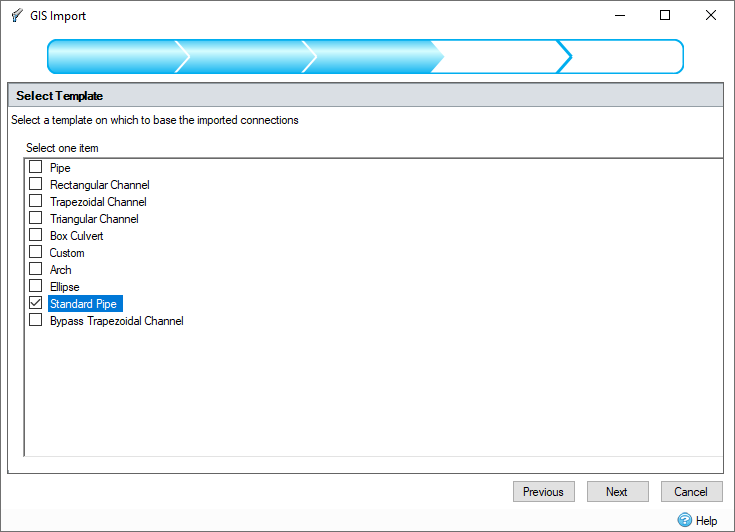
- This step allows you to select which Connection Template will be used if any missing attribute data exists, in this case select Standard Pipe for the Template. Click
Next.
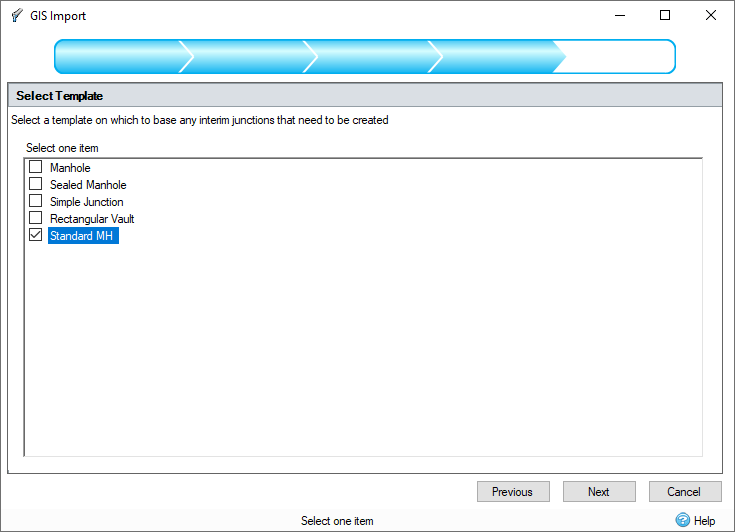
- Similarly, select Standard MH for the default Junction Template to be used as the default Junction type when the imported connections join. Select Next to continue.
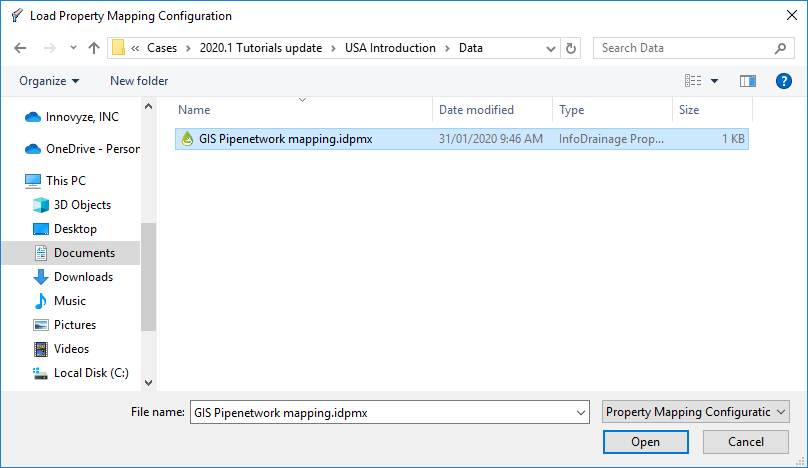
- We can now map pertinent variables from the GIS file attribute list to the associated input types within InfoDrainage. These can individually be dragged from one side to another or a mapped list can be loaded (if previously saved) by using Load, then select GIS pipenetwork mapping.idpmx and select Open.

- Once these fields are mapped, select the option
Lock all imported Manholes and Connections to prevent automatic adjustment, click
Import, and then click OK in the import summary dialog

- The model now contains all Inflow Area catchments and the Pipe Network. You can access the
Display Settings
from the Views
ribbon or by right-clicking on the Plan View to make things easier to read. Labels can be turned on and off in the
Layers tab and
Text Height and
(Max) Icon Height on the
Plan tab.

Update Characteristics Using Tables
In addition to importing from several formats, it is easy to make updates to a system using Tables. We will use Tables to make updates to runoff characteristic info for Inflow Areas.
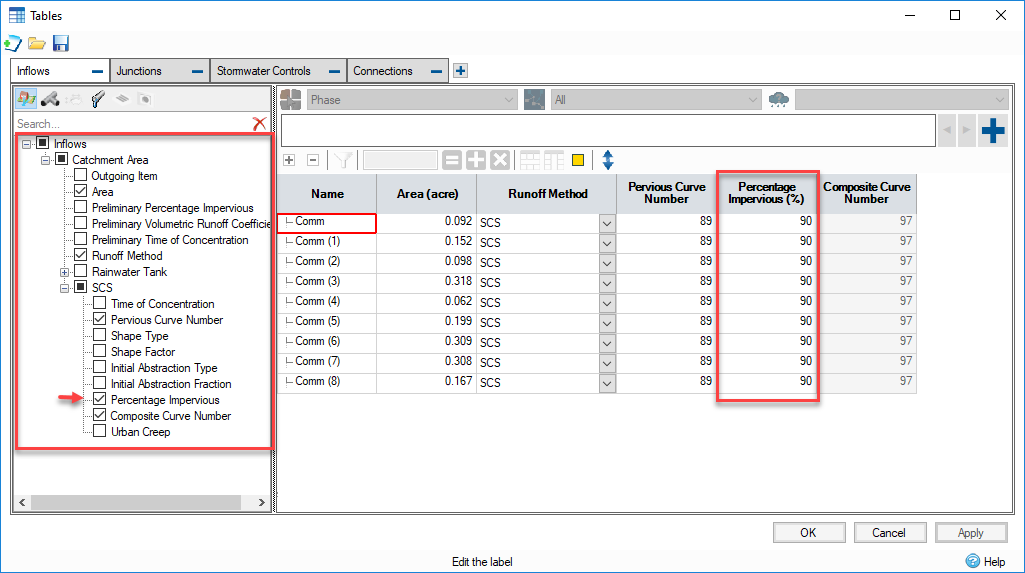
- Open Tables by selecting the Tables option within the Build ribbon or double-click the Tables layer within the Tree View.

- Expand the
Inflow tree and select the items listed below:
Area,
Runoff Method, as well as
Pervious Curve Number,
Percentage Impervious and
Composite Curve Number, which are found within the
SCS branch. This same information can be viewed for individual Inflow
Areas by editing the given area in the Profile view.
- We can update the Percentage Impervious (%) field for the Inflow Areas shown below to better reflect the proposed parking plan.
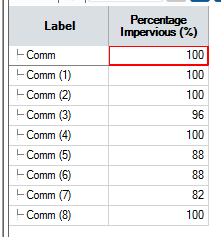
- Once these values are updated, click OK to accept the changes and close TABLES.