| File/s needed: |
| Click to download the METRIC tutorial model files. |
The network that is being designed is to enter an attenuation pond around Manhole MH14. The allowable discharge is 10 l/s.
- Continue with your previous file or open Completed Analysis.iddx.
- Save the file as Pond Design.iddx.
- We are now going to open a background layer showing an outline of the pond. Right-click the CAD data in the Tree View and select the
Import Stormwater Controls option.
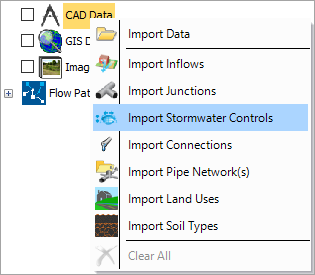
- Select the file Pond Outline.dwg. Click Next.
- Untick the layer 0 and click Next.
- From the Select Template step check the Pond item then click
Finish. An Import Summary message is shown, click OK and the Pond will be created.

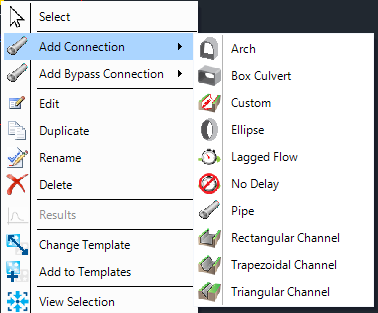
- Right-click
MH14, and then select
Add Connection > Pipe. Then click on the blue + that appears.
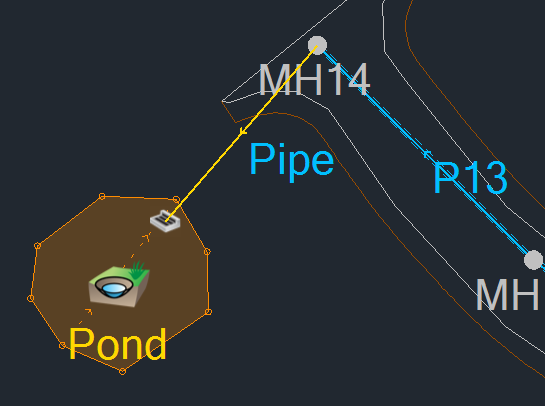
- Connect the manhole to the pond and you will see the inlet appear.
- Switch to the Select tool in the Toolbox.
- Double-click the
Pond
to bring up its properties. With
Base Elevation selected, enter
1.5
m as the
Depth, then edit the
103.201 m Depth
entry in the table to match the new
1.5 m Depth.
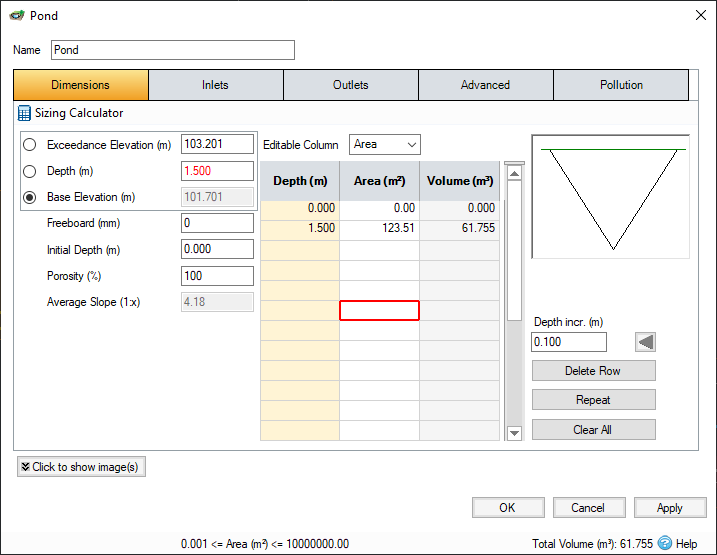
- The pond is currently straight sided but in reality a pond would have sloping sides. Select the Sizing Calculator (near the top-left corner of the
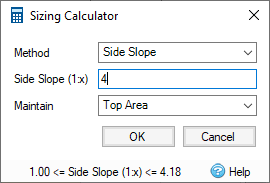
Pond dialog box) and in the Method drop-down select Side Slope. Set the Side Slope value to 4 and then press OK.
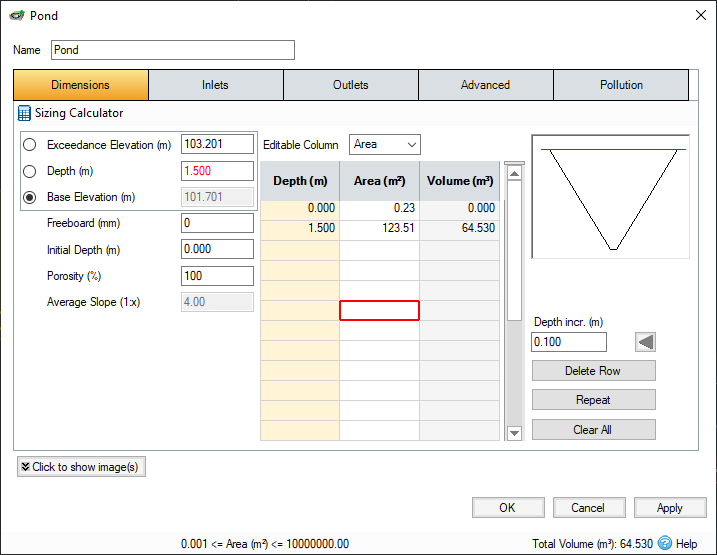
- Click
OK. This adds sloping sides to the pond.
- The next task is to provide an initial estimate of the size of the pond.
- Set the Freeboard value to 300 mm.
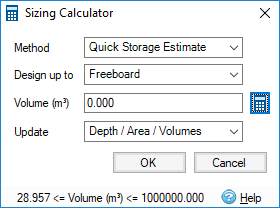
- Select the Sizing Calculator again. Change the Method to Quick Storage Estimate. In the Design up to field, select Freeboard from the drop-down list.
- Click the smaller calculator icon next to the Volume field.
- For Input Type, we can leave it as Use Plan Data which automatically uses the Catchment Area details entered and the Rainfall selected for Analysis. Enter a
Discharge Rate of
10 l/s. Make sure that the
Safety Factor is set to the default value of 2. Click
Calculate.
This returns an upper and lower estimate for the storage volume required.

-
Pressing OK will then take the mean of the two values and put it in the Volume field, clicking OK to the Sizing Calculator will update the pond dimensions.
 Note: We selected update method Depth / Area / Volume in the previous step which changes both the area, depth and volume of the pond while maintaining the slope. If you were to select Depth, the volume would be altered but the slope would change too.
 - Click on the Advanced Tab and enter a Manning's n value of 0.030 - this is used in the analysis of the Stormwater Control to determine how long it takes water to pass through the pond.
- Click
OK and the outline has increased to reflect the space the pond will take up on site. You may wish to move the inlet closer to the edge of the pond to get a more accurate pipe length.
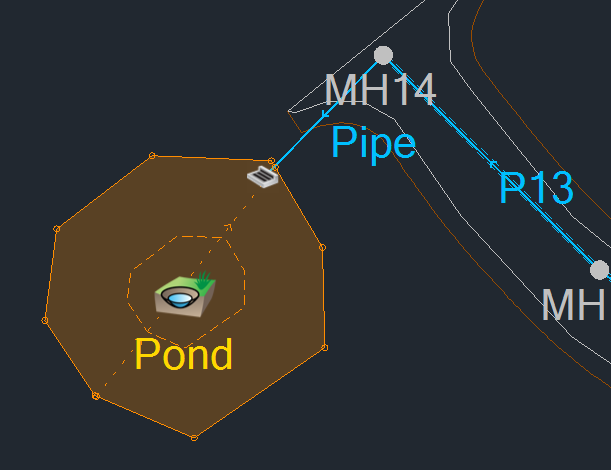
- Right-click the main flow path (labeled Train if you have followed the entire tutorial) in the Tree View and select Edit. Add on the additional pipe from MH14 to the pond.
- From the
Results
ribbon, select
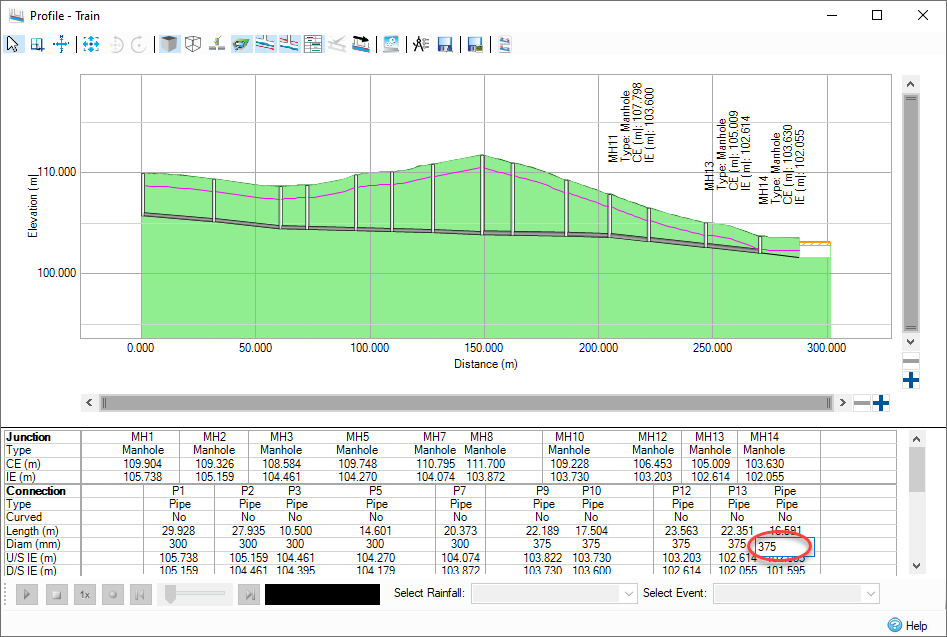
Show Profile and the profile view will now include a graphical representation of the pond. Update the
Diameter of the final pipe to 375 mm
by double-clicking on the value in the table below to match the US pipe. As this was added after the
Network Design Wizard, it has not been sized.
Adding a Hydro-Brake®
A discharge rate of 10 l/s from the attenuation pond should now be defined.
- Use the Select tool to double-click the newly created pond and select the Outlets tab.
- Click the + icon on the Outlets tab and under Outlet Type, use the drop-down menu to select a Hydro-Brake®.
- Enter a
Design Depth of 1.2 m and a
Design Flow of 10.0 l/s. Press the
Calculator then the Calculate button and this will run the analysis via the Hydro International Servers to calculate the appropriate Hydro-Brake, reference number and Depth/Flow relationships available. Select the 'Minimize Upstream Storage Requirements' option from the returned list and click OK.

- Click OK.
- Save the model.
- From the Analysis ribbon, click the Analysis Criteria button and make sure that 18 storms are to be simulated. Also check that the model validates with no errors.
- Click the Go button to simulate the model. Once the simulations have finished, the Stormwater Controls Summary will automatically open.
-
Click the Critical Storm button to show the highest elevation in the pond during any of the 18 storms. From the results we can see that the 120 minute winter storm was the worst, producing a maximum depth of 1.1 m in the pond. This is below the 1.2 m necessary to meet the freeboard and is therefore acceptable.

- From the
Results ribbon, open the
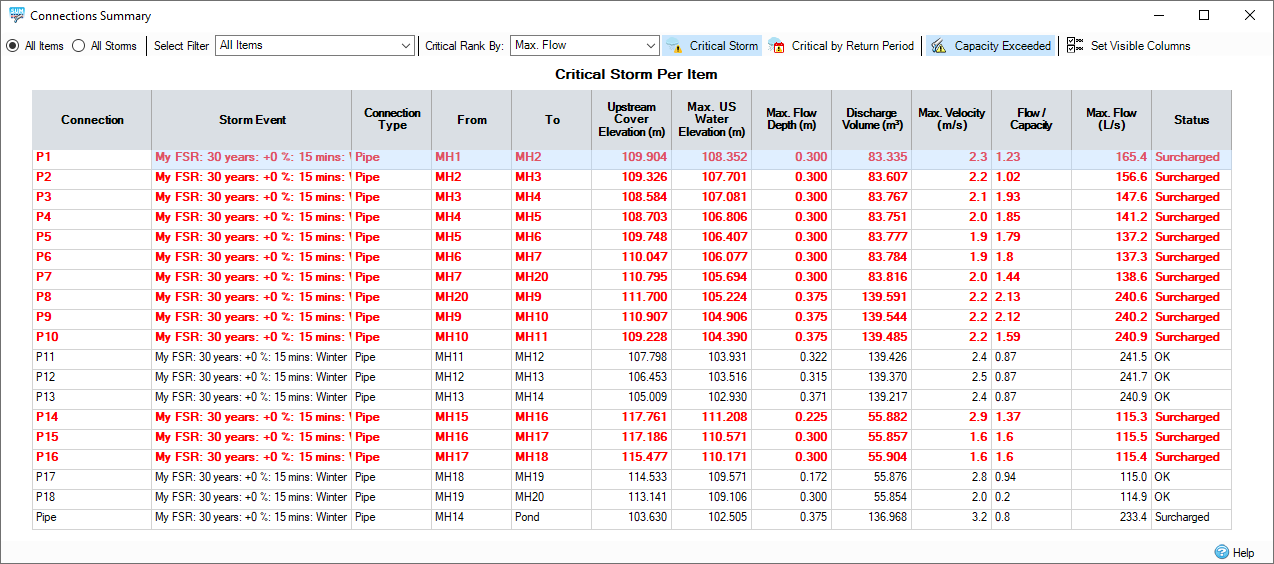
Connections Summary table, press the
Capacity Exceeded button and press the
Critical Storm button. From here we can see that several of the manholes are surcharged.
-
Save the final version of the model Pond Design.iddx.
As a separate exercise, you may want to manually upsize some of the pipes to reduce the surcharging.
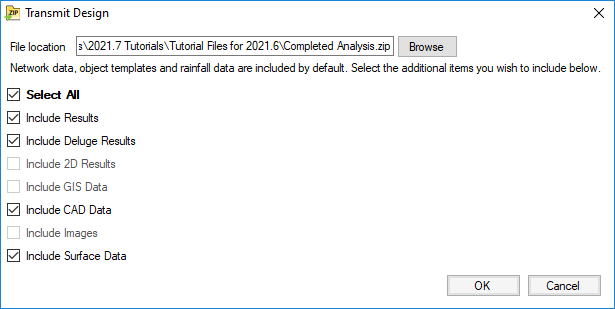
Transmit Design
If you are planning on sending the design to someone (like Innovyze Support). The transmit feature is the best way to do this as it keeps together all relevant files in a compressed format.
Go to File > Transmit Design, and then select the appropriate layers and choose the appropriate destination. And then click OK.
