Grading Areas
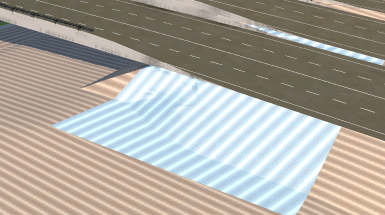
Grading areas are used in InfraWorks to identify development areas in a model.

In this month’s Have You Tried article, we’ll take a closer look at the Grading Areas feature in InfraWorks. Grading Areas aren’t new, but if you have never used it, you might want to find out how it can help expedite your workflow.
Each month, we profile a useful feature or workflow in InfraWorks. We look across what's new, what's been around for a while, and identify features that could improve your experience with InfraWorks while making you and your team more productive.
What are Grading Areas?
Grading areas are used in InfraWorks to identify development areas in a model. You can sketch new grading areas, import polygons as grading areas into InfraWorks models and proposals, as well as modify the grading of a selected grading area. Grading areas are similar to coverage areas in that they are used to identify development areas.
You can also import polygons as grading areas in your model and proposals. Grading area polygons can be brought into InfraWorks from Autodesk AutoCAD Civil 3D DWG, IMX, LandXML, SDF, SHP, or SQlite files. Using an FDO database connection, grading area polygons can be imported to InfraWorks.
Why use it?
Similar to coverage areas, grading areas are used to identify areas for development. However, the Grading Areas tool can also be used to add grading styles to a specified area. Grading styles allow you to specify cut slope, cut material, fill slope, and fill material values.
You can also import polygons from other products to create grading areas in InfraWorks.
Where do I find the feature?
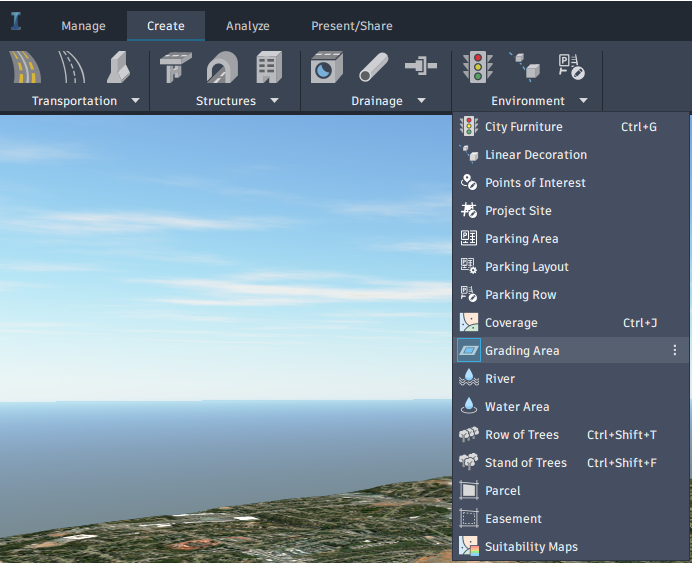
You can access the Grading Areas tool under the Create tab in the toolbar and under the Environment dropdown menu.

How do I use it?
Sketching Grading Areas and Importing Grading Areas
- Click Create
 Environment
  Grading Area. Select a grading area style in the Select Draw Style catalog that displays.
Sketch a grading area by clicking to set a point on the InfraWorks drawing. Click again to set each additional corner of the grading area shape. When you have finished drawing the grading area, double click or press ENTER. The boundary is filled by the grading area style you selected.
After you have sketched a grading area, you can modify its style. Grading area styles are located in the Material style tab in the Land Cover style catalog, and grading styles are located in the Grading tab.

Importing Grading Areas
- Double-click the new data source in the Data Sources panel.
- Select Grading Area as the Type in the Data Source Configuration dialog box.
- Specify a Rule Style and Rule Grading if desired. This option allows you to apply material, color, and grading styles to imported grading areas using expressions, or by selecting styles from the Grading Areas and Grading style catalogs.
- Select the Geo Location tab and specify the desired settings. If your data does not have any coordinate system information associated with it, you will need to specify an arbitrary XY as the coordinate system and place the data yourself.
- Select the Source tab and choose Draping Options.
- Drape will conform the grading area to the terrain, ignoring any of the polygon's Z values. Don't Drape will create the grading area with Z values based on vertices of the polygon(s) you imported.
- Set the Elevation to a desired value or data source property and the grading area will flatten the terrain to whichever elevation you specify.
- Select Close & Refresh.
Adding or Modifying grading in a grading area
- Select the desired grading area and right-click.
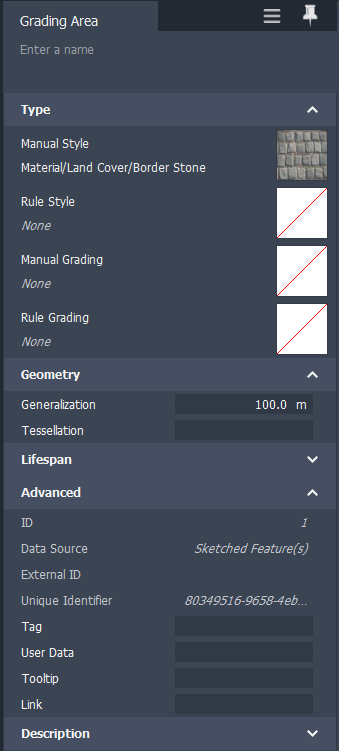
- Click on Properties.
- Click the Manual Grading field in the Properties Palette, and click the browse button.
- Select a grading style from the dialog that displays, and press OK.
- Click update in the Properties Palette. Alternatively, you can also apply a style to a Grading Area by dragging the style from the Style Palette and dropping it onto the desired grading area.