To add or modify a right of way
Add a right of way (ROW) to your model by drawing it manually or by adding one to a selected road. You can set same or different offsets, draw out a new ROW parallel to a road, along its centerline, or along its right or left side. You can split a ROW, change a straight-edge to a curve. After creation, you can select and adjust an ROW's dimensions, as needed.
You can see the right of way in the Cut/Fill view of the Cross Section Viewer. This view can be helpful if you want to see the ROW at a specific station of the road to determine if there is any conflict with the road construction. For example, you can see where the ROW interferes with grading work to determine whether you may need to buy more land or use cut/fill to make a steeper slope.
Model Explorer lists right of ways under Area of Interest assets.
The right of way creation tool, under Method in the ROW Stack panel, gives you three options:
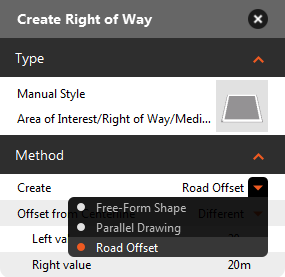
- Free-form Shape: create free-form polygons
- Parallel drawing: draw along an existing feature, with the same or different offsets for each side, and the right of way aligned parallel to the feature's centerline or to its right or left side.
- Road offset: create a right of way along the selected road. Choose same or different offsets, adjust the length of the ROW as needed.
After creating an ROW, you can select it and adjust its dimensions, as needed.
To draw a right of way
Click Create
 Transportation
  (Right of Way).
(Optionally), before drawing, check the current drawing Method and its settings on the Stack, accept the current settings or change them.
Click to place each point for the right of way. Double click to finish sketching, or choose End Draw from the right-click menu.
In-canvas guides will display length and area values. Click the blue length label to input values directly.
Note: Press Ctrl + L while sketching to lock a length value.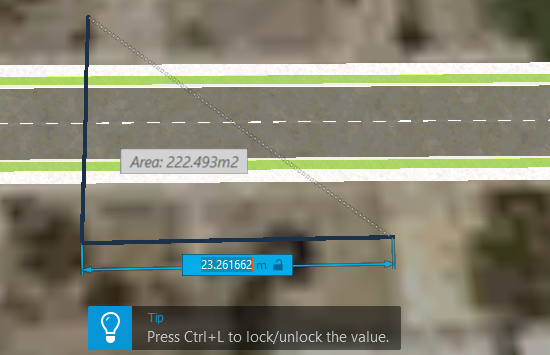
To add a right of way to a road
In Edit mode, Select the road and choose Add Right of Way from the right-click menu.
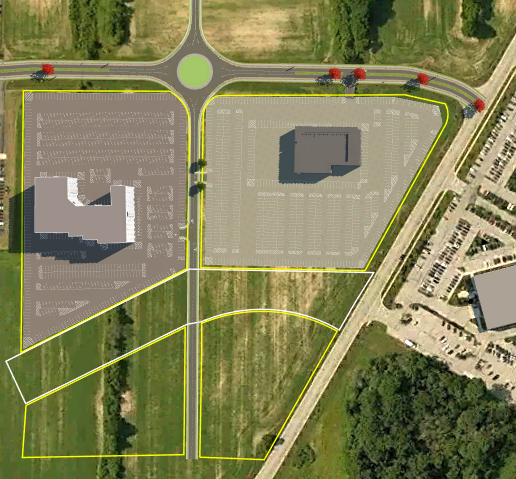
The right of way polygon displays alongside of the selected road.
To split a right of Way
In Edit mode, select the Right of Way feature.
Choose Split Feature from the right-click menu.
A Start marker appears when you hover over the selected feature.
Locate the start position of the segment you want to create; click once.
Move the marker to the end position; click twice.
The feature now displays lines marking off the new segment from the other segments.
To modify a right of way
In edit mode, select the ROW and use its gizmos to adjust the length and direction of the its edge-lines.
Choose Change to Curve from the right-click menu to convert a straight edge-line to a curve to improve alignment with an existing feature, as shown below.
To add or modify a parcel or easement contains additional coverage of how to modify a right of way: how to change its type; and how to convert a point intersection to an arc and adjust its radius.
To delete an right of way, select it, and press the Delete key.