To add a bridge to the library
Add bridge assemblies to the Style Palette as templates that you can re-use for other bridges in your models.
Perform any desired customization to your bridge designs, then use the Add to Library command to add your unique bridge designs to the Style Palette.
Create or modify a bridge in InfraWorks.
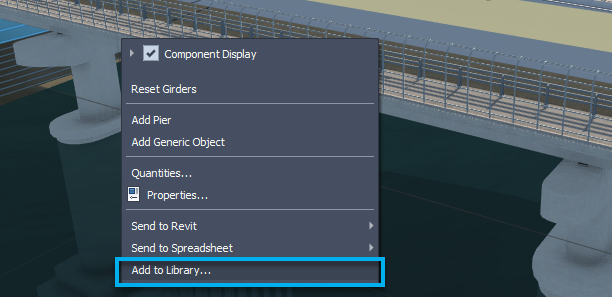
With the bridge selected, right-click.
Click Add to Library from the right-click context menu.
Input a name for the new custom bridge assembly.
Click OK.
Your custom bridge assembly is saved to the Style Palette in the Custom Templates catalog, within the Bridge Templates tab.
To use your custom assemblies, sketch or select a bridge.
Note: While bridge length and number of piers may vary, component details such as girder type, pier type, and abutment type are preserved when you add a bridge to the style palette using the Add to Library command.In the Stack, click the orange Select Assembly text in the Type section, and select your custom template from the Select Template catalog that appears.
Note: If the bridge you select is already using a different assembly style, click the orange text for that assembly name in the Type section of the Stack, then choose a different assembly from the Select Template catalog.InfraWorks provides several default bridge templates that you can also use at any time. Select a bridge template through the Style Palette to modify it, or adjust a bridge's type field in the Stack to use one of these templates.