The Sequencer editor is the main workspace where you arrange and edit shots in a sequence.
Shots are displayed as rectangular blocks on tracks. You can move, trim, and scale shots in the editor to define the timing and order of cameras in the sequence.
Shots and tracks
Each shot represents a camera over a specific frame range. Shots are placed on tracks, which allow you to stack and overlap shots as needed.
When shots overlap in time, the shot on the highest track takes precedence during playback.
You can perform the following actions directly in the editor:
- Move shots along the sequence timeline.
- Trim shot start and end frames.
- Scale shots to adjust duration.
- Select and move multiple shots together.
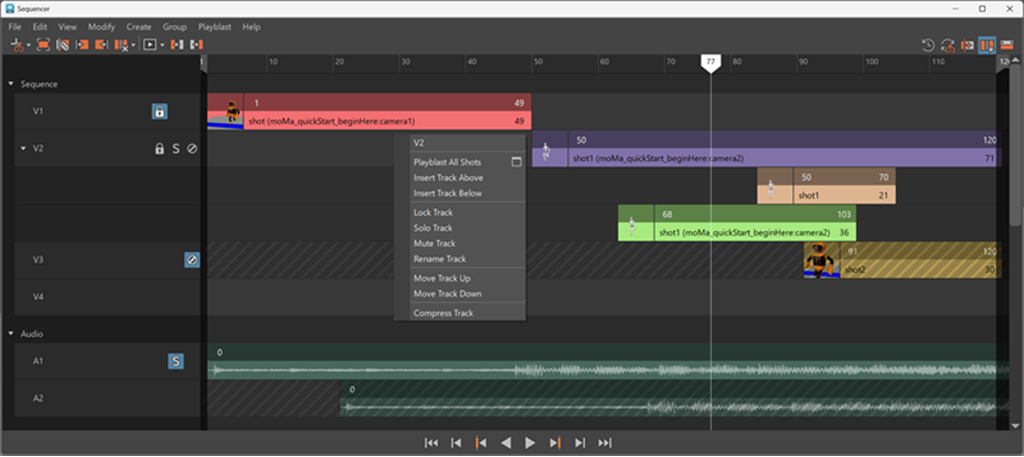
Sequencer track controls
The Sequencer track controls are located on the left side of each track in the Sequencer editor. These controls let you manage track behavior and organization without changing shot timing or duration.
Track controls apply to all shots on the track and affect playback, visibility, and editing interactions within the Sequencer editor.
| Lock | Locks the track to prevent shots on the track from being moved, trimmed, or edited. |
 |
| Solo | Solos the track so that only shots on this track are evaluated during playback.
Note: To solo multiple tracks at once, hold Shift while selecting tracks to solo in the Sequencer editor.
|
 |
| Mute | Mutes the track so that shots on the track are ignored during playback. |
 |
Track height views control how much information is displayed for each shot in the Sequencer. Depending on the selected Track Height setting (View > Track Height), tracks display different levels of visual detail. Smaller track heights provide a more compact view for navigating larger sequences, while larger track heights display additional shot information.