Learn how to adjust shot timing, order, and playback behavior in the Sequencer editor, including trimming, splitting, creating holds, and managing ripple edits.
Split a shot
To split a shot:
- Select the shot.
- Move the current time indicator to the frame where you want the split.
- Click the Split icon in the Sequencer toolbar or go to Split Shot
>
 .
.
Splitting a shot also splits any associated audio clip.
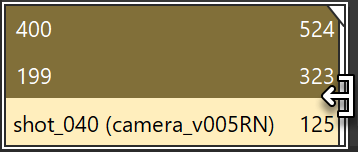
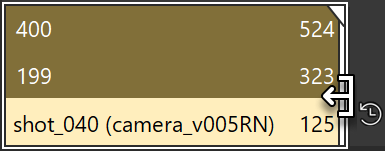
Trim and scale shots using shot edges
In the Sequencer editor, trimming and scaling shots is performed using the edges of the shot. You switch between Trim Mode and Time Scale Mode using the Sequencer toolbar.
- Trim a shot
-
To trim a shot:
- Move the cursor over the in or out edge of the shot.
- When the trim cursor appears, click and drag the edge to adjust the shot length. If Hold mode is enabled, dragging the edge creates hold frames instead of trimming the shot.
Trimming changes the shot's sequence start or end time without altering the Maya time defined within the shot.
- Scale a shot
-
To scale a shot:
- In the Sequencer toolbar, enable Time Scale Mode.
- Move the cursor over the in or out edge of the shot.
- When the time scale cursor appears, click and drag the edge.
Scaling adjusts the relationship between sequence time and the shot's Maya time.
To return to trimming behavior, click Time Scale Mode again to deactivate it.
- Switching between Trim Mode and Time Scale Mode
-
- When Time Scale Mode is disabled, dragging a shot edge trims the shot.
- When Time Scale Mode is enabled, dragging a shot edge scales the shot.
The cursor icon changes to indicate the active mode.
Create and edit holds on shots
A hold extends a shot by holding its first or last frame (freeze frame) for a specified number of frames before or after the original shot range.
To create a hold:
- Enable Hold mode in the Sequencer toolbar.
- Select a shot.
- Drag the in or out edge of the shot.
Dragging the left edge creates a pre-hold. Dragging the right edge creates a post-hold.
The hold duration updates interactively as you drag.
- Edit a hold duration
-
You can adjust the duration of an existing hold in several ways.
Interactive editing
- Move the cursor over the edge of the hold.
- When the hold edit cursor appears, click and drag to adjust the hold length.
Direct numeric editing
- Double-click the number displayed inside the hold and enter a new value.
Channel Box or Attribute Editor
- Select the shot.
- In the Channel Box or Attribute Editor, edit the Pre Hold or Post Hold attribute.
All methods update the hold duration for the selected shot.
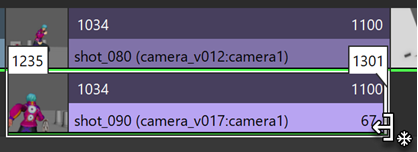
Move and reorder shots
When shots overlap on different tracks, the uppermost shot is used during scene evaluation.
To move shots:
- Drag shots in the Sequencer editor to change their position in sequence time.
- Double-click the sequence start or end values on a shot to edit them manually.
- Drag the Sequence Start or Sequence End fields to scale the shot without altering its Maya time.
Associated clips remain synchronized when you move shots.
Remove gaps and overlaps between shots
Sequencer toolbar tools let you quickly resolve gaps or overlaps between shots.
- Remove Selected Shot Gaps
-
- Select neighboring shots.
- Click Remove Selected Shot Gaps button in the Sequencer toolbar.
- Remove Selected Shot Overlap
-
-
Select overlapping shots.
-
Click Remove Selected Shot Overlap in the Sequencer toolbar.
-
- Remove Selected Shot Gaps and Overlaps
-
- Select all affected shots.
- Click Remove Selected Shot Gaps and Overlaps in the Sequencer toolbar.
Use ripple editing
Ripple editing lets you adjust shot lengths while preserving relative spacing between shots.
When Ripple Edit is enabled, changes to one shot propagate to other shots so spacing is maintained.
To enable ripple editing:
- In the Sequencer editor menu bar, enable Edit > Ripple Edit, or
- Click Ripple Edit in the Sequencer toolbar.