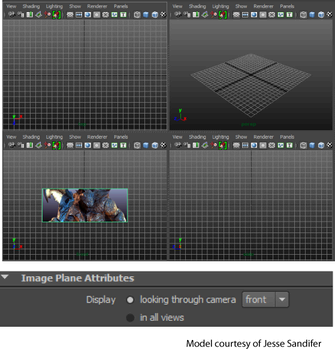
You can choose to display your free image plane in all views; or, only through a specified camera. The drop-down list beside the Display > looking through camera allows you to select the camera through which the image plane is displayed.
This feature is only available for free image planes.
- Select your free image plane to display its Attribute Editor. In the Attribute Editor, select Display > looking through camera.
The drop-down list beside this option becomes active and lists all the cameras in the scene.
- Select a camera from the drop-down list.
The image plane is only displayed through the selected camera.
 Note: The default option in the drop-down list is the camera that was used to create the free image plane.
You can also specify the camera via the imagePlane MEL command. Set the -showInAllViews flag to false and then set the looking through camera using the -lookThrough flag. For example, this command creates an image plane and sets the looking through camera to the side camera.
imagePlane -showInAllViews false -lookThrough side;
The -showInAllViews flag is set to True by default.