Create Lifecycles
Use the Lifecycle Editor to create and manage lifecycles on your Fusion Manage site. For help on how Fusion Manage implements product lifecycle management, see the Lifecycles.
To access the Lifecycle Editor, open the main navigation menu and go to Administration > System Configurations > Lifecycle Editor.
Add a lifecycle state
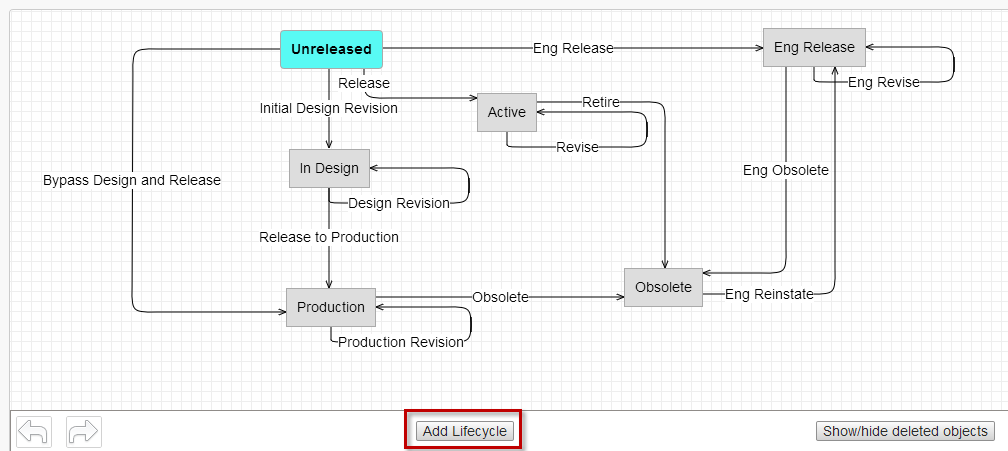
Click Add Lifecycle.
In the New Lifecycle Creation dialog box, enter a name for the lifecycle: for example, In Design, Active, or Production.
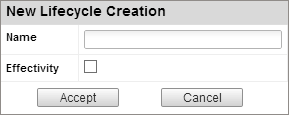
Turn on the Effectivity check box to allow a BOM editor to specify an effectivity date for an item in this state. If Effectivity is not turned on, the item becomes effective on the date it is released.
Click Accept.
A lifecycle state is added to the map.
Drag-and-drop the lifecycle state to position it on the map.
Add a transition between lifecycle states
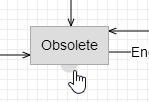
Place the mouse over the edge of a lifecycle state to display the transition handle.
Drag-and-drop the transition path to another lifecycle state to establish the connection.
In the New Transition Creation dialog box, enter a name for the transition.
Use the check boxes to indicate if the transition goes to an obsolete state, if the version of the item increases, and if the release number increases.
- Obsolete: Indicates that item is no longer in use. This means that the version and release will not increase, even if set to do so.
- Increment Version: Automatically increases the item version by one.
- Increment Release: Automatically increases the release number by one.
Click Accept.
Edit a state or transition
To edit a state or transitions, rght-click a state or transition and then click Edit.
Delete a state or transition
To delete a state or transition, right-click a state or transition and then click Delete to remove it from the lifecycle map.