Main Menu Designer
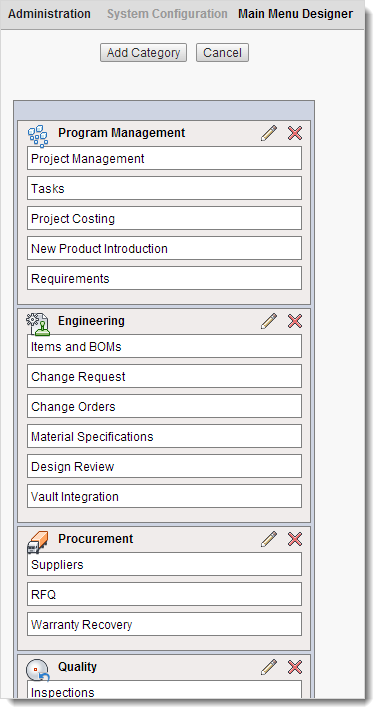
Use the Main Menu Designer to create and organize workspaces in your Fusion Manage site into categories, as you want them to appear on the main menu.
To access the Main Menu Designer, open the main navigation menu and go to Administration > System Configurations > Main Menu Designer.
Add a category
In the Main Menu Designer, click Add Category.
The Creating a Menu Category dialog opens.
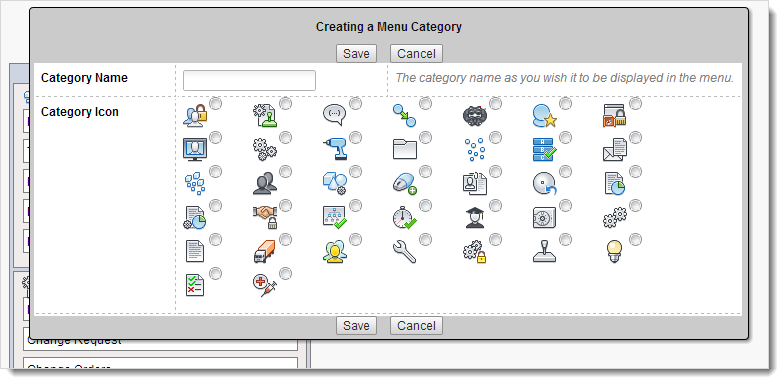
Enter a Category Name.
Select a Category Icon.
Click Save.
The new category is added at the bottom of the menu.
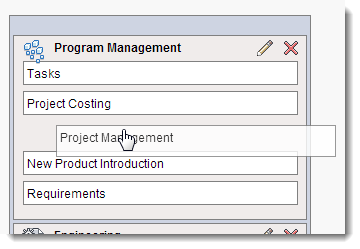
Organize menu items
Drag and drop categories to reposition them in the menu, add workspaces to a category, and reorder workspaces within a category.
Note: New workspaces appear at the bottom of the Main Menu Designer. You do not need to add a workspace to a category; you can position it as a first-level item.
If you do not see a workspace in the Main Menu Designer, you do not have permission to view it. For help on setting up permissions, see Security.
Edit categories
In the Main Menu Designer, click the Edit
 icon next to the category name.
The Editing a Menu Category dialog opens.
Make your edits.
Click Save.
Delete categories
- In the Main Menu Designer, click the Delete
 icon next to the category name.
 - Click Confirm.