About Clipping and Deleting Points
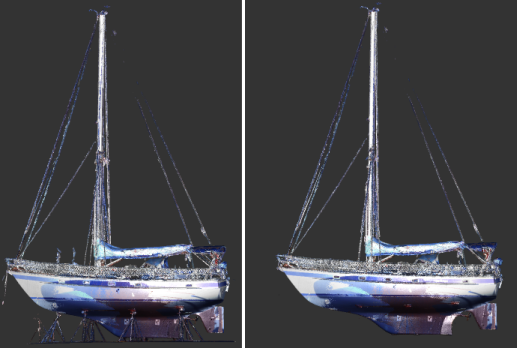
Clipping provides a way to hide extraneous portions of the point cloud without permanently removing the points. For example, you can use clipping to trim away people and vehicles picked up in the laser scan. In the following illustration, multiple clipping areas were used to remove the boat stands holding up the boat.
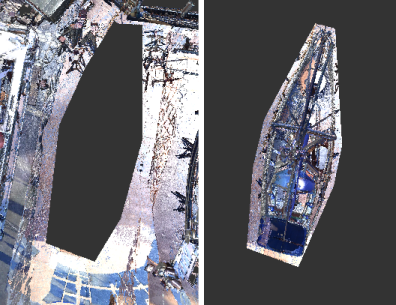
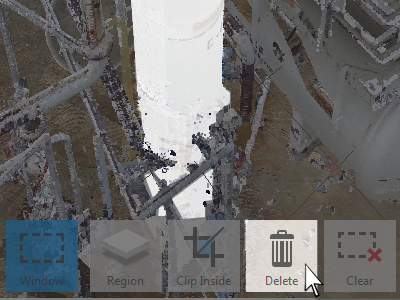
Like creating a Scan Region, the clipping action originates with accurate selection. Once a selection has been made, you can specify whether points are clipped inside or outside the clipping boundary, depending on whether you want to remove something from the scene or isolate it.
Remove clip boundaries to restore display of the clipped points. In point clouds with more than one clip boundary, you can choose to remove all boundaries, or step back chronologically to remove boundaries one at a time.

Delete Points
You can also permanently remove points from the scan file by directly selecting them or by deleted a Scan Region with cleaned points. This is a good way to clean up extraneous points that are outside the area of interest. If you need to restore points that you did not want to remove, click the Undo button or Ctrl+ Z immediately after the Delete operation.
Recover Deleted Points
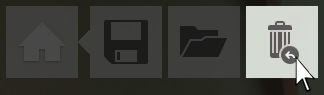
In addition to the standard "Undo" action that can be used directly after performing a delete operation in a project, you can also "recover" all deleted points. This is available from within the Home flyout of the main menu.
You are prompted to confirm that any points previously deleted are added back to the project.
Burn/Shrink
Additional data optimization for deleted points can be done during project save. This can be done in one of two ways:
- When you Save the project, ReCap asks if you want to optimize it. This process rewrites the scan files, marking each deleted point as such. The deleted points still remain in the file, and are recoverable. Regardless, ReCap can use the markings to greatly improve runtime performance.
- To remove the deleted points completely, perform a Save As operation. ReCap prompts you with an optimization message similar to the prompt with a simple Save procedure, and specifically asks if you want to permanently remove deleted points. If you agree, the new project is rewritten with deleted points completely removed.
You can choose to synchronize the deleted points to RealView during burn/shrink operation. Depending on the options that you choose, the deleted points can be replaced with a different color or it can be blurred in the RealView. For more details, please refer to Delete Points and Optimize Scan.