Limit Box
Every point cloud has a Limit Box which controls how much of the point cloud is displayed. By default, the Limit Box boundaries align with the outer extents of the point cloud.
You can adjust the boundaries and orientation of the Limit Box at any time. The Limit Box is especially useful when defining Scan Regions or clipping areas, because it can limit the width, length, and depth of the affected area.
Access the Limit Box tools through the button in the tool bar:
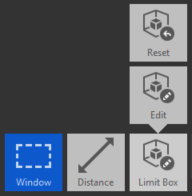
You use the Limit Box when you want to isolate different sections of the point cloud. There are several ways to edit the Limit Box's dimensions and orientations. These include using the Tab key to cycle through the box's dimensions one at a time and edit them, dragging the faces of the Limit Box to change its overall shape, and rotating the Limit Box by holding Ctrl+click and dragging on a box edge. You can always reset the Limit Box from the same menu.
Editing Dimensions
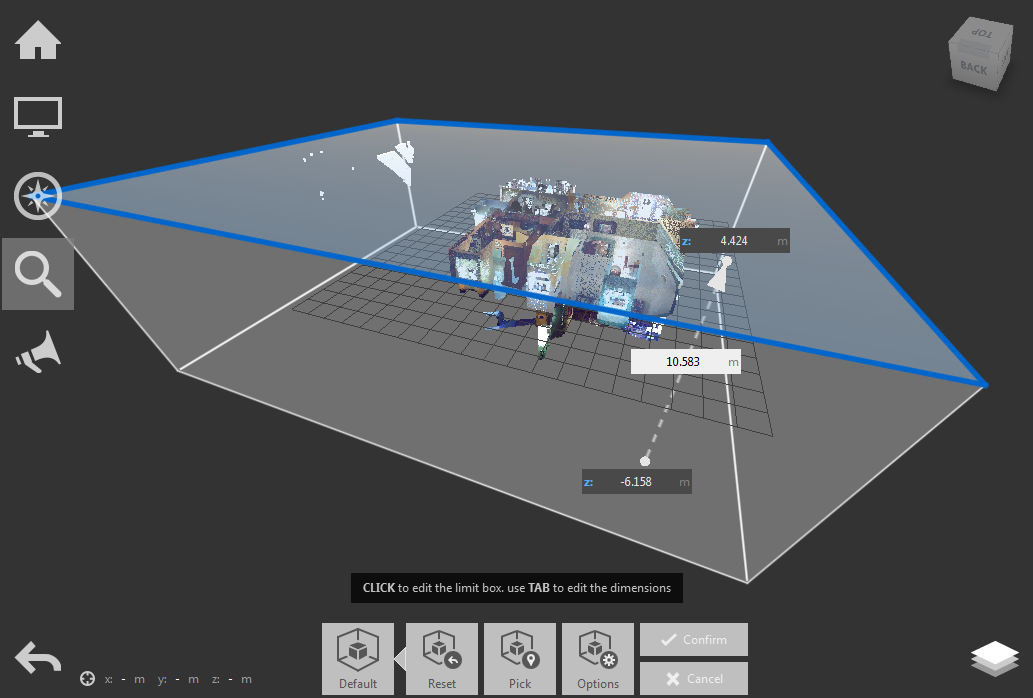
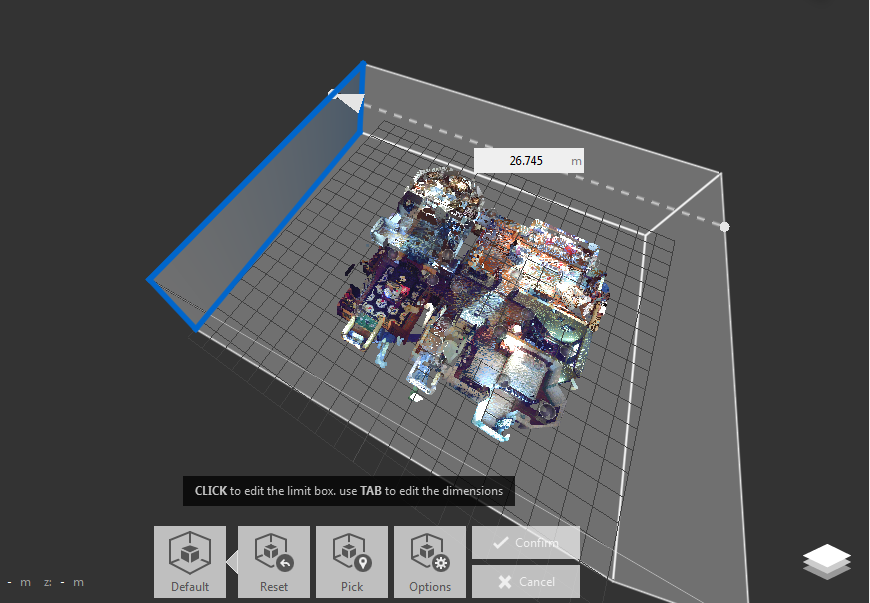
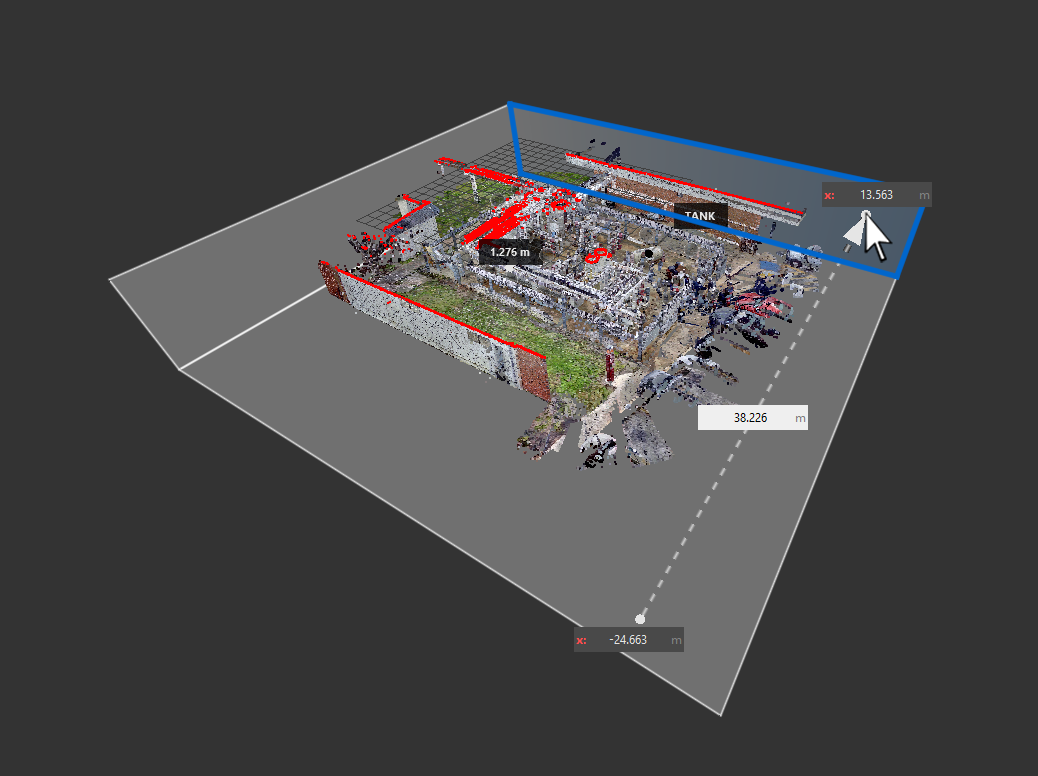
Hovering over a face on the Limit Box highlights it and provides contextual feedback about the distance between it and the opposite face along that axis. To adjust the box simply click and drag one of the faces. The measurement is updated in real time to provide concise feedback.
By default, the Limit Box tool selects the faces of the Limit Box from the outside. There is also the option to select and edit the inner faces. To do this, verify that "user inner faces" is active from the Point Cloud Options found in the contextual tools and hold the Shift key to quickly toggle between forward and back-facing surfaces.
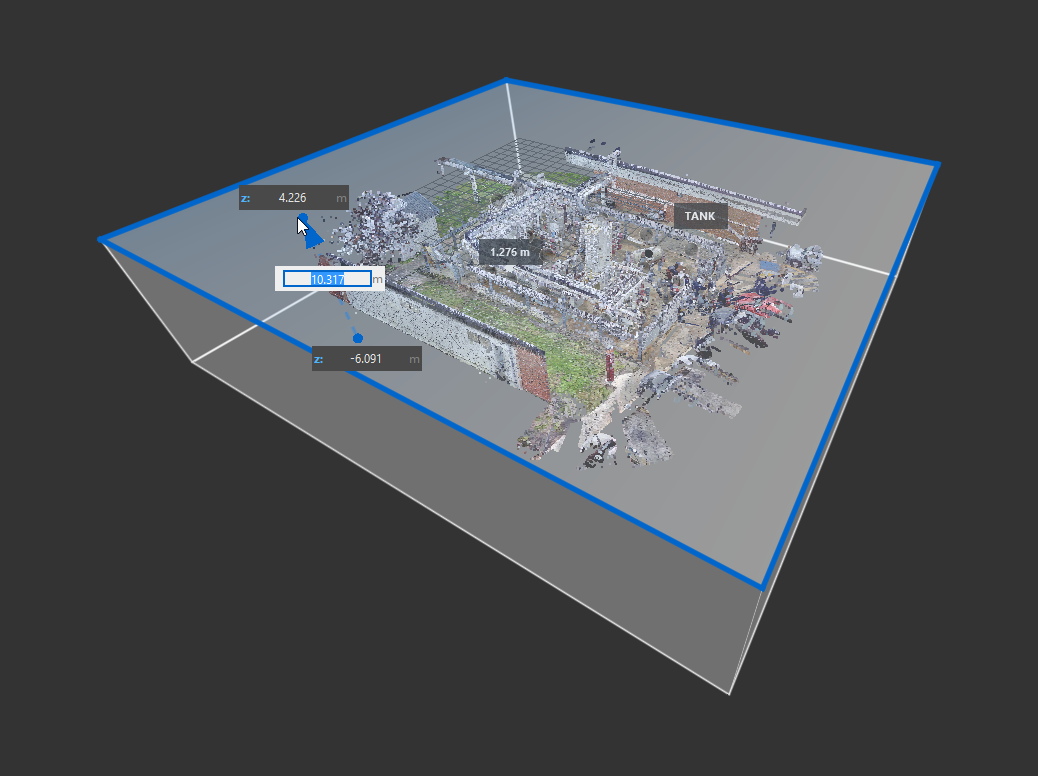
When hovering on a face, you can cycle through the box's dimensions with the Tab key. This allows you to edit and enter precise values for each. Once you rotate the Limit Box out of the default world coordinate system, you cannot edit precise endpoints along the x, y, or z axes.
Rotation
To rotate the Limit Box, move the cursor so that an edge is highlighted and hold down the Ctrl key. Next, click and drag. The Limit Box rotates about an axis that is parallel to the edge you highlighted. The blue circles indicate the location of the axis about which the Limit Box is rotating around. This is a good way to align the Limit Box with a specific building or feature in the point cloud. Once you rotate the Limit Box out of the default world coordinate system you cannot edit precise endpoints along the x, y, or z axes.

Limit Box Options
Edge Highlighting turns on red highlighting to display which points intersect with the boundary of the Limit Box as you adjust its volume and rotation. Use this option, for example, when the boundaries of the Limit Box are close to a building or other feature.
Available through the Contextual tile menu:

Resetting the Limit Box allows you to quickly reset the box to its original bounds (which includes only visible scans) and is available through the Contextual tile menu:

Set Limit Box by Picking a Point
You can quickly adjust the Limit Box that coincides with the portion of the point cloud that is currently visible. This is a quick way to create a small Limit Box that focuses on a specific feature.
- On the Project tile menu, hover over
 .
. - Click
 and the Limit Box is displayed around the point cloud.
 - Navigate to the portion that you want to isolate.
- In the Contextual tile menu, click
 .
. - On the point cloud, click the center of the area to be contained in the new Limit Box and press Enter.
- The Limit Box now contains only items that are visible in the current view.
- Adjust the Limit Box as needed.