Automotive introduction tutorial
Interested in trying ShotGrid in your studio? Then this exercise is for you.
The following steps will show you how to work with an existing project, and connect your team’s design work that they create every day with the larger design project and process. All of this can happen right out of the box with no customization necessary. Let’s get started.
Goal
Understand how the important work design teams do every day can automatically be connected to projects and schedules from a big picture point of view.
Prerequisites for this exercise
- A ShotGrid site ( shotgridsoftware.com/trial )
- Installation of ShotGrid Desktop (you can install from within your ShotGrid site)
- One ShotGrid Admin user signed in to ShotGrid Desktop
Exercise: Work with an existing project
Familiarize yourself with ShotGrid by using the simple ShotGrid Integrations (no configuration required). For this exercise we will use the Demo: Automotive project that comes with your site.
Make sure you are logged in as Admin or else you will need to be added to the demo project to see it.
Use ShotGrid Desktop with the demo project
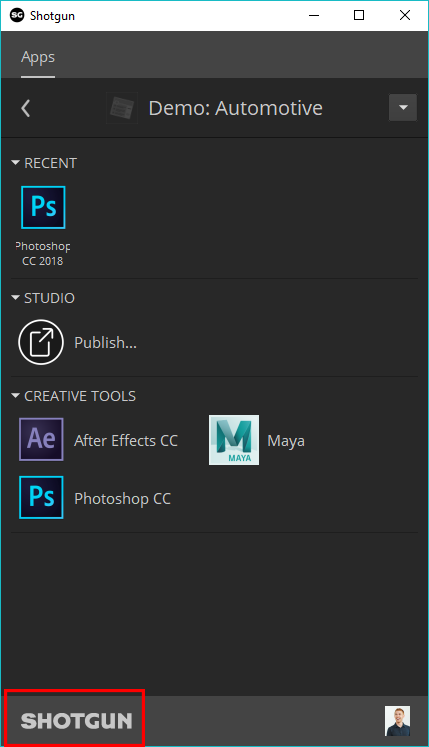
- In ShotGrid Desktop, the default view will show available projects that you can access. Let’s start by selecting the Demo: Automotive project. The view will change and you will see a list of all integrated products currently installed on your computer.
Create a design and save it
- Next, we will begin by creating a basic design and publishing it to ShotGrid. To do this, let’s launch Photoshop from the ShotGrid Desktop.
The integration for any product will not work unless the product is launched via the ShotGrid Desktop App.
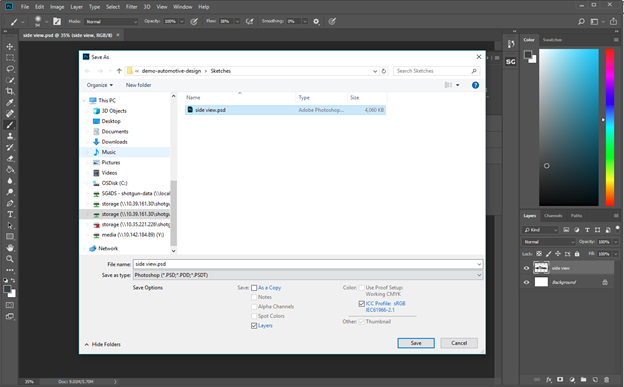
- Create a quick design. Once you are happy with your result, save your file to your usual design storage location (where you save today).
Publish your design
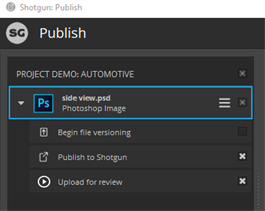
- Once you are ready for a design review or to share your design work with other departments, select the ShotGrid Publish option.
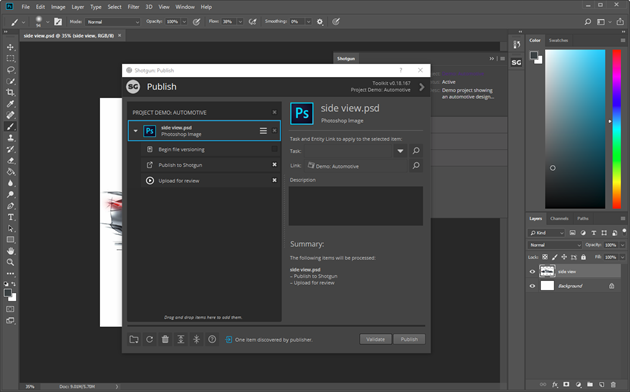
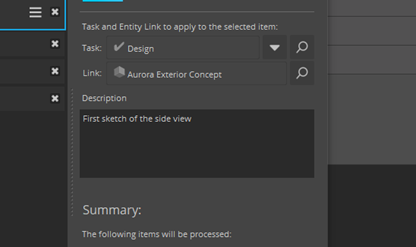
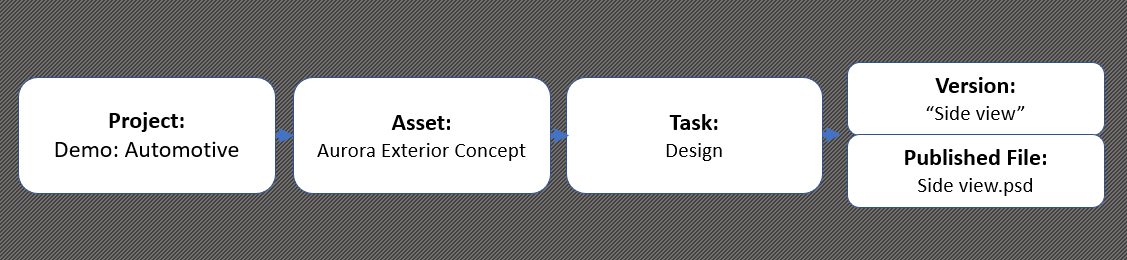
- In the Publish dialog you have the option to Begin File Versioning, which means ShotGrid will look after the basic versioning for you. In ShotGrid we will always be working against a Task, so let’s select a Task to Publish this file to.
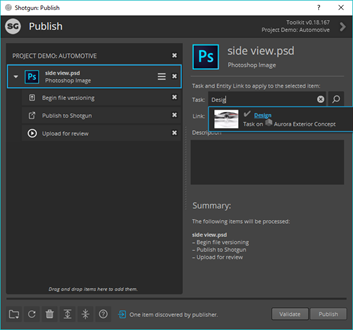
Since we are in Photoshop we can start to type “Design” and select the Design Task that appears. Add a quick description of what you have done in the file and select Publish.

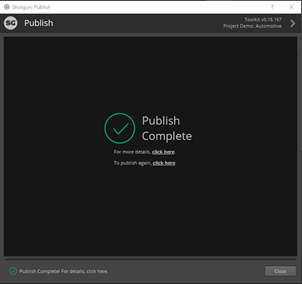
Result
With the Publish complete, you’ve automatically connected the file to the Task, which inherits links and metadata throughout the project. This makes all work completed in ShotGrid easy to search for, find, and use.
6. To see how your design connects to the Project, go back to ShotGrid Desktop and click on the ShotGrid logo. This will take you to the Project Overview page, with your latest work visible in the activity feed.
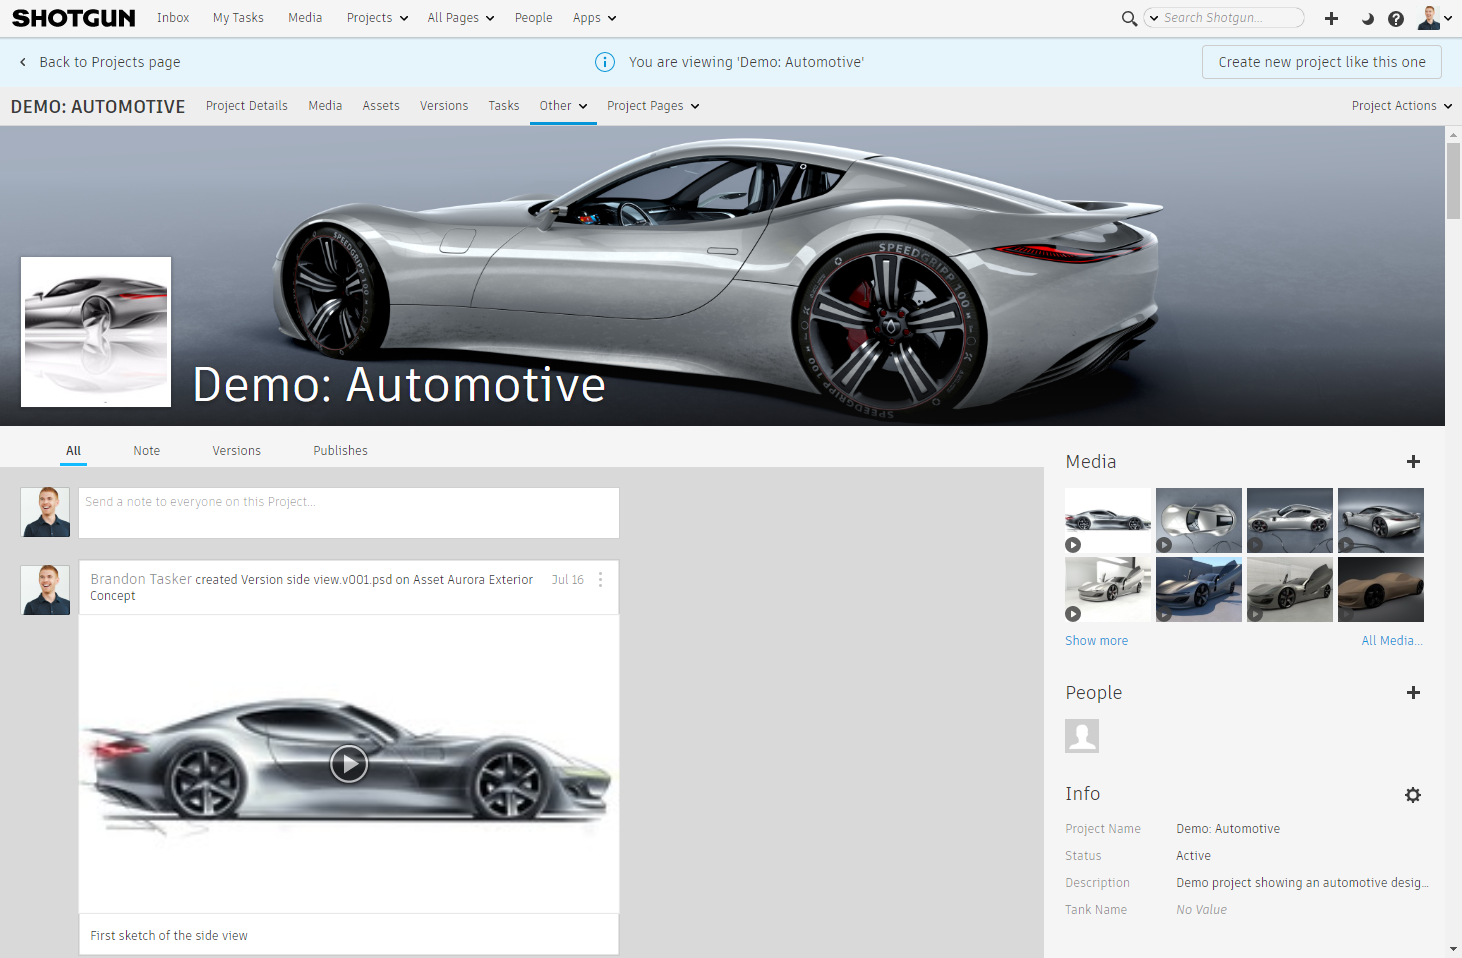
Congrats! You have simulated the basics of how a design/creative user can use ShotGrid on a daily basis.
Bonus Exercises
- Explore the ShotGrid Panel and see how review notes from a manager can be viewed right from your Photoshop session.
- Open Maya or Alias and load your Photoshop Published File using the ShotGrid Load Tool.