Editing text
Jump to Mobile or Windows 10
When editing text in SketchBook, you start with entering the text editing mode. This will enable making edits to the actual text, such as adding a word or fixing the spelling of something. You can also change the font and color.
Each version of SketchBook has slightly different tools for editing text. Some are more robust than others. Don't forget, if you are using a version that lacks some of the text functionality, you can always export your work and import it into a version with the functionality you need.
How to change the transparency of text
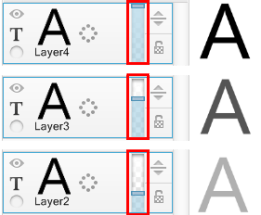
The opacity of a text layer can be changed using the layer’s Opacity slider. Click-drag the opacity slider to change the transparency of a text layer. Since how to do this differs depending on the version you're using, see the sections below.
How to transform text
Once you've created text with the Text tool, you are in Transform mode. Depending on the version of SketchBook you're using, text can be moved, scaled, rotated, flipped, even distorted. Since the tools available differ depending on the version you're using, see the sections below.
Font size determines how much you can scale a font. A font size of 12 cannot be scaled up as much as one set to 24. A font of 12 cannot be scaled down as much as one set to 5. To scale a font any further, return to the Text window and increase/decrease the font size.
Editing text in SketchBook Pro Desktop
Once you've created your text, use the various text editing tools to make it just right.
For Mac users
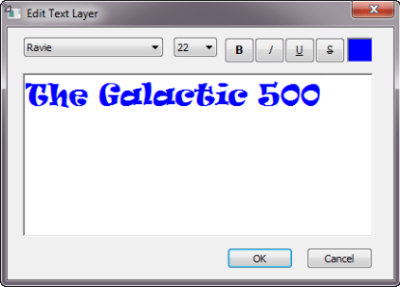
In the toolbar, tap  . The Edit Text Layer window appears.
Use the Font button in the Edit Text Layer window to access the following text editing tools:
- Collections – Manage the list of fonts that appear in Family. See only the fonts you want. Create custom font collections. Use default sets to load only fun fonts or ones with fixed width. Load only your favorite fonts or those recently used.
- Family – Select a font from the list. If a font family is not listed, change the Collections option to All Fonts.
- Typeface – Choose from Condensed, Condensed Italic, Bold Condensed, Bold Condensed Italic typefaces.
- Size – Set the size of the text.
To set text color, click  .
.
Changing the transparency of text
In the Layer Editor, tap-drag the slider (seen below) to increase or decrease layer opacity.
Drag up to decrease opacity, making the layer content solid.
Drag down to increase opacity, making the layer content more transparent.

Transforming text
Tap the OK button in the Edit Text Layer dialog. Your text is centered in the canvas and you're in Transform mode.
Move is set as the default transform. Use the puck to select a different mode.

- When rotating or scaling the text, SketchBook uses the center of the text as the pivot point.
- When scaling text, font size is changed, resulting in no visual quality change.
Rasterizing a text layer
If you are using the free version, once you’ve exited the Edit Text Layer window, your text is automatically rasterized. You cannot return to the Edit Text Layer window to change the text, its color, or size. To change its size or orientation, use the Transform tools.
KEEP IN MIND: Changes to the size will affect the quality of the image, since you are scaling a rasterized image. This is why we recommend you do it once and do it right, if working in the free version.
Exclusive to the subscription version
Since your text it pixels and not rasterized, you can make changes to it without affecting the quality of the image. However, you can change text into paint, using  , so you can manipulate it like a paint layer. Try using Distort.

- In the Layer Editor, tap-hold
 to access the menu’s tools.
 - Select
 (Rasterize Text Layer).
When text is rasterized,  Edit Text can no longer be applied.
Editing an existing text layer
If you want to change the text, be it a spelling mistake, to change the font, font size, make something bold, italicized, or underlined, or to change the color, use the Edit Text Layer window.
In the Layer Editor, in the text layer you want to change, click
 .
.
Flick
 Edit Text. This opens the Edit Text Layer window for further editing.
Editing text in SketchBook Pro Mobile
ALERT: Though the design of your interface may differ depending on the version of SketchBook Pro Mobile you're using, the functionality is the same.
Do all your text edits while in the tool. The text created is a paint layer (like what happens to text in the desktop version, once you apply Rasterize Text Layer.
Do one of the following:
- For tablet users, in the toolbar, tap
 .
. - For handheld device users, in the toolbar, tap
 , then
  .
.
- For tablet users, in the toolbar, tap
Do any of the following:
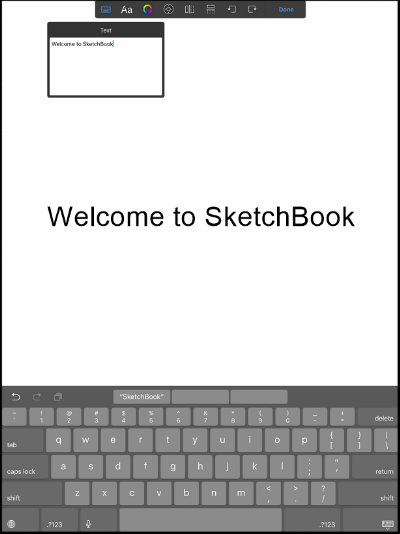
Tap
 then type the text you need.
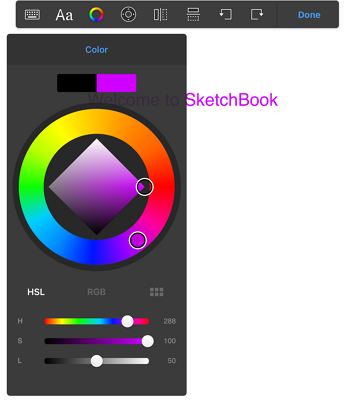
Tap
 to set the color and tap-drag the sliders to change size and opacity.
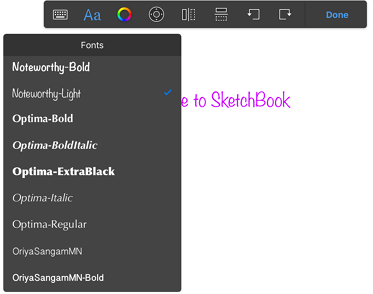
Tap
 to select the font.
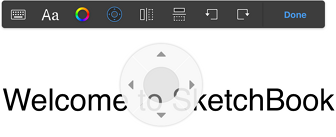
Tap
 to nudge the content one pixel at a time, by tapping an arrow or tap-drag from the middle to move in any direction or on an arrow to move in that direction.
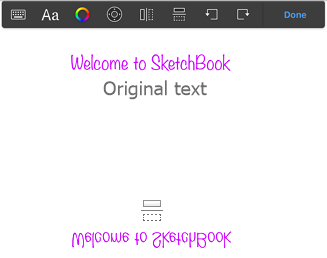
Tap
 to flip the text vertically.
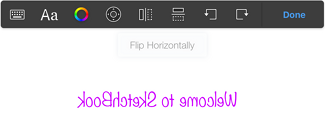
Tap
 to flip the text horizontally.
Tap
 to rotate the text counter-clockwise or
  to rotate the text clockwise.
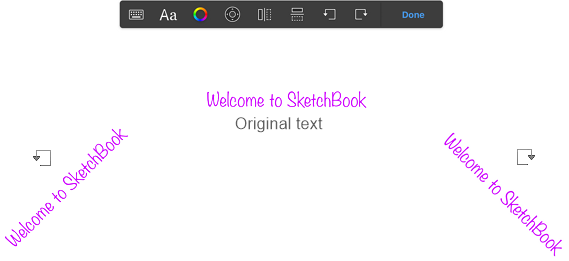
When finished, tap
 to accept the changes or x to decline.
Editing text in SketchBook Pro Windows 10
ALERT: SketchBook Pro Windows 10 doesn't currently have a Text tool