Change object properties and apply 2D/3D transforms
Modify objects placed on the viewport (or actors) by either directly manipulating the transformation values in the Properties panel or by using the Transform Tool in the toolbar. While Transform Tool allows for easy transformation of object by dragging or rotating the selection points, the Properties panel allows you to enter values for precise transformation.
- Select the actor to transform.
- Select the Transform Tool from the Toolbar on the left of the Scaleform Studio Editor.
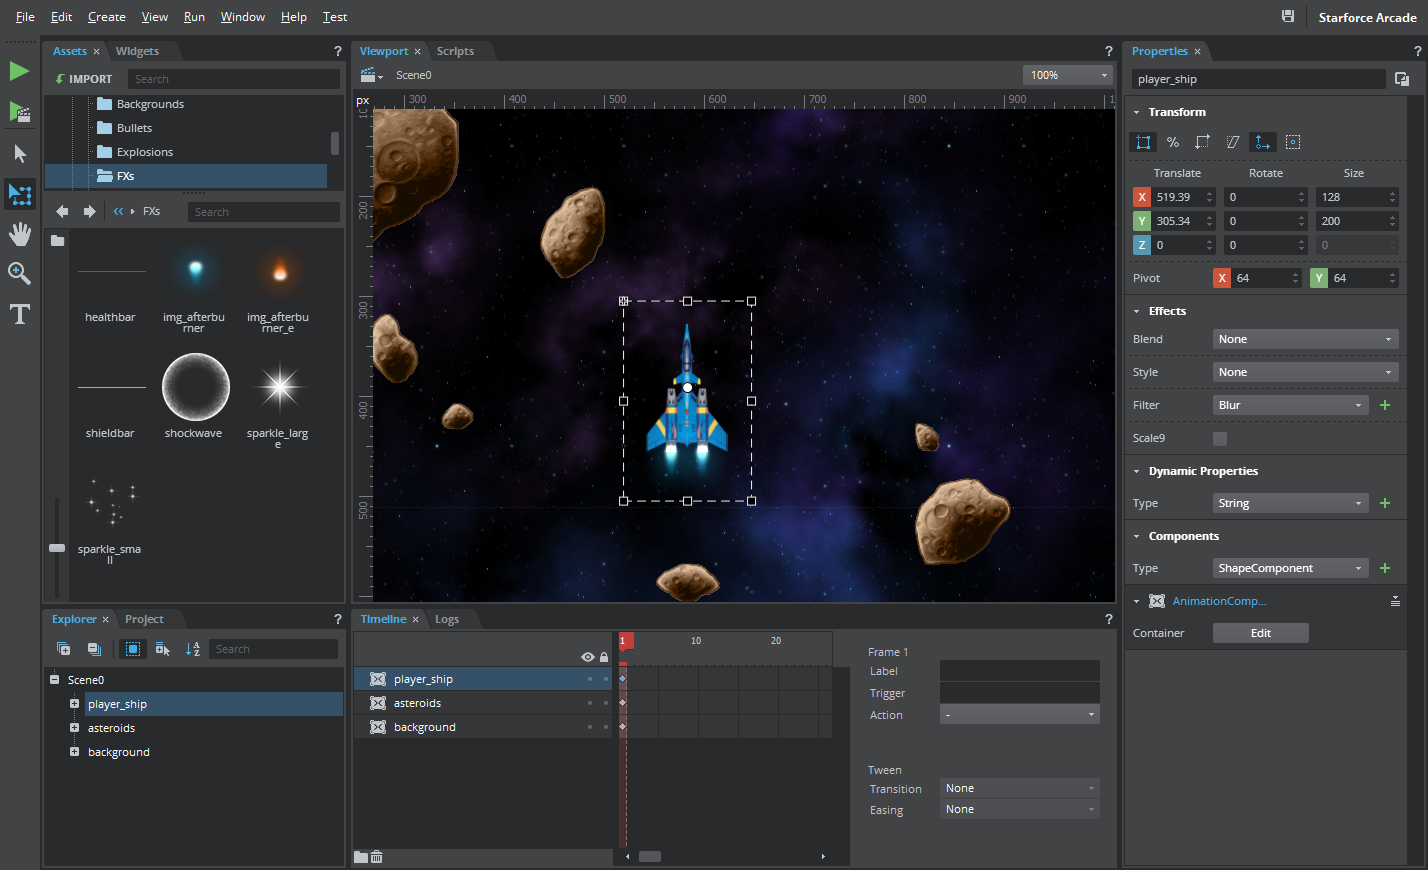
The actor is now enclosed in a box with squares.

- Point the cursor to any of the squares, and when the cursor turns to bidirectional arrow cursor, click on the square and drag the shape to scale it to your desired size.
You can see the modified property values of the actor in the Properties panel.
Point the cursor to any of the corner squares, and when the cursor turns to a curve arrow, hold it and rotate the actor.
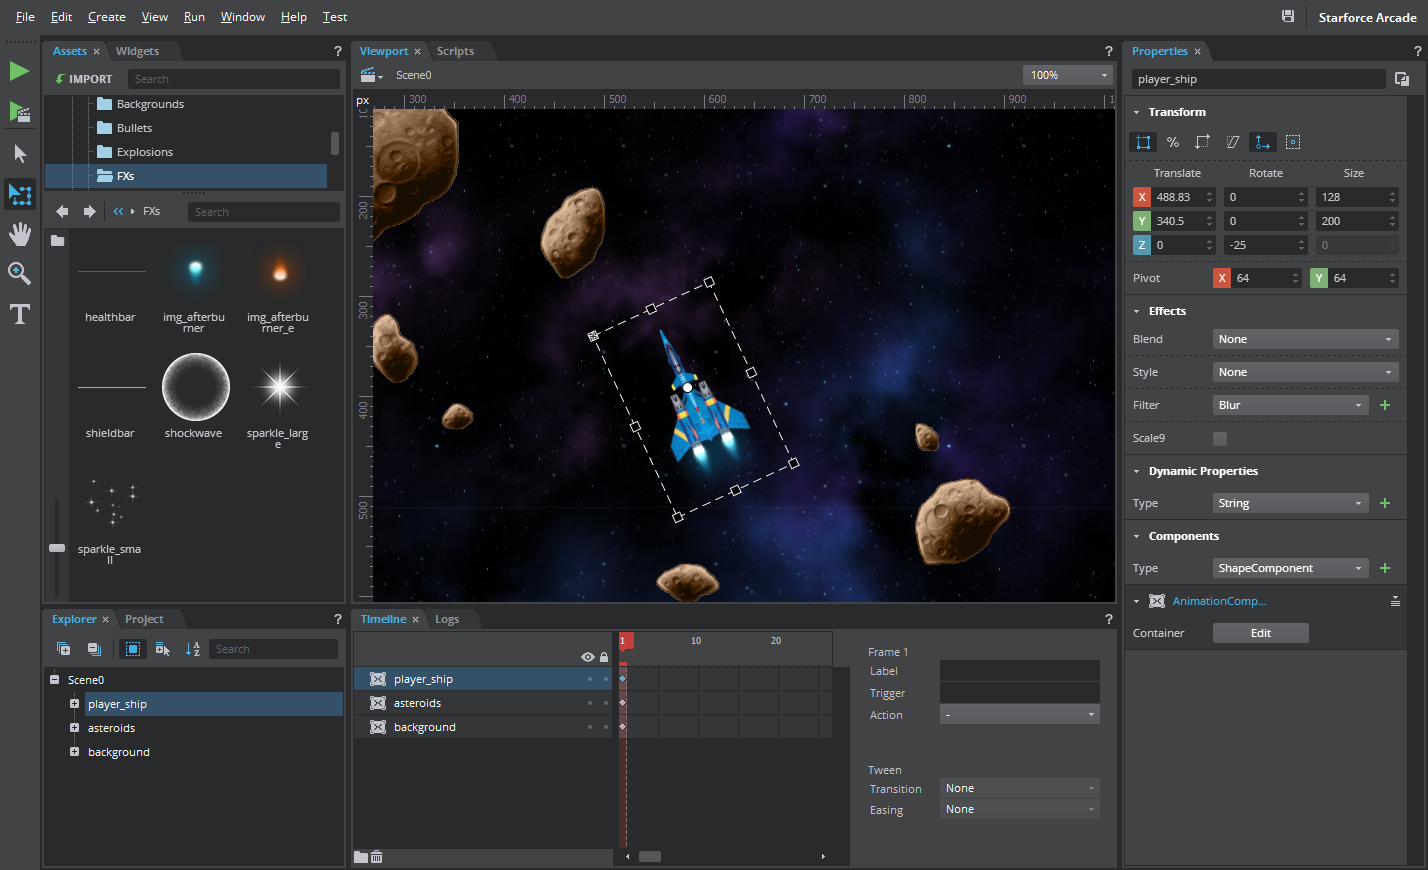
Alternatively, use the Properties Panel to transform the actor. Enter a value for Y in the Rotate field to perform a rotation.
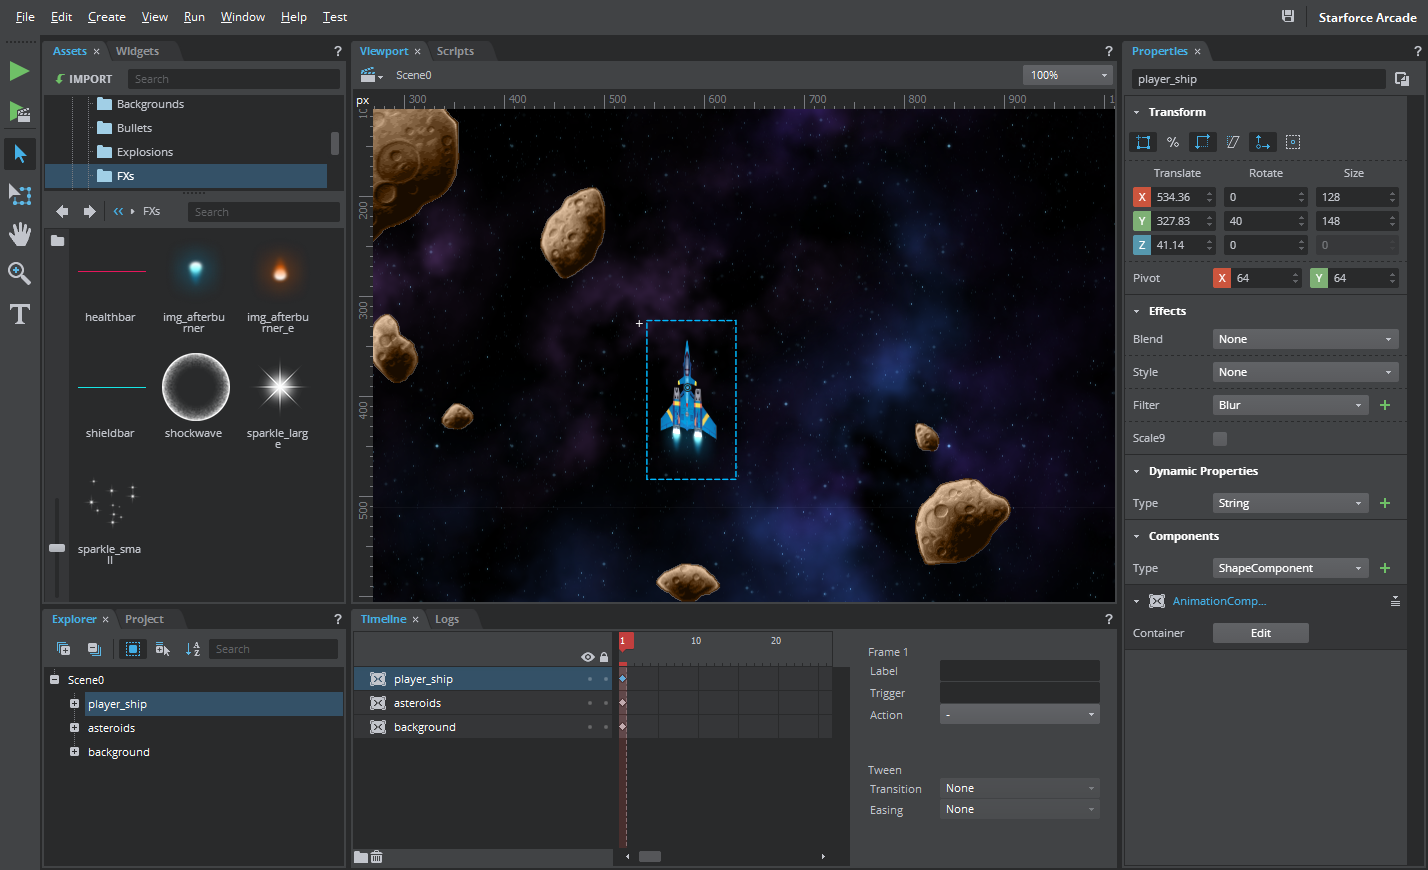
Select the
 icon and enter X or Y value in the Size field in the Properties panel to uniformly scale the actor.
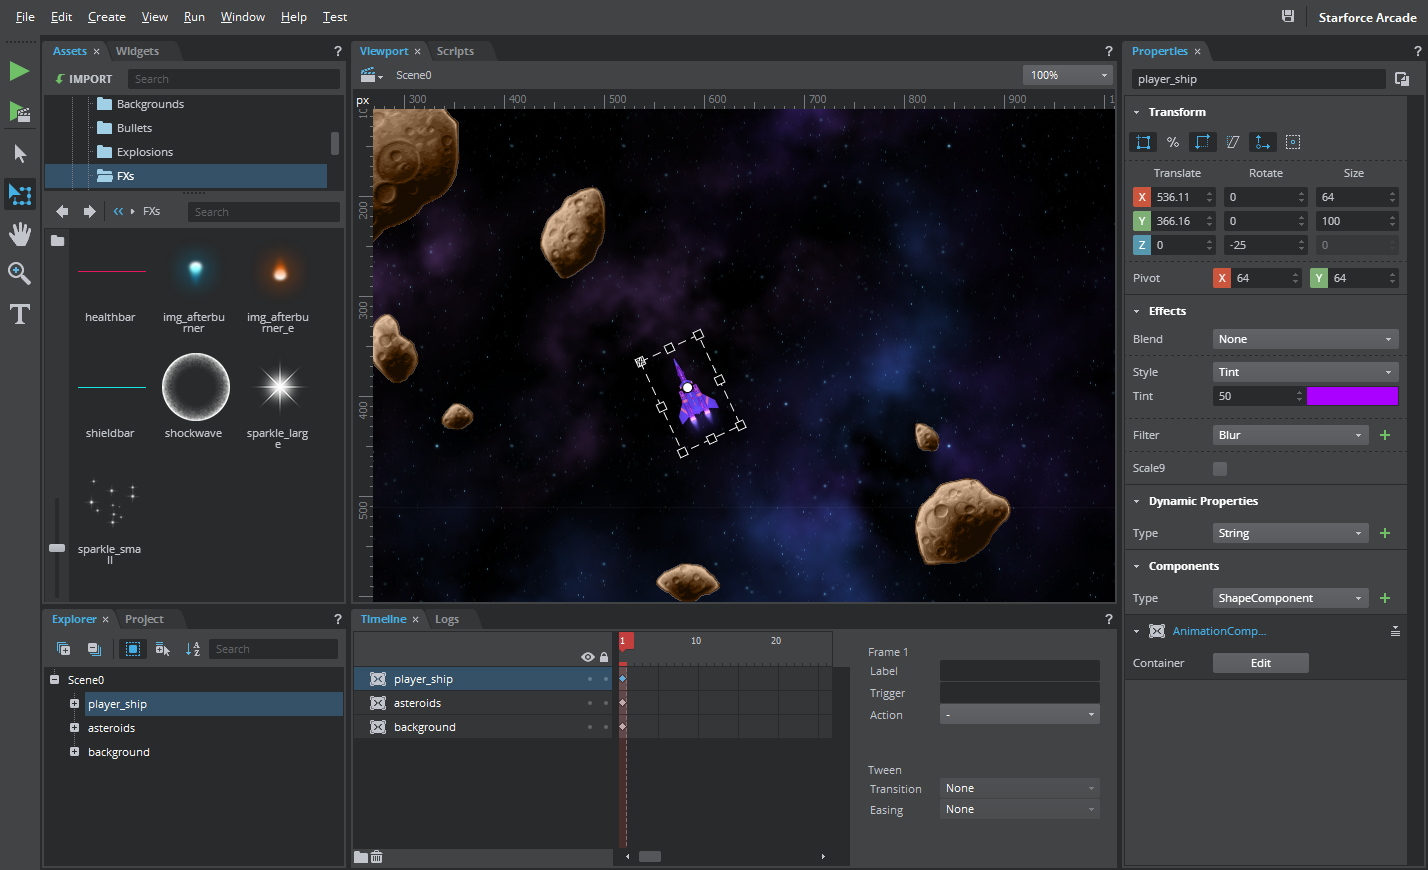
- Select Tint from the dropdown of the Style field in the Effects section of the Properties panel.
- Click the Color field and select a color from the Color Select Tool.
- Enter a value from 0 to 100 in the Tint field.
The actor now has a tint applied to it.