Quick Start Tutorial
This quick start tutorial is designed to walk you through the Scaleform Studio Editor as we demonstrate how to to create a simple animated UI scene for the basic template project provided in Stingray.
Launch Scaleform Studio using Autodesk Games Launcher.
You can also launch Scaleform Studio from Stingray (Window > Scaleform Studio). If using this method, make sure to save your Scaleform Studio project to a new location outside of the Stingray project folder.
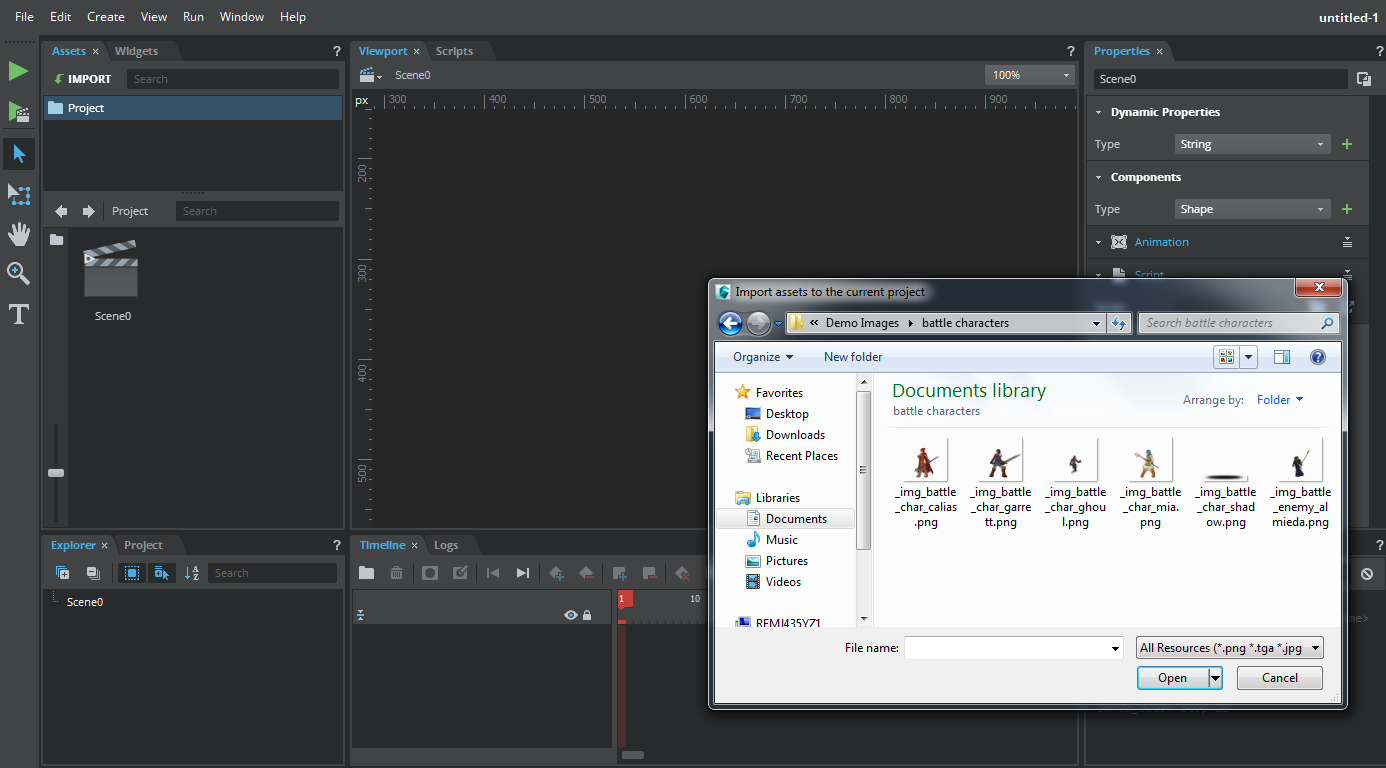
Import assets such as bitmaps or vector graphics into Scaleform Studio using the Assets panel, then save the project.
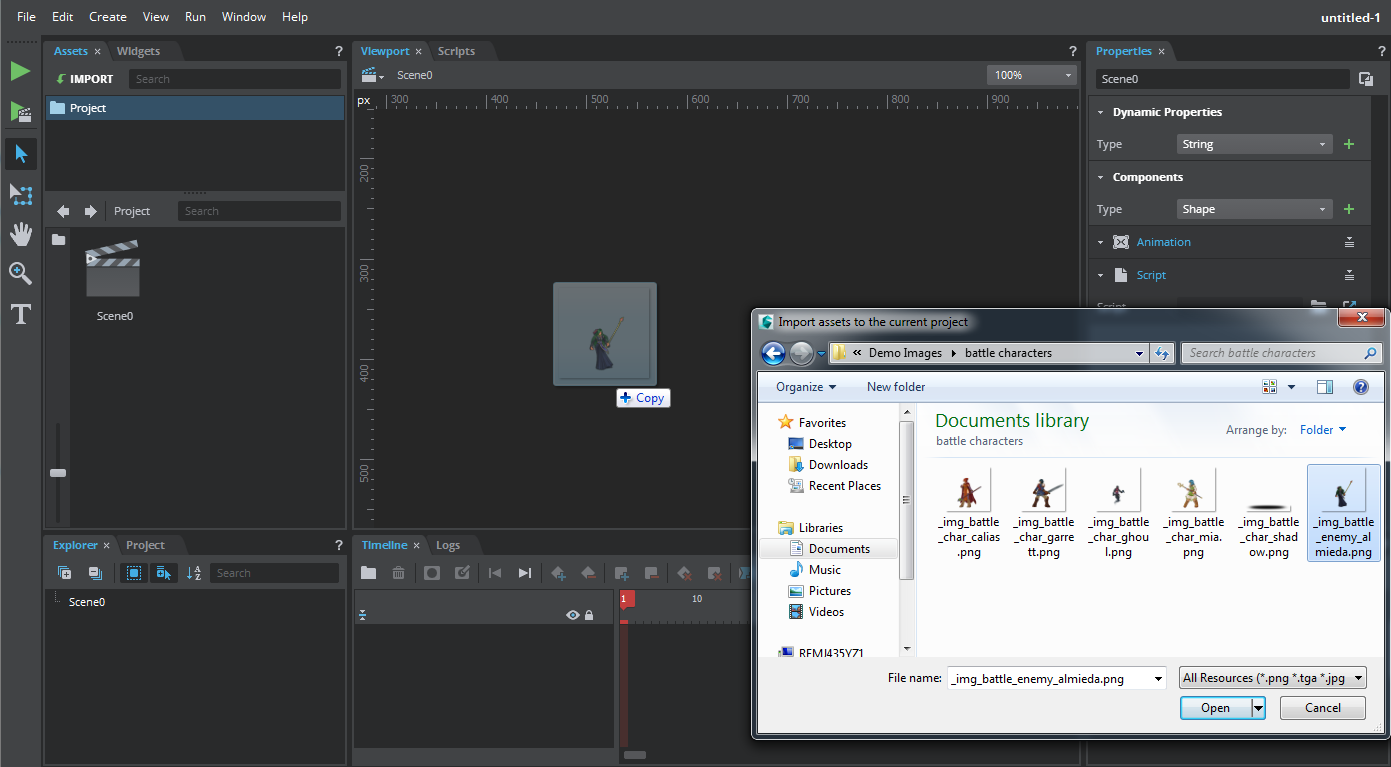
Drag the image asset from the Assets panel and place it on the viewport. By default, the object is placed in Scene 0. This creates an Actor with a bitmap component on the viewport.

You can also drag images from a directory to the viewport. The Assets panel automatically populates the images.
- Rename the image asset (Actor) to a more meaningful name in the Properties panel.
- Modify other properties using the Transform tool or the Properties panel to position, scale, or rotate the object.
- You can also change the color of the Actor using Effects in the Properties panel.
- Animate the actor using the Timeline panel. Select the actor in the viewport panel to view its timeline.
- The Actor appears as a layer on the timeline with the scrubber at frame 1.
- View and select the timeline controls at the top of the Timeline panel or right-click at any position in the timeline bar and select a frame action.
With the timeline controls, try the following:
Place the scrubber at the desired playhead position, right-click and select Insert Frames or click the Insert Frame icon
 . You can also use press A to insert a new frame.
Right-click and select Insert KeyFrames or press the Insert Key frame icon
 to insert a key frame.
Select the Actor and make a change (for example, change its position, set an animation tween using the frame controls in the Timeline panel, or make it appear brighter, or tinted).
To view the transformations set, drag the red scrubber from one key frame to another.
As an example, try the following:
- Place scrubber at frame 30 on the timeline and click Insert Frame icon to insert a frame.
- Click Insert Key Frame to insert a key frame at 30.
- Move the Actor to a different place on the viewport.
On frame 15, click Add Tween icon
 , set the tweening function to 'Linear' and select one of the easing type.
Now, if you move the timeline playhead from frame 1 to frame 30, you get a smooth translation interpolation.
Select frame 30, and in Frame panel enter a frame command Stop to tell the animation to stop playing when it reaches frame 30. (This step is optional. Looping is the default behavior.)

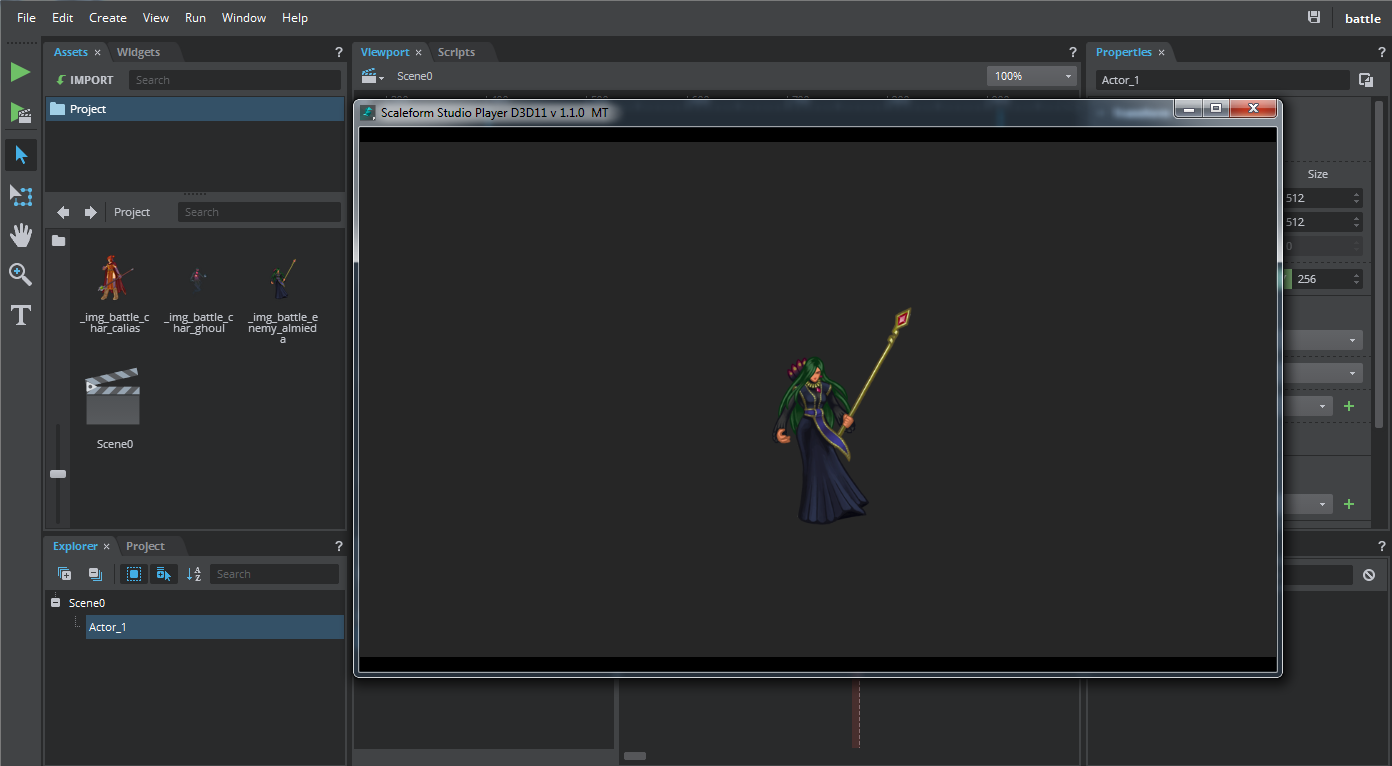
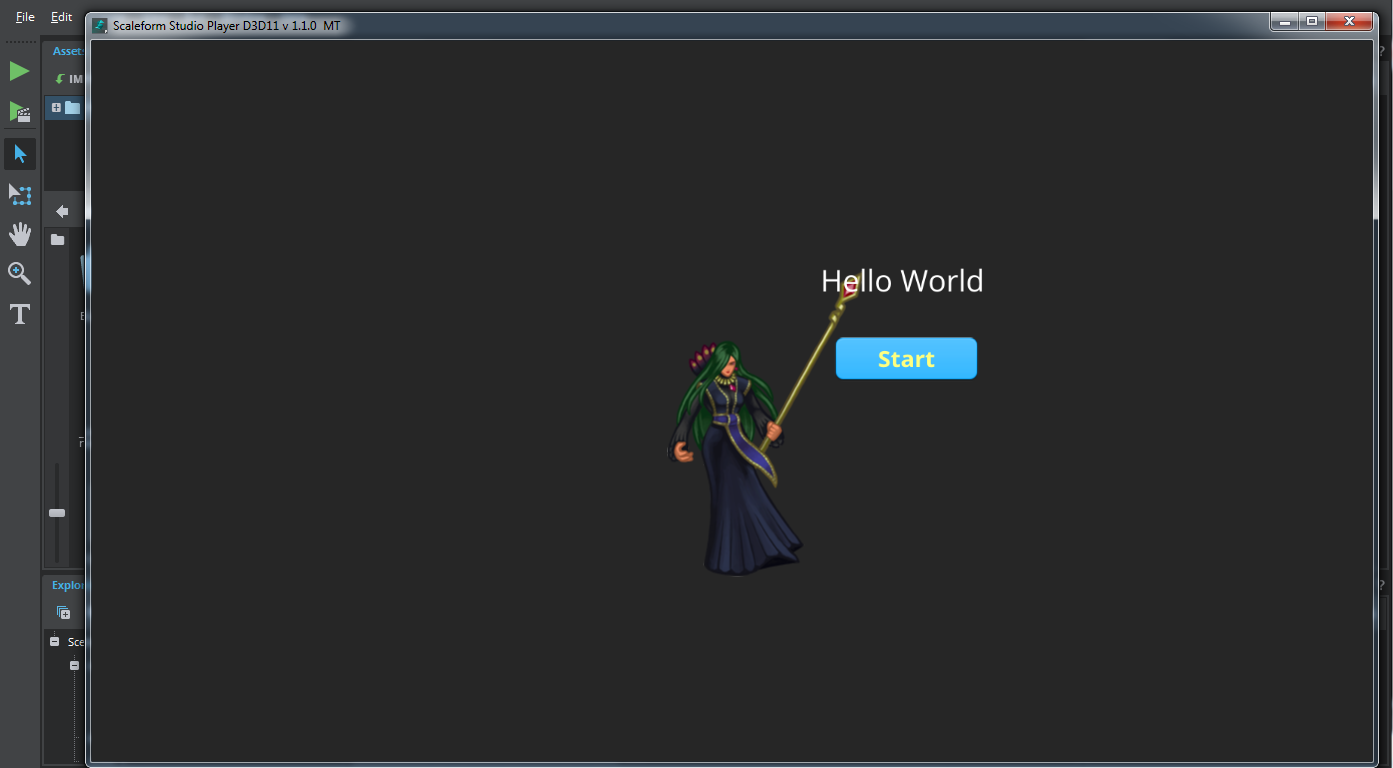
- Save your project (Ctrl S) and run your project using the Player tab.
You can also press Ctrl + Return to launch the Scaleform Studio Player and see the animation playing.
Note: You can enable the editor to remotely control the player using the Player > Player Option. This lets you play the project without saving and all messages are sent to the Logs panel.
- Click ‘Scene0’ in the upper left of the viewport to go back to the top level of your scene.
Select your image Actor.
Notice that you can navigate the scene hierarchy using the breadcrumb labels at the upper left of the viewport.
You can add scripts and event handlers to assets and edit them using the Scripts panel.
- Select the image Actor.
- In the Properties panel, select Script in the Components section and click + icon to add a script component to the image Actor. Open the Scripts panel window and click the 'New' icon in the upper left.
Add the following sample Lua code in the Scripts panel. This script toggles the Actor's transparency when the mouse is over it.
--This script is executed on object creation
local thisActor = ...

--Create mouse over Event Handler
local mouseListener = scaleform.EventListener.create(function(e)
--Toggle alpha on mouse over
    if e.EventId == MouseOver then
        scaleform.Actor.set_alpha_scale(thisActor, .5);
    end
end);

local mouseOutListener = scaleform.EventListener.create(function(e)
    if e.EventId == MouseOut then
        scaleform.Actor.set_alpha_scale(thisActor, 1.0);
    end
end
);
-- Add MouseOver/MouseOut event handler
scaleform.Actor.add_event_listener(thisActor, scaleform.EventTypes.MouseOver, mouseListener);
scaleform.Actor.add_event_listener(thisActor, scaleform.EventTypes.MouseOut, mouseOutListener);
- Click the Save icon in the Scripts panel to save the Lua file.
- In the Properties panel, set this file as the script for the script component.
Save and run the project to see the result.

You can add text to the scene using the Text tool provided in the Tool bar on the left of the Scaleform Studio Editor.
- Navigate to the top level by clicking 'Scene0' at the upper left of the viewport.
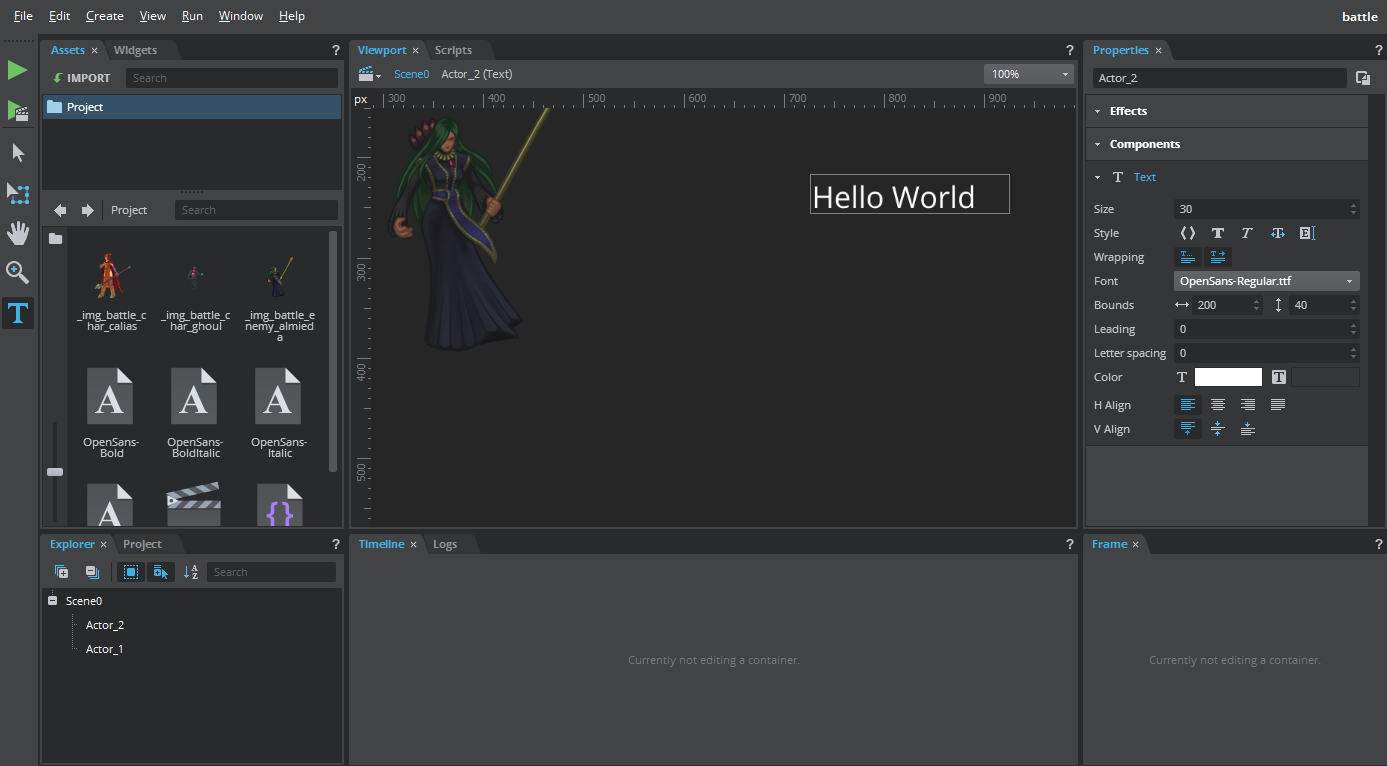
- Select the Text Tool and click the viewport where you want to place the text. This creates a text component. The word 'Text' appears on the viewport, and the Properties panel displays text properties including size, font, color, background and so on.
Try the following:
- If the Text tool is active, click on the text to enter text edit mode. If the Text tool is not active, double-click the text to enter the edit mode.
- Type 'Hello World' in the viewport and in the Properties panel, change the 'Width' to 200 so it's not cut off.
- Change the Font from 'Normal' (system font) to 'OpenSans-Regular.ttf' which is a provided font so it's guaranteed to work in Stingray.
- Click anywhere outside the text box to exit out of the text edit mode.
- You can also edit the text and do steps 2-3 using the Properties panel without entering the text edit mode.
Save your project.
Use the Widgets panel to add and customize prebuilt user interface elements such as buttons, text input, sliders in your project.
The Widgets panel provides a set of readymade, commonly used UI controls (widgets) that work out of the box. These controls can be customized by the user to match the look and operation required by their application.
Here is an example of how to use the Widgets panel.
- Select the Button widget in the Widgets panel.
- Enter a name and size of the button in the respective fields in the Options section of the Widgets panel.
- Drag the button to a desired position on the viewport.
Try the following:
- Set the name as menuButton and size as 150 x 50 of the button.
Drag and place the button on the viewport.
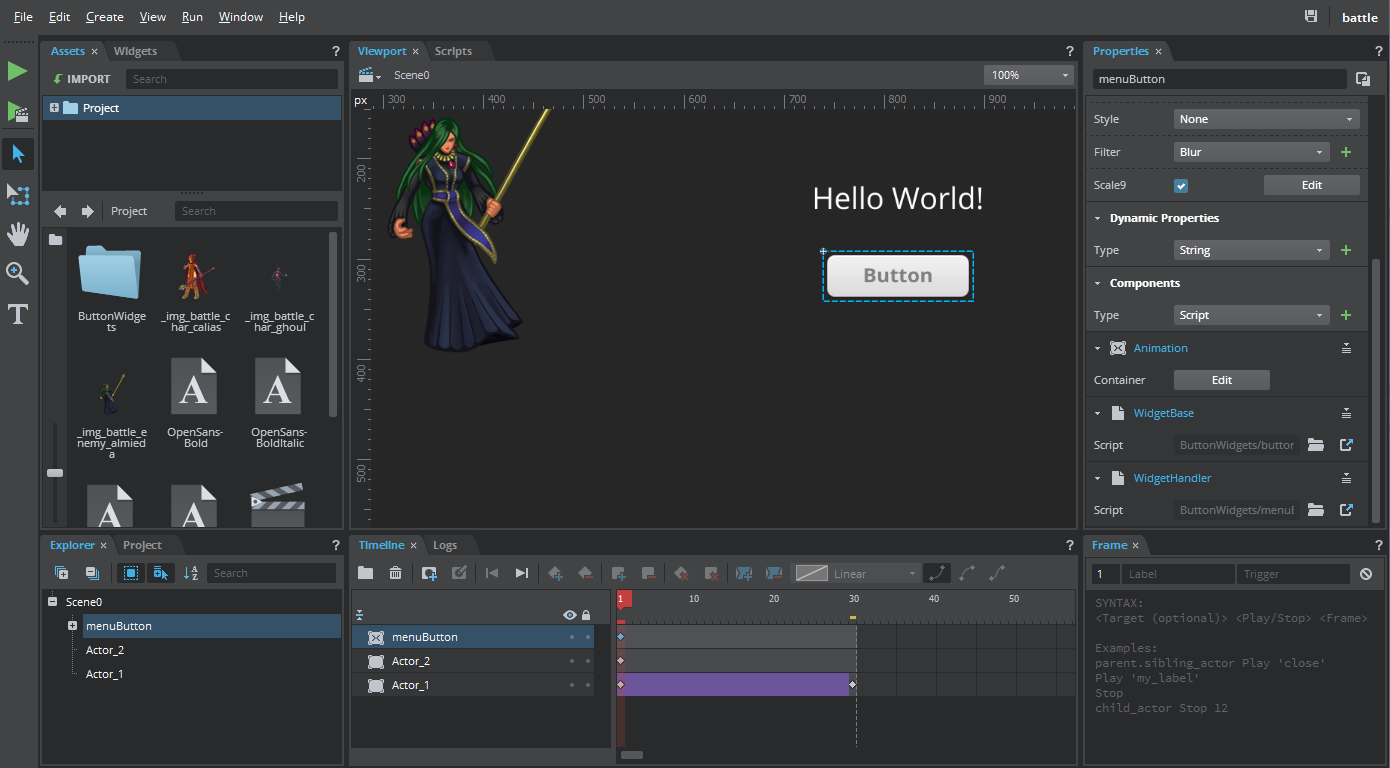
- Now to add animation or to further customize the button, switch to the Properties panel.
Double-click the button on the viewport to view its timeline layers.
On the timeline, you’ll find the button implemented as two layers, one for the label and other for background. The button has four states, normal, over, press and disabled set on the timeline.
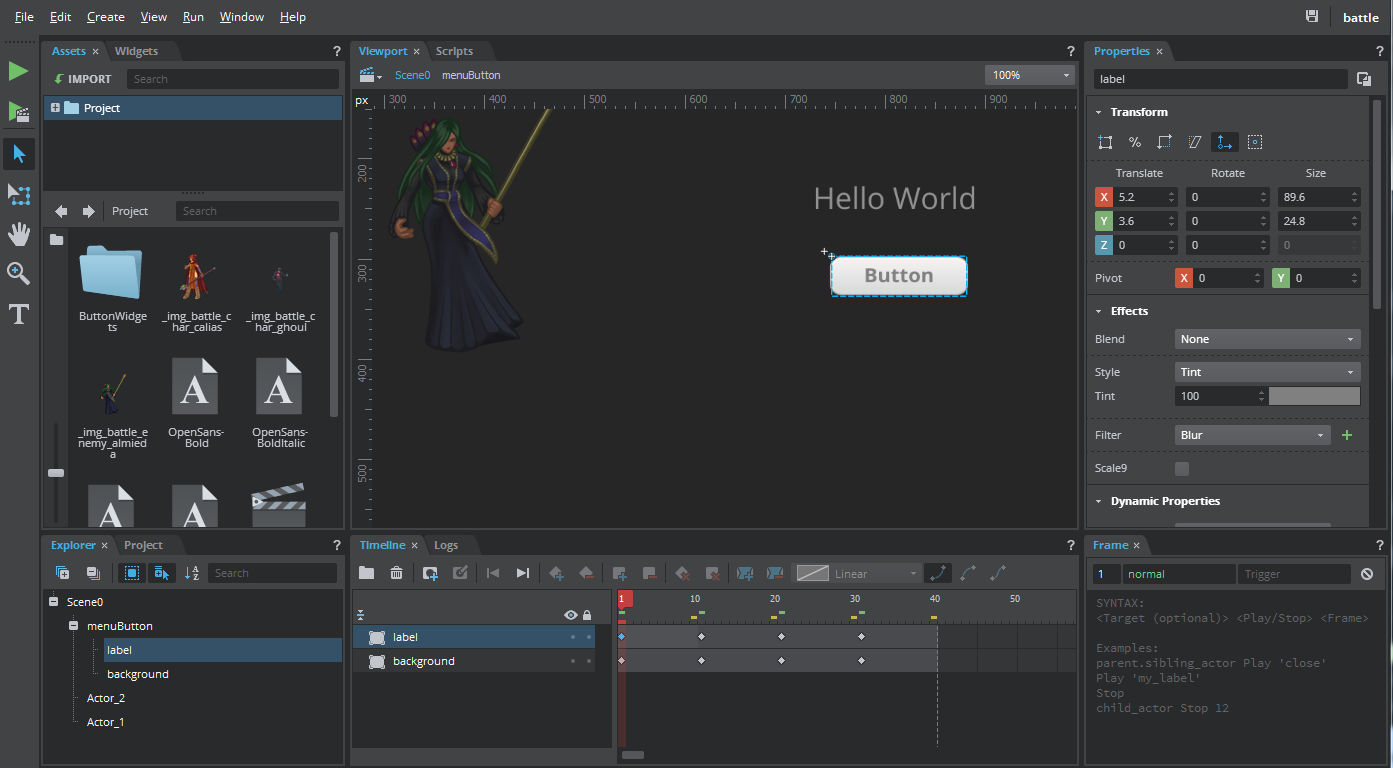
- Select the label layer on the timeline and modify the text by changing the properties of the text component in the Properties panel. Also set effects and blend modes by choosing the available options in the Properties panel.
Select the background layer on the timeline to add effects to change the background of the button on any of its state change.
Try the following:
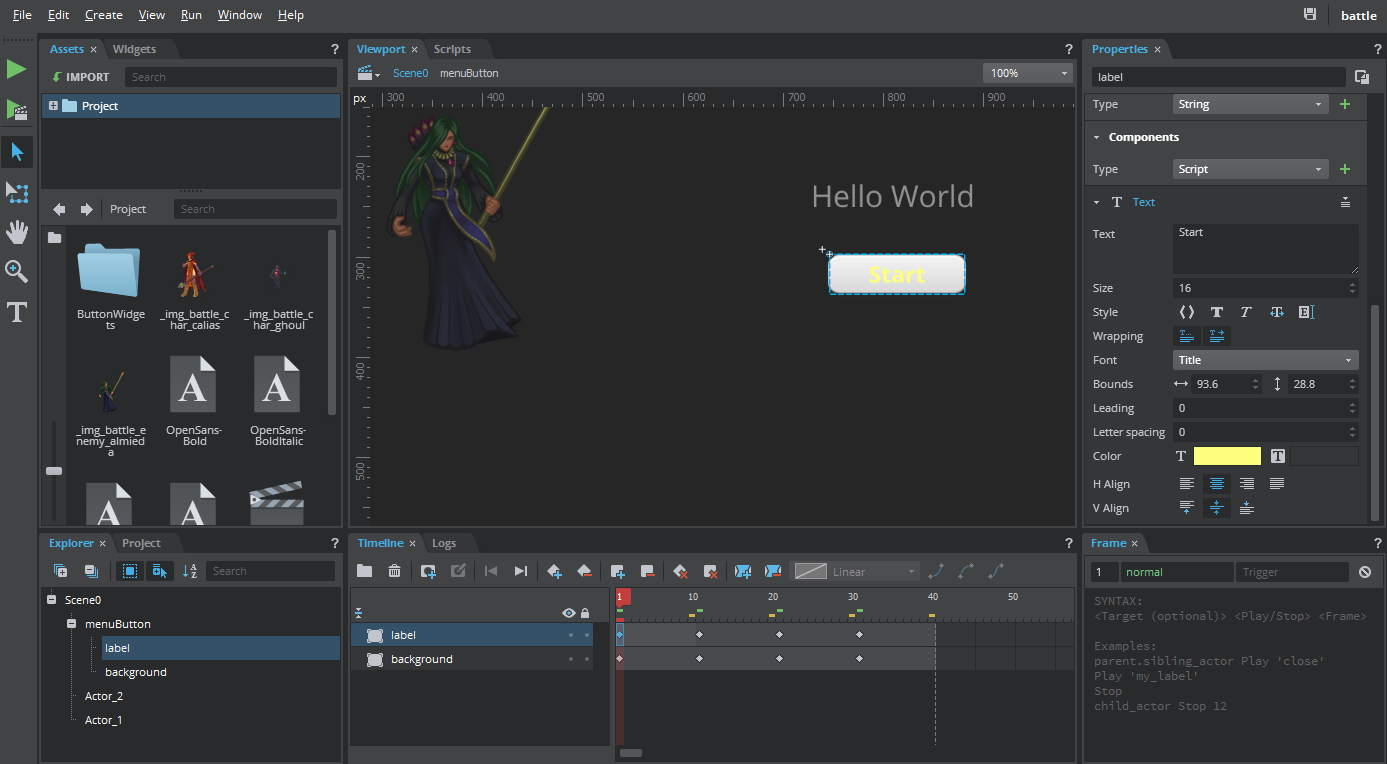
- Select the label layer, place the scrubber on frame 1 and set the text of the button as 'Start' in the Text component section.
- Set the size of the text to 16 in the Size field and align the text to center by selecting 'Center' from the alignment options.
On frame 1, set Effects Style to None for the text and change the font color by selecting a different color from the Color field. Repeat this for the other states to change the font color.
Select the background layer, place the scrubber on frame 1, and click the Open Folder icon in the Bitmap component section to select a different image as the background of the button. Adjust the size of the background image to the size of the button using the Size field in the Transform section.
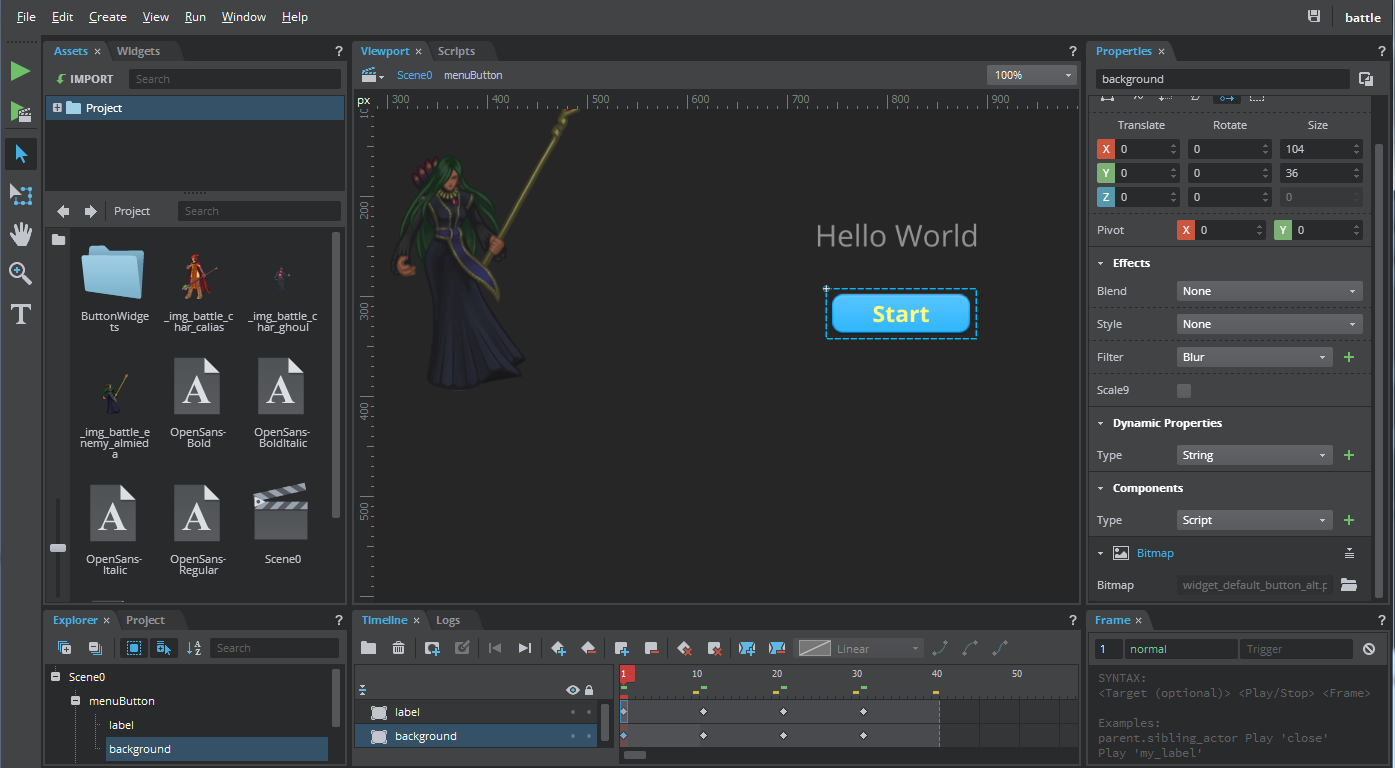
Move to frame 11, which is the hover state and select a different color and tint in the Effects section of the properties panel. The button will display the new colors from frame 11 to 20 and will have the default color for rest of the states.
Save and run the project to view the button in the player. The background of the button changes when you hover over the button and when the button is pressed, a print message is displayed in the console window next to the player if you are using a stand alone player. If the player is controlled by the editor, the output is displayed in the Logs panel.
- You can also modify the scripts attached to the button. Double click the button handler script file in the Assets panel to open it in the Scripts panel and add custom code to modify the user callbacks.
- To create another button, copy and paste the originally created button and modify its properties.
Or use the Widgets Panel to select the Button widget and give a different name in the Name field, add desired size and then double-click to create a new button at position(0,0) on the viewport. You can also drag and drop the button to a desired position on the viewport.
- In Stingray, create a new project using the basic template.
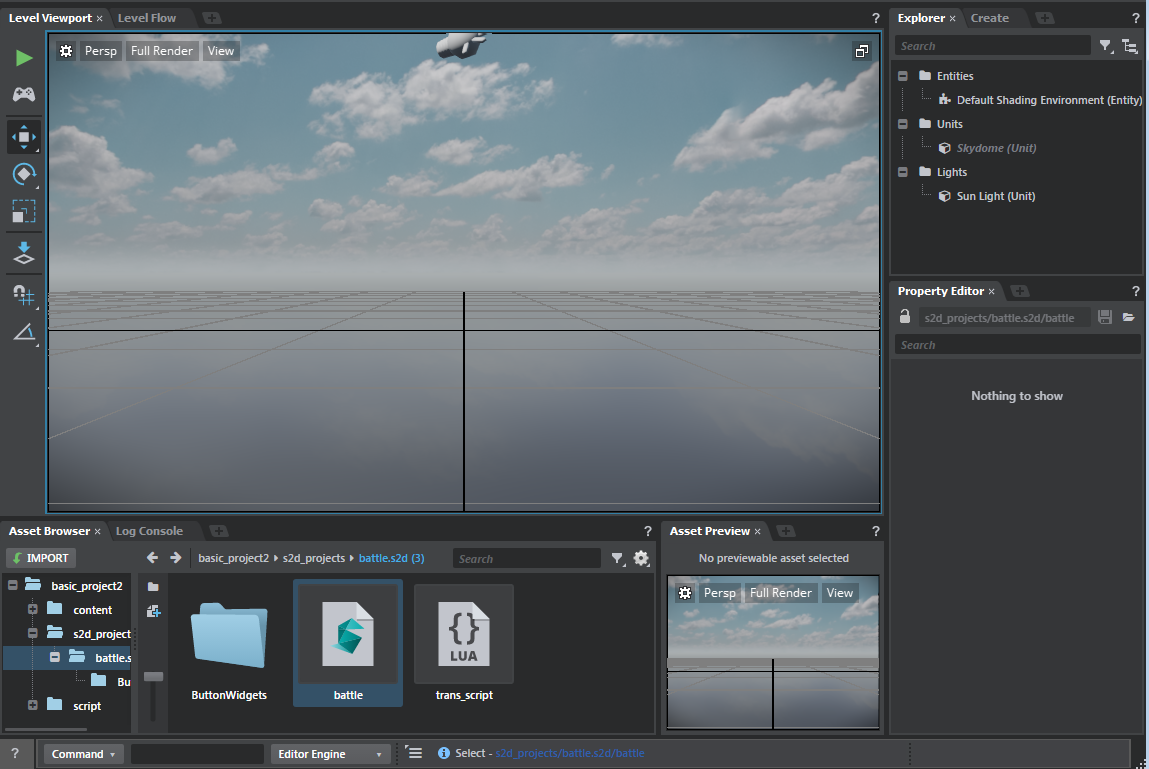
- To import the Scaleform Studio project into your Stingray game project, click IMPORT in the Asset Browser.
- Navigate to select your .s2dproj file created in Scaleform Studio and click Open.
This adds the Scaleform Studio project under a folder named s2d_projects in Stingray.
By default, the basic template provides a basic front end menu. To display your Scaleform Studio UI content instead, you’ll edit a Lua script file.
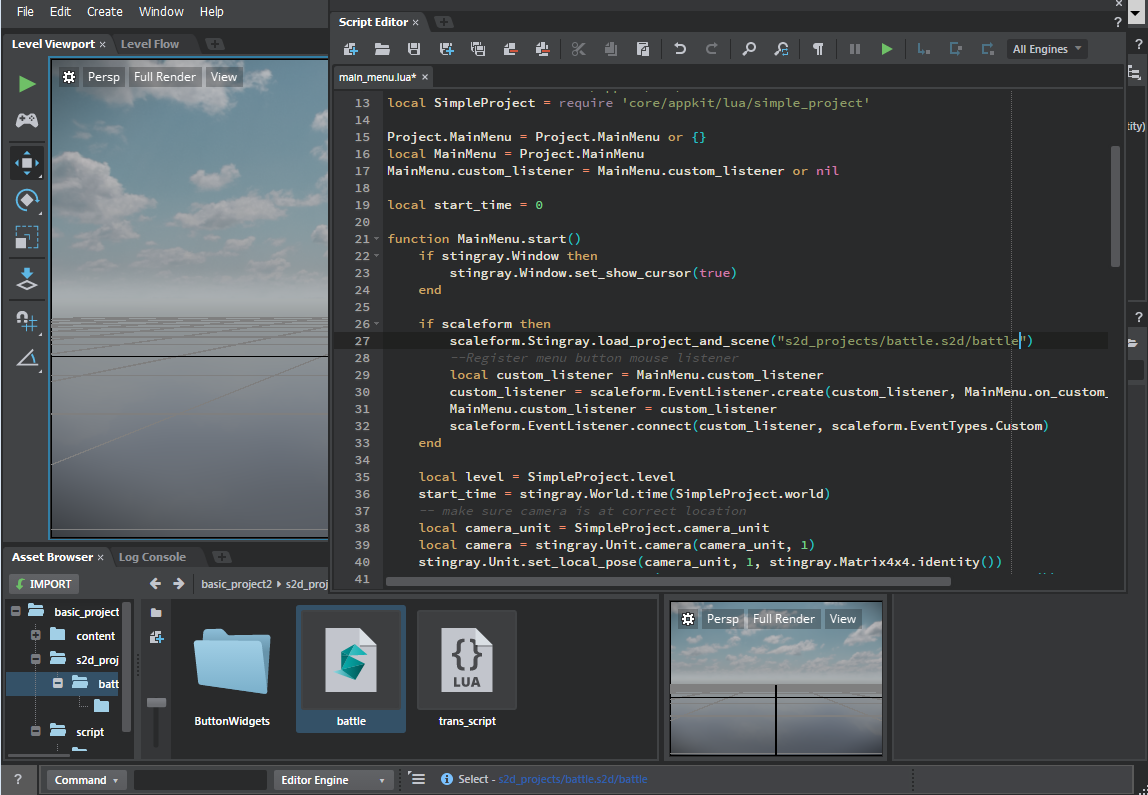
- In the script/lua folder, double-click the main_menu.lua script file to open and edit the file in the Script Editor.
- Replace an instance in the main_menu file where Scaleform Studio project is specified ("content/ui/simple_menu.s2d/simple_menu") with the name of your Scaleform Studio project and path to it (for example: "s2d_projects/xyz.s2d/xyz").
Click the Save icon in the Script Editor to save the main_menu file.
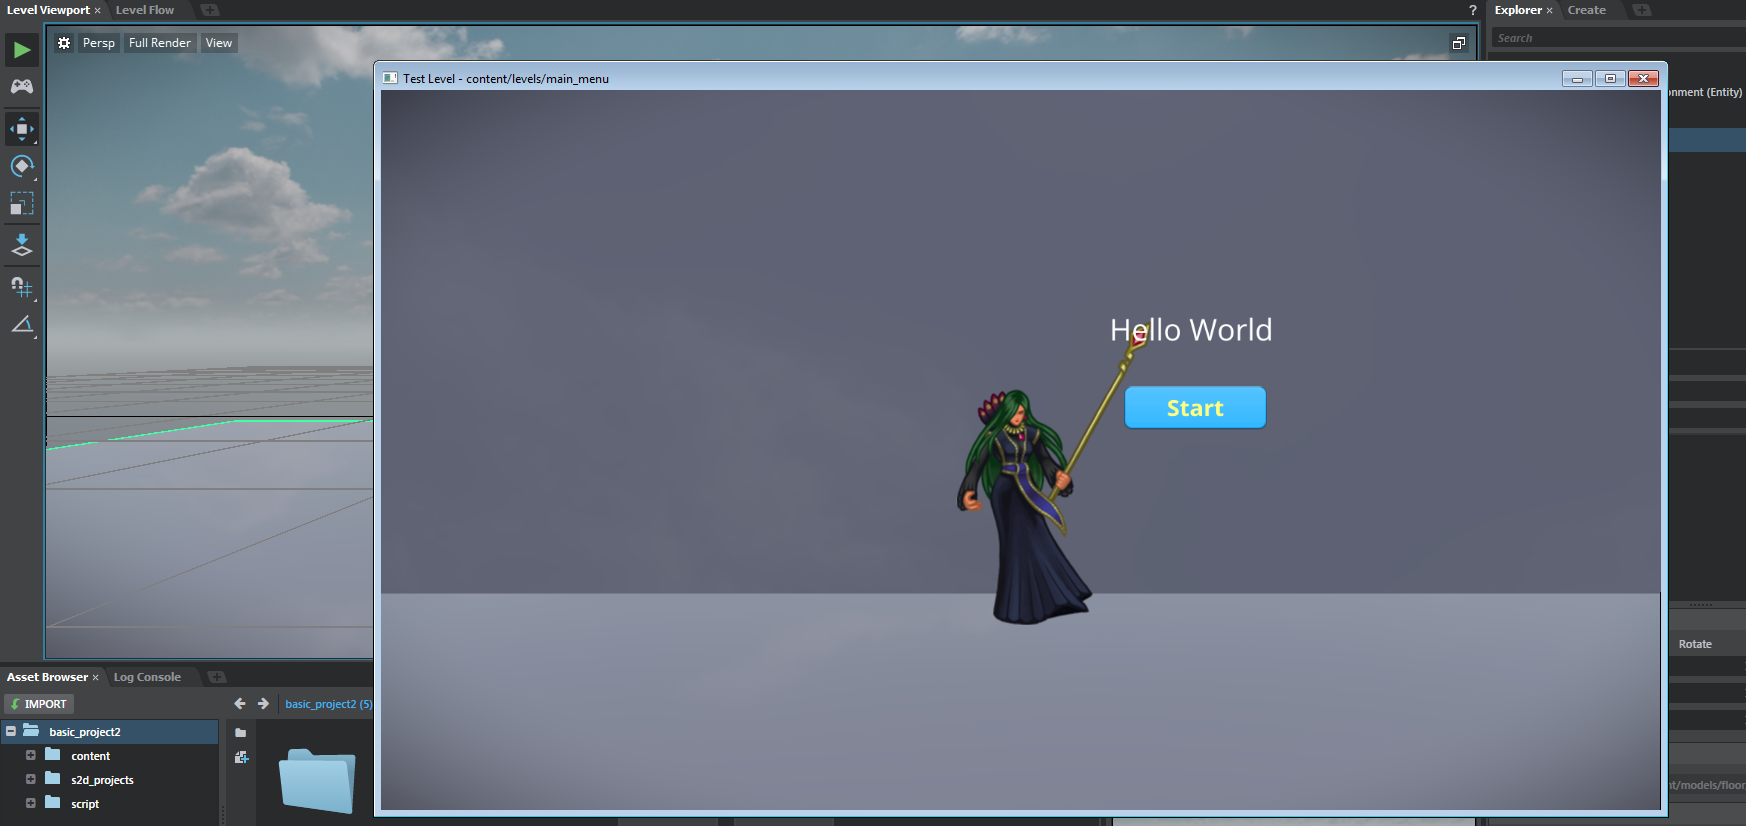
Load the main_menu level (Ctrl+O or File >Open Level).
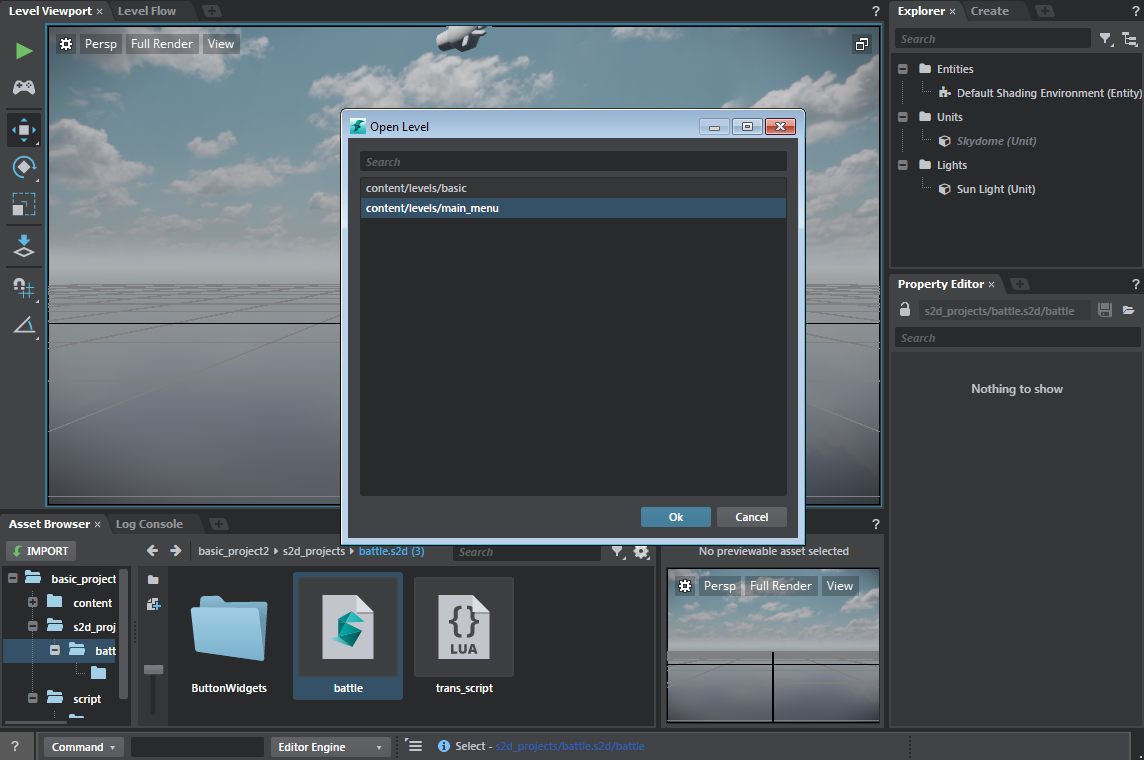
Test the project by clicking the Play button in the Level Viewport toolbar.
To edit your Scaleform Studio content again, navigate to the .s2dproj file under s2d_projects in the Stingray Asset Browser and double-click it to launch it in the Scaleform Studio Editor.