Working with Rollers
Create a roller for your machine and, if appropriate, create segments for the roller.
Create a Roller
-
In Inventor, create a part or assembly document.
Tip: A part document might be adequate, but if you plan on creating a complex roller or adding geometry to the roller, you should create an assembly document. -
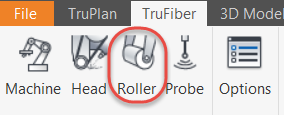
Go to the TruFiber tab.
-
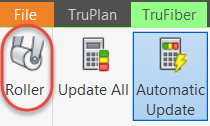
Click Roller on the TruFiber ribbon.

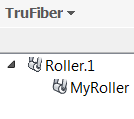
Inventor switches to the TruFiber browser, and a roller node is added to it.

-
Click Roller on the TruFiber ribbon.

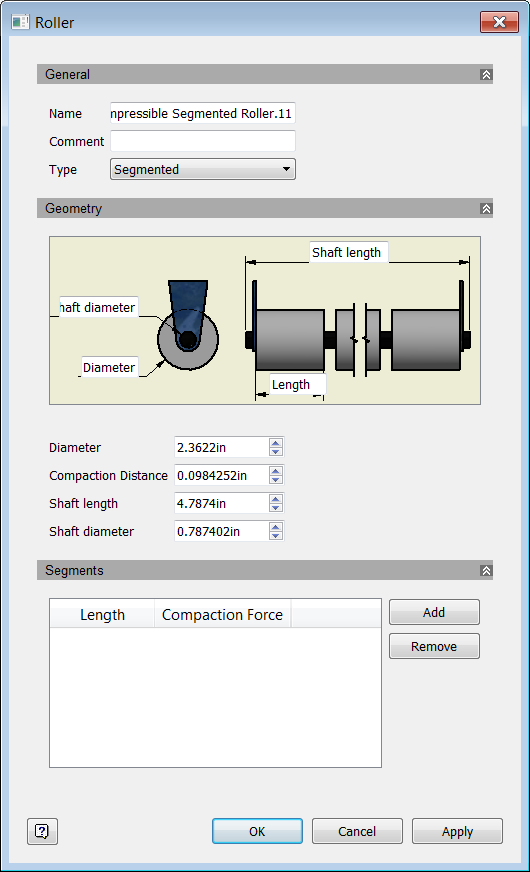
The Roller dialog box opens.
-
Enter information about the roller, including name, type, comments, parameters, segment information (if applicable) and click OK.
A roller is created under the Roller node in the TruFiber browser.

-
Save the file.
Create Roller Segments
Some rollers support segments. Segments can make it easier for a machine to conform to complex surfaces. Each segment can have its own properties.
-
In the Roller dialog box, select a type of roller that supports segments; for example, Segmented.

-
Click Add under Segments.
-
Enter segment parameters in the dialog box that opens.
Make sure that parameters you enter do not conflict with others; for example, for a segmented roller, the combined length of all segments cannot exceed the shaft length.
Once the roller is created, you can add collision points to it so that TruFiber can detect potential collisions when working with a toolpath.