Configure Takeoff Settings
You can configure Preconstruction project settings in Takeoff under Settings at the upper right of the page.
Under Project, you’ll find settings for Measurement, Classification systems, and Currency for your Preconstruction project.
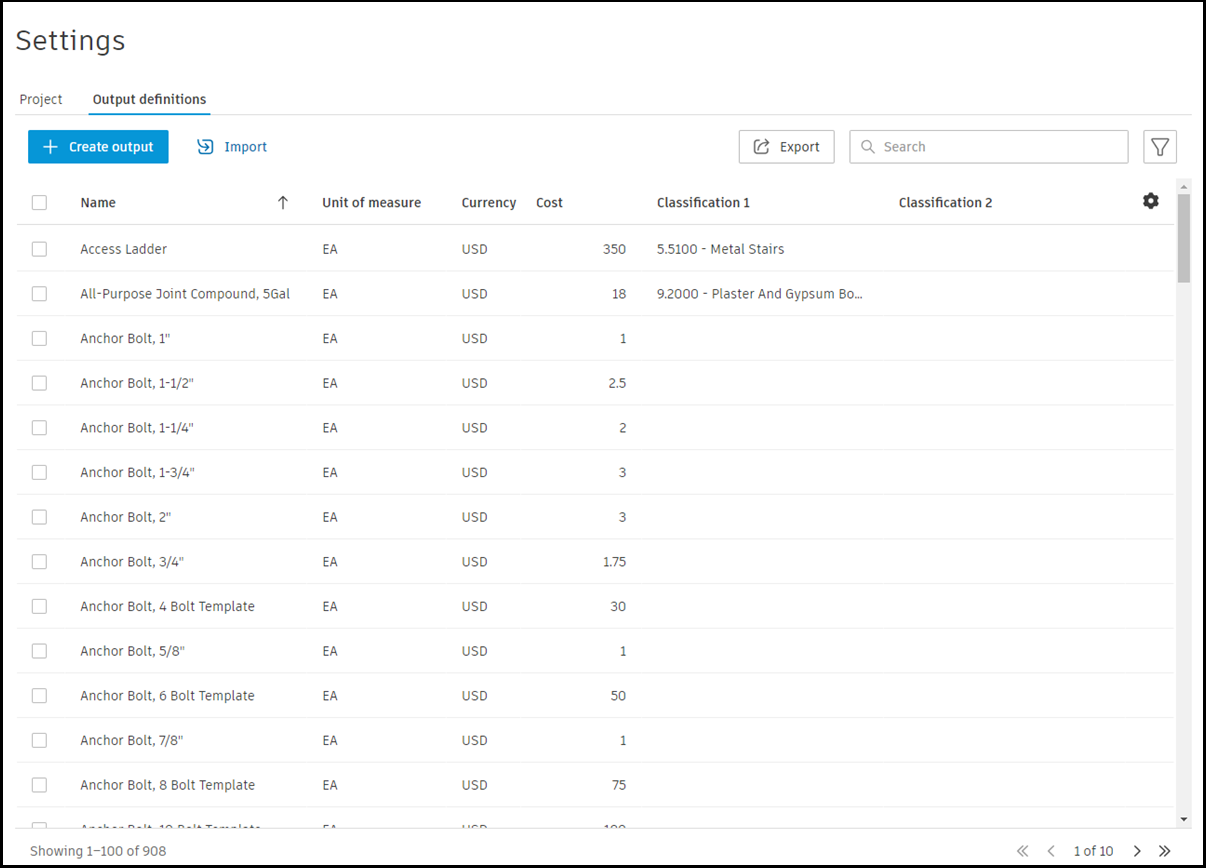
In the Output definitions tab, you can create, import, and view the takeoff output definitions available for your takeoff work.
Navigate to Settings in Takeoff:
- Click Takeoff in the left navigation to open the Takeoff tool.
- Click
 Settings to the upper right of the page.
 - On the Settings page, the Project tab is open by default.
Set Up a Preconstruction Project
Settings in Takeoff has classification, measurement, and currency settings that can be configured for your Preconstruction project. These settings can be found under the Project tab in ![]() Settings in the Takeoff tool.
Settings in the Takeoff tool.
To set up a project for takeoff:
Navigate to Takeoff in the left navigation in Preconstruction.
Click
Settings at the upper right of the page. The Project tab is open by default. 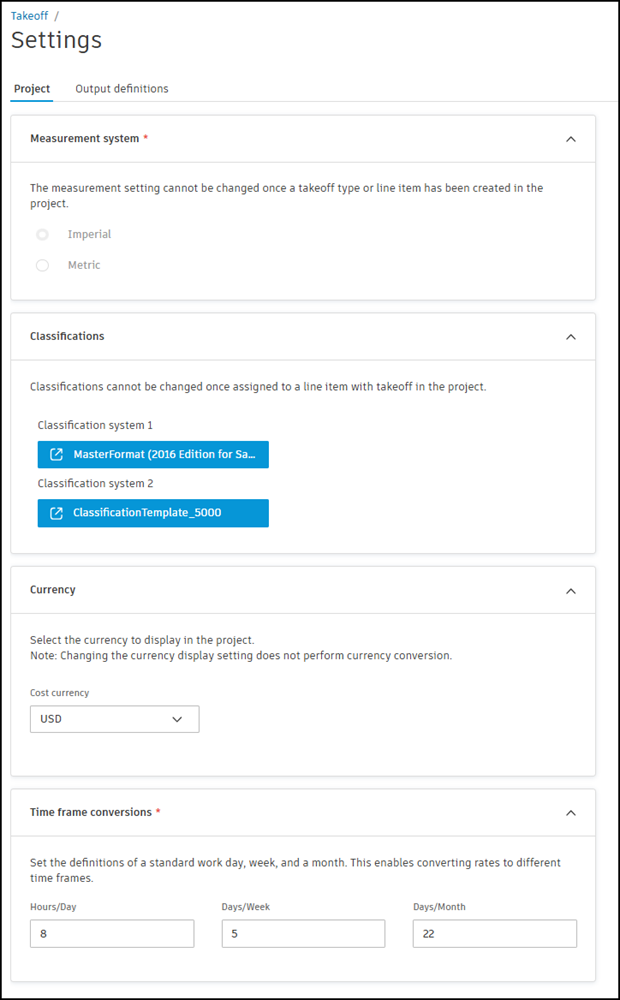
Configure the following settings for your project:
- Measurement system (required) - You must select a measurement system for a project before performing takeoff or creating an estimate. Choose between Imperial or Metric systems.
Important:Measurement system settings for a Takeoff project can’t be changed once a takeoff type or output definition has been created for the project.
Classification systems (optional) – You may upload one or two classification systems to use under ‘Classification system 1’ and ‘Classification system 2.’ The classification system and its codes are used to describe and organize takeoff and estimate line items. You may be familiar with common systems like MasterFormat® and UniFormat®.
Important:Important: Classifications can’t be changed once a classification is assigned to an output with takeoff.Currency (optional) – Use the Cost currency drop-down to select the currency to display when viewing project costs.
Note: Changing the currency display setting does not perform currency conversion.- Time Frame Conversions (required) - Set the definitions of a standard work day, week, and month to enable converting rates to different time frames.
To set a classification system:
- Click Set classification system in Classification systems under the Project tab. This will open the Upload custom classification system screen.
- On this screen, click Download template. This exports an editable template of the system.
- Open the template in Excel or other spreadsheet application.
- Edit the file as needed with to capture your classification system. There are detailed format instructions within the template for you to follow.
- Rename the spreadsheet and save your work.
- Return to the Upload custom classification system screen, and click Import custom system to import and save the custom classification system to your project.
Classification Formatting for Import
When formatting your classification systems for import:
Sort data so that the codes across the levels are organized alphabetically.
When sorted as text, group the data based on the highest level code for each category.
For example:
    1.0 General, Level 1

    1.1 General item 1, level 2
        1.2 General item 2, level 2
            1.2.1, General sub item 1, level 3

    2.0 Category 1, Level 1
        2.1 Category 1 item 1, level 2
        2.2, Category 1 item 2, level 2

    3.0 Category 3, Level 3
Codes can be a mix of numeric and alphanumeric values with or without separators.
Formatting them as text and sorting by Code, then Level, in the spreadsheet should generally produce the desired order.
Takeoff does not currently support a user-defined sort order.
If you use hub code formats such as 01000, 01100, 01110, make sure that your codes are consistently padded to the same length at each level or you may experience errors.
Note that classifications have a limit of 10 tiers or levels.
Set Up Carbon Accounting in Takeoff (BETA)
When using the BETA carbon accounting features in Takeoff, it is recommended you use MasterFormat classifications for your project. If available, carbon values from the Embodied Carbon in Construction Calculator (EC3) database will automatically be associated with MasterFormat codes applied to takeoff outputs.
You can also manually add or edit carbon values as needed.
Learn more at Set Up Takeoff Carbon Accounting (BETA).
Create and Import Output Definitions in Settings
In the Output definitions tab under Settings in the Takeoff tool, you can create, edit, and view output definitions. You can also import multiple output definitions directly from a spreadsheet or from another project.
Use output definitions created in or imported to the Output definitions tab when creating takeoff types in the Takeoff viewer. Likewise, outputs for takeoff types created in the Takeoff Type panel can be saved to Output definitions.
Learn more about working with output definitions in Settings in Takeoff Output Definitions.