Infinity Mirror Scene

specular_ray_depth keyframed over time (1-50)
This simple tutorial shows you how to create an infinity mirror scene. It demonstrates what happens when a light is traced multiple times inside a reflective cube. The specular_ray_depth is increased to reveal multiple reflections inside the cube. The scene consists of a simple reflective tapered cube with a point light inside it (far end) and a camera pointing at it (also inside the cube).
A .ass file can be downloaded here.
A scene file can be downloaded here.
Scene
- Start off by creating a cube and scaling it out in one direction.
- Select the end face of the cube and taper it out slightly. This will help to create more internal reflections.
- Create a point light and position it towards the back face (tapered end) of the tapered cube.
- Create a camera and position it at the other end of the cube (inside it) pointing at the point light.
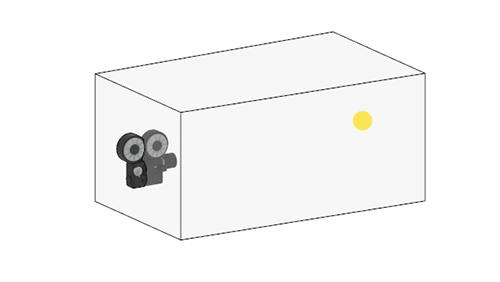
Camera pointing at a point light inside a tapered reflective cube
Shading
- Assign a standard_surface shader to the cube and change the following attributes:
- Reduce the base_weight to 0. We only want to see specular reflections inside the cube.
- Reduce the specular_roughness to a very low amount. Something like 0.004. This value will depend on how high the specular_ray_depth is set. With a high specular_roughness value and a high specular_ray_depth the resulting render may look too bright.
- Render the scene. You should see something like the render below using the default Arnold render settings.

Render using the default specular_ray_depth : 1
Specular Ray Depth
- Try increasing the specular_ray_depth to see more internal reflections of the point light.
Note: Increasing the specular_ray_depth value will dramatically increase render times.
 |
 |
 |
| 1 (default) | 10 | 20 |
Note: You may need to increase the number of specular samples to resolve some of the specular_roughness noise for final rendering.