Displacement Mapping Using the Token
 |
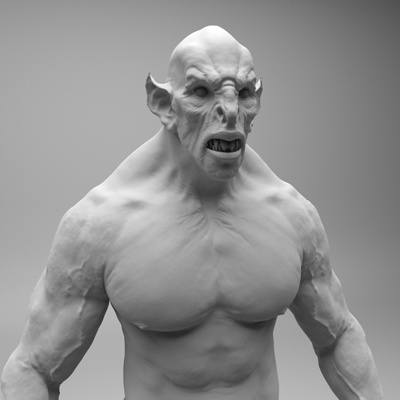 |
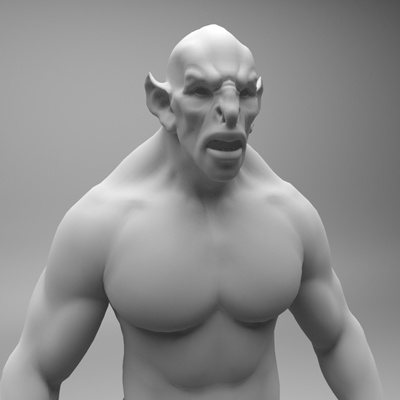
| without displacement mapping | with displacement mapping |
The aim of this simple tutorial is to explain how to render texture maps that have been exported from Mari using the correct displacement workflow with Arnold. This example uses a creature model and displacement maps (kindly provided by Alex Huguet).
Note: More information about the UDIM texture token can be found here.
UV TILE - UDIM
UDIM values are a way of representing the integer coordinates of a texture, from the coordinates of its bottom-left corner in UV space. This way, multiple textures can be used to cover a model, rather than a single, much larger, texture.
This is the convention used by Mari when exporting its UV texture space. It starts at 1001 (0,0) and continues in U for another 10 offsets. It then progresses onto the next row of V, meaning for every 10 in U it moves 1 in V.
| 1021 1022 1023 1024 1025 1026 1027 1028 1029 1030 |
| 1011 1012 1013 1014 1015 1016 1017 1018 1019 1020 |
| 1001 1002 1003 1004 1005 1006 1007 1008 1009 1010 |
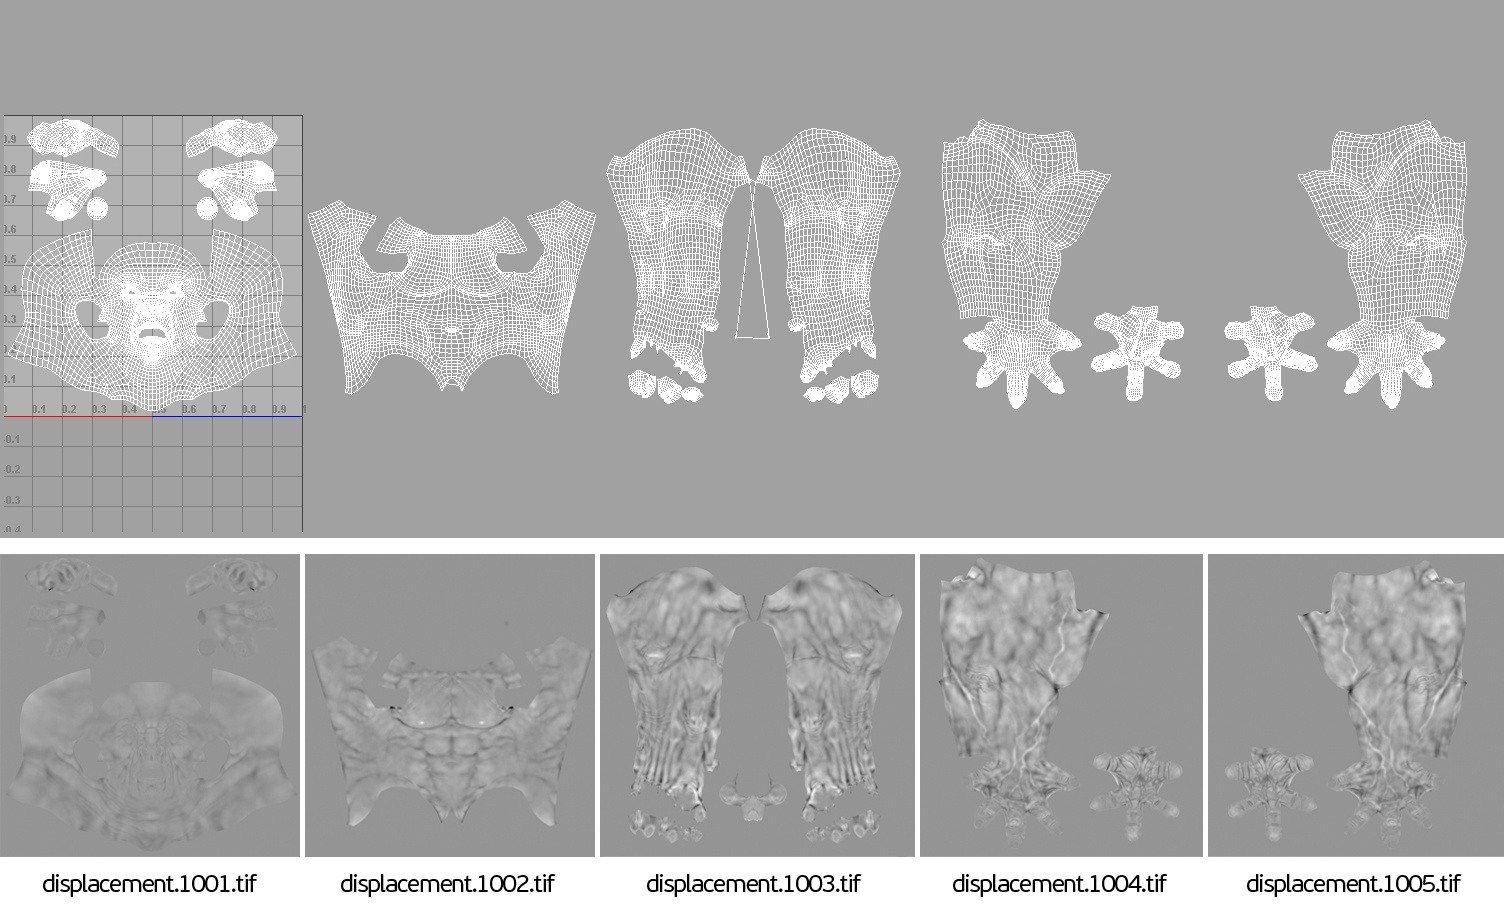
The UV offset grid below better shows this relationship (this example only shows a range of five as the creature model uses five displacement maps):
You can see in the UV Texture Editor, that the UV's have been laid out in UV space as 1001 (0,0) to 1005 (5,0) and that the displacement texture files have been named accordingly:
Displacement attributes
A standard_surface shader is assigned to the geometry. In the Arnold Material window, a normal_displacement shader is connected to the Arnold Displacement port and an image texture (udim texture) is assigned to the displacement input of the displacement shader. In this case, the displacement_scale has been set to 0.1, and the Scalar zero value is 0.25.
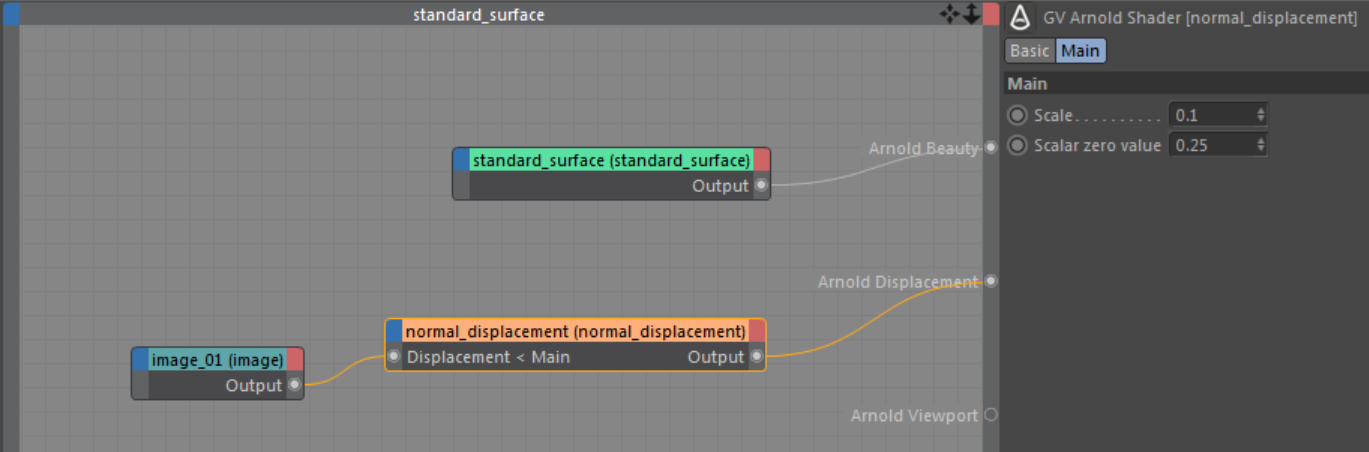
Displacement shader network
Subdivision
To see the detail from the displacement maps, the model's subdivision settings need to be increased. In this case, the subdivision type has been set to Catclark, and the iterations increased to 2.
An Arnold Tag is assigned to the geometry. Subdivision is set to Catclark , and the Iterations have been increased to 2 to give a smooth result. Autobump has been enabled on the Displacement tab. This will take the high-frequency detail from the displacement map meaning there won't be as many subdivision iterations required.
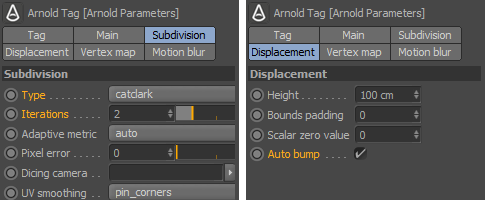
Displacement Attributes used in this example
That concludes this tutorial for rendering displacement maps saved from Mari using
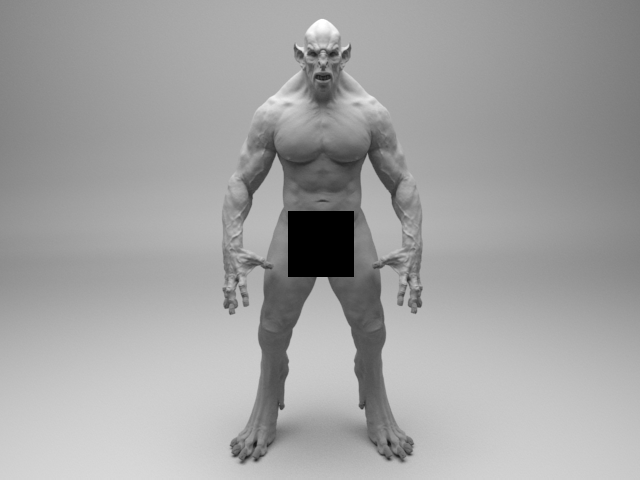
The final render (minus one bucket)