
After an Autodesk Docs project has been set up to use Connected Support Files, you can set or change the paths of these settings. Paths are searched in the order that they are listed. If the same file is found in multiple folders, then the first instance found is used. Settings under Project Settings take precedence over My Settings and then Classic AutoCAD Settings.
Important: Path settings for connected support files can only be modified by members of an Autodesk Docs project with an access level of Project Administrator.
- Browse to and open a drawing from the Autodesk Docs project for which you want to modify the path settings for connected support files.
- With the drawing file open, right-click the drawing area and choose Options.
- In the Options dialog box, Files tab, expand the Project Settings node.
If the Project Settings node is not visible, then the Connected Support Files feature might not have been set up for the project. To set up Connected Support Files, see To Set Up an Autodesk Docs Project to Use Connected Support Files.
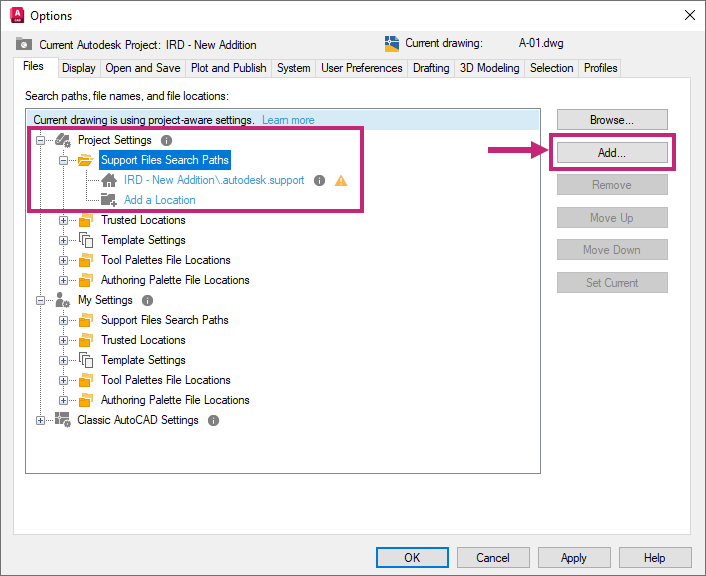
- Under Project Settings, expand the setting nodes to view their currently assigned paths.
- With a setting node expanded, do one of the following:
- Select a node and click Add to add a new path to the setting.
- Double-click a path under a setting to modify its location.
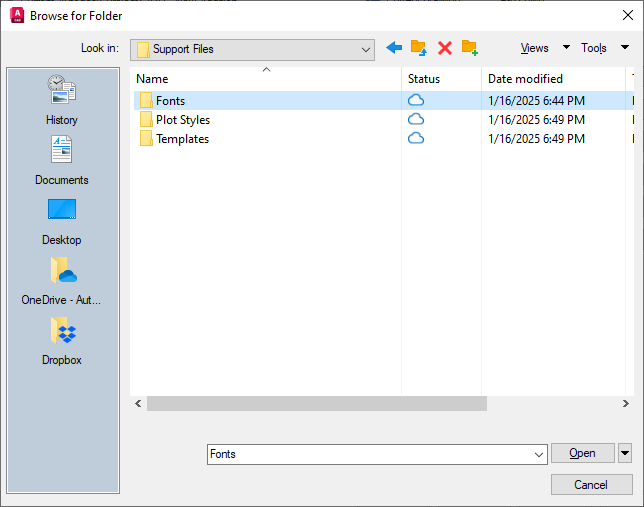
- Browse to a folder or file location within the Autodesk Docs project and click Open.
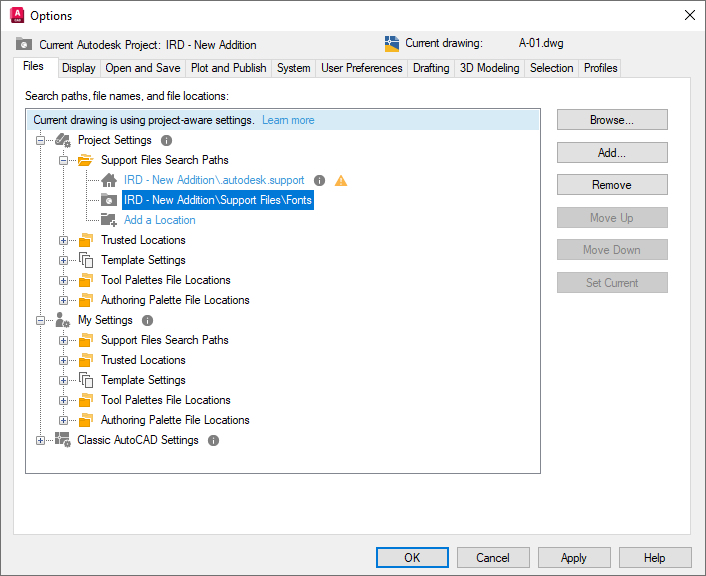
- Continue adding and modifying paths for each of the settings as needed.
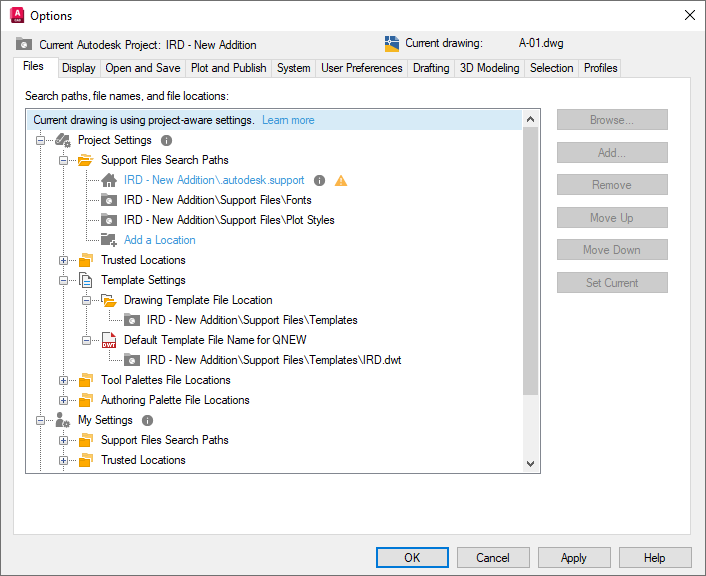
- Click Apply to save the path settings to the project.
- Optionally, modify the path settings under the My Settings and Classic AutoCAD Settings nodes.
- Click OK to confirm any additional path setting changes and close the Options dialog box.