
You can change the properties of any tool on a tool palette.
Once a tool is added to a tool palette, you can change its default properties. For example, you can change the insertion scale of a block or the layer of a hatch pattern.
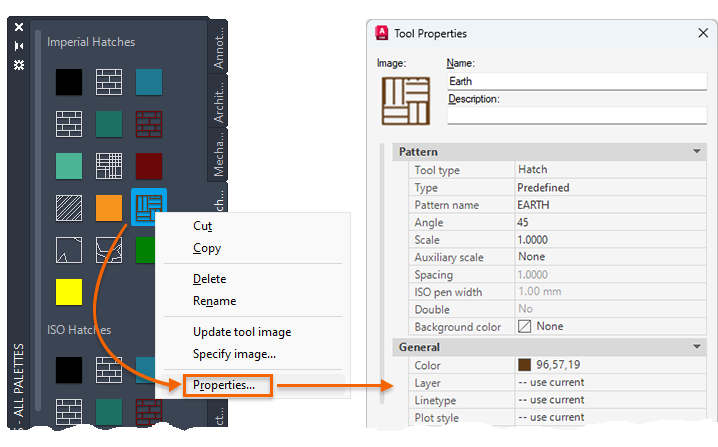
The Tool Properties dialog box, accessed on the shortcut menu of each tool. Each type of tool has several property groups. Some of these contain common properties and others are specific to the type of tool selected. For example, here are some typical property groups:
- Command. Controls the display of a tool flyout and the tool's command string or macro.
- Insert, Attach, or Pattern. Controls object-specific properties such as scale, rotation, and angle.
- Table. Controls the table style, numbers of rows and columns, and flow direction.
- General. Overrides the current drawing property settings such as layer, color, and linetype.
This capability can save you time and reduce errors by setting properties automatically when you use tools to create certain objects. For example, you can specify that a hatch or a dimension is placed on a specified layer regardless of the current layer setting.
Modify Tool Icons
You can modify the icon displayed for tool from the shortcut menu:
- Update tool image. The icon for a block, xref, or raster image in a tool palette is not automatically updated if its definition changes.
- Specify image. You can replace the icon for a tool with an image that you specify. This is useful when the automatically generated icon is too cluttered to be easily recognizable.