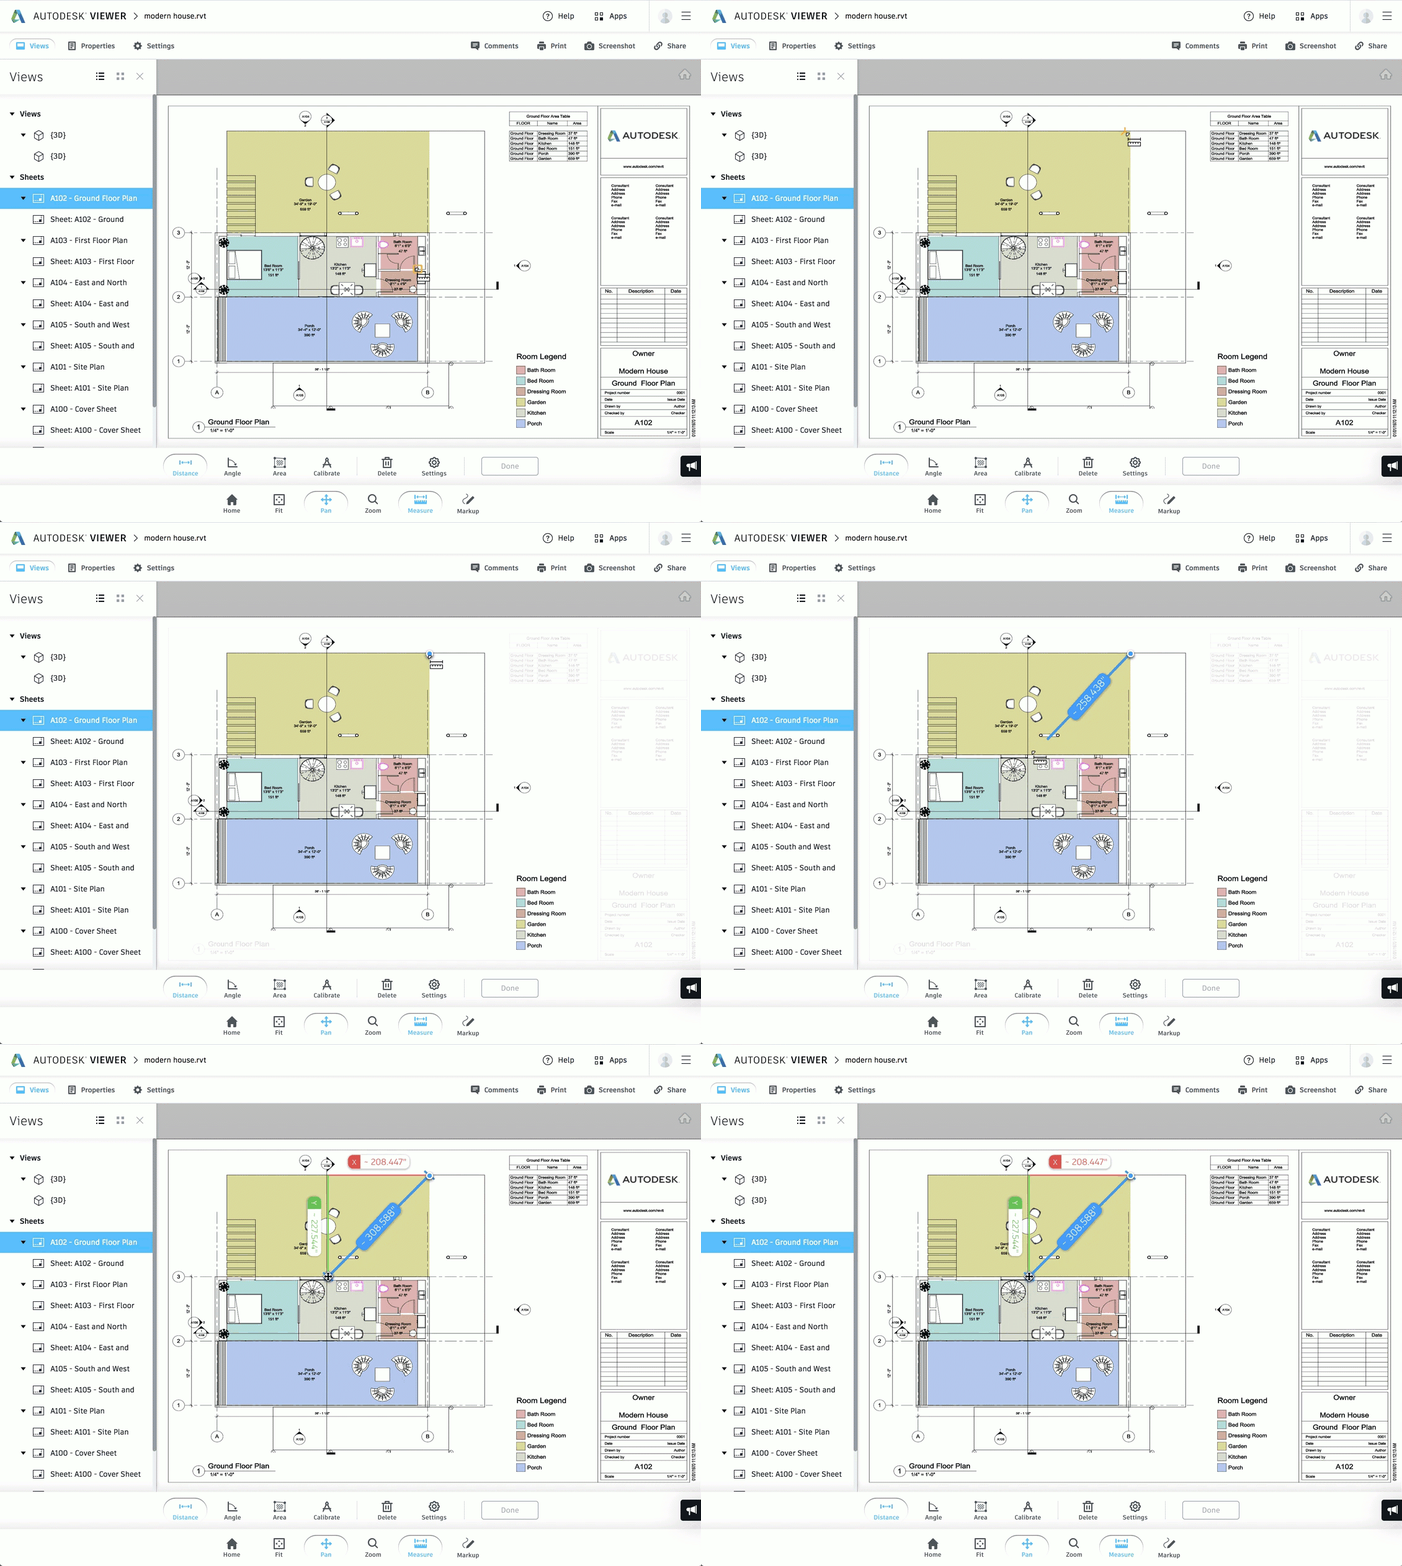
Autodesk Viewer Tools
With products like Revit and AutoCAD, users are able to create designs that can be difficult to navigate without a sophisticated tool set. Autodesk Viewer offers several tools to help users interact with and inspect designs.
Top Navigation
Views
When a design view is exported with multiple views, it is possible to navigate through them with the Views pane.
Model Browser
3D models typically have several individuals parts. A house will have floors, walls, interior design, and many other kinds of geometry. The Model Browser gives you a user interface to navigate the model’s geometry. You can click on, search for, and hide certain parts of a model.

Properties
Clicking Properties will bring up a modal that contains metadata about the design. This includes information such as part numbers, type of materials, and mechanical properties.
Settings
The Settings modal lets you configure certain aspects of a design view's user experience. This includes reducing image quality to improve performance, changing the background color, and changing how navigational elements, such as zoom, interact with the design.
Comments
The comments pane allows you as a collaborator to give feedback on a specific part of a design, or to review markups. Comments work best for general feedback. For more precise feedback, use the Markup tool.
It is also possible to export the whole comment history for documentation purposes by clicking the Export button at the top of the Comments pane. The resulting file will be a PDF.
Share
The share pane allows you to share this design view with others using a link.
Export Data
- Print: Lets users print a drawing, or a view of a 3D model.
For more information on how to use the Print feature, see Print Designs.
- Screenshot: Lets users export a picture of what they see on the screen. .
For more information on how to use the Screenshot feature, see Take Screenshots.
Toolbar
Most of the tools for Autodesk Viewer are available on the toolbar. The toolbar changes slightly when you switch between 2D and 3D Views
These tools break down into a few categories based on what users can do with them:
- Navigate the Design
- See What’s Inside
- Measure & Inspect
- Add Annotations
Viewcube
Under the top navigation, in the right corner, you will see the viewcube, a clickable and draggable UI element that allows you to orbit around the model.
Navigation Tools
-
Home: Returns the design back to its default state and camera angle.
-
Fit: Ensures that the entire design is visible.
-
Orbit: Rotates the camera around a 3D view.
-
Pan: Slides the camera from side-to-side and top-to-bottom.
-
First Person: Gives users to ability to explore buildings as if they were walking and looking around.

-
Zoom: Moves the camera closer or further away from some aspect of a design.
Measure and Inspect
-
Measure: Measures the distance between two points or an angle between three points.

-
Explode: Separates a model’s geometry to allow users to see individual parts of the design.
-
Section: Cuts through a design along an axis with a plane, or through a selected box to allow users to inspect the interior of a building or mechanism.
Add Annotations
- Markup: Lets users add granular feedback with simple text and drawing tools.
For more information on annotations, see Add Annotations.
