
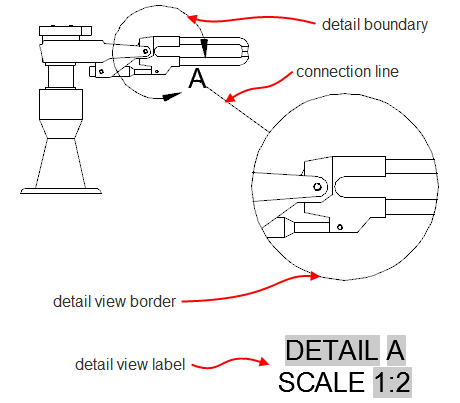
After you create a model documentation detail view, you can modify the detail view identifier and label, change the shape and size of the detail boundary, or change the scale of the detail view.
Change a Detail View Identifier
- Move the cursor over the middle of the detail view to display its border.
- Double-click an empty area inside the border to display the detail view editor.
- In the
 Identifier box, specify the new identifier.
- Click
.
Move the Identifier of a Detail Boundary
- Click the detail view identifier to display grips on the detail boundary.
- Move the cursor over the identifier to display a menu.
- Click Move Identifier.
- Click the new location of the identifier.
Change the Shape of a Detail Boundary
You can switch between circular and rectangular detail boundaries.
- Click the detail view identifier to display grips on the detail boundary.
- Move the cursor over a grip to display a menu.
- From the menu, click the desired shape. Both the detail boundary and the detail view boundary update.
Resize a Detail Boundary
- Click the detail view identifier to display grips on the detail boundary.
- Drag a grip.
Modify a Detail View Label
- Double-click the detail view label to display the in-place editor.
- Edit the label text and click outside the editor when you are done.
Display or Hide a Detail View Label
- Move the cursor over the middle of the detail view to display its border.
- Double-click an empty area inside the border to display the detail view editor.
- Click
Show View Label. The label hides or displays, depending on its current state.
- Click
.
Change the Scale of a Detail View
- Move the cursor over the middle of the detail view to display its border.
- Double-click an empty area inside the border to display the detail view editor.
- In the
Scale list, select the new scale.
- Click
.