
Hair - Arnold User Guide
This shader is considered deprecated and will be removed in a future release. You should use the standard hair shader instead.
 |
 |
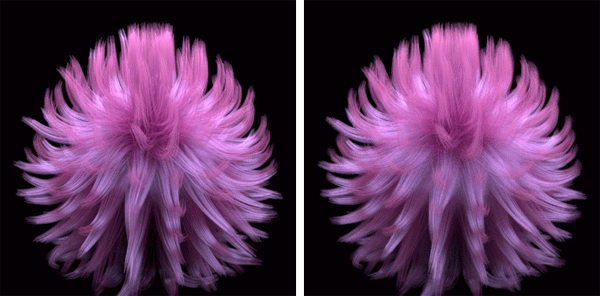
Image credit to Pascal Floerks
The Hair shader is designed to render the look of hair or fur. Note that this shader needs to be used on geometry that has been defined to look like hair or fur (for example using Arnold's curves shape node). Other shaders such as Lambert could be used, but the Hair shader has a specular shading model specifically designed for thin hair fibers and lets you define different diffuse colors for the root and tip of the hairs, for example. This shader currently uses a simple Kay-Kajiya shading model.
Matte
The matte option enables you to create holdout effects, by rendering the alpha as zero.
Opacity
Opacity of the hair. This is set to full white by default, which means fully opaque hair. Playing with this value to make the hair less opaque (or in other words, more transparent) can sometimes help make the hair look softer, at the expense of increased render times. If not set to full white, be sure to have the Opaque flag off in the Arnold Parameters property of the hair object, or else Arnold will bypass any transparency-related calculations to optimize render times.
 |
 |
| 1 | 0.5 |
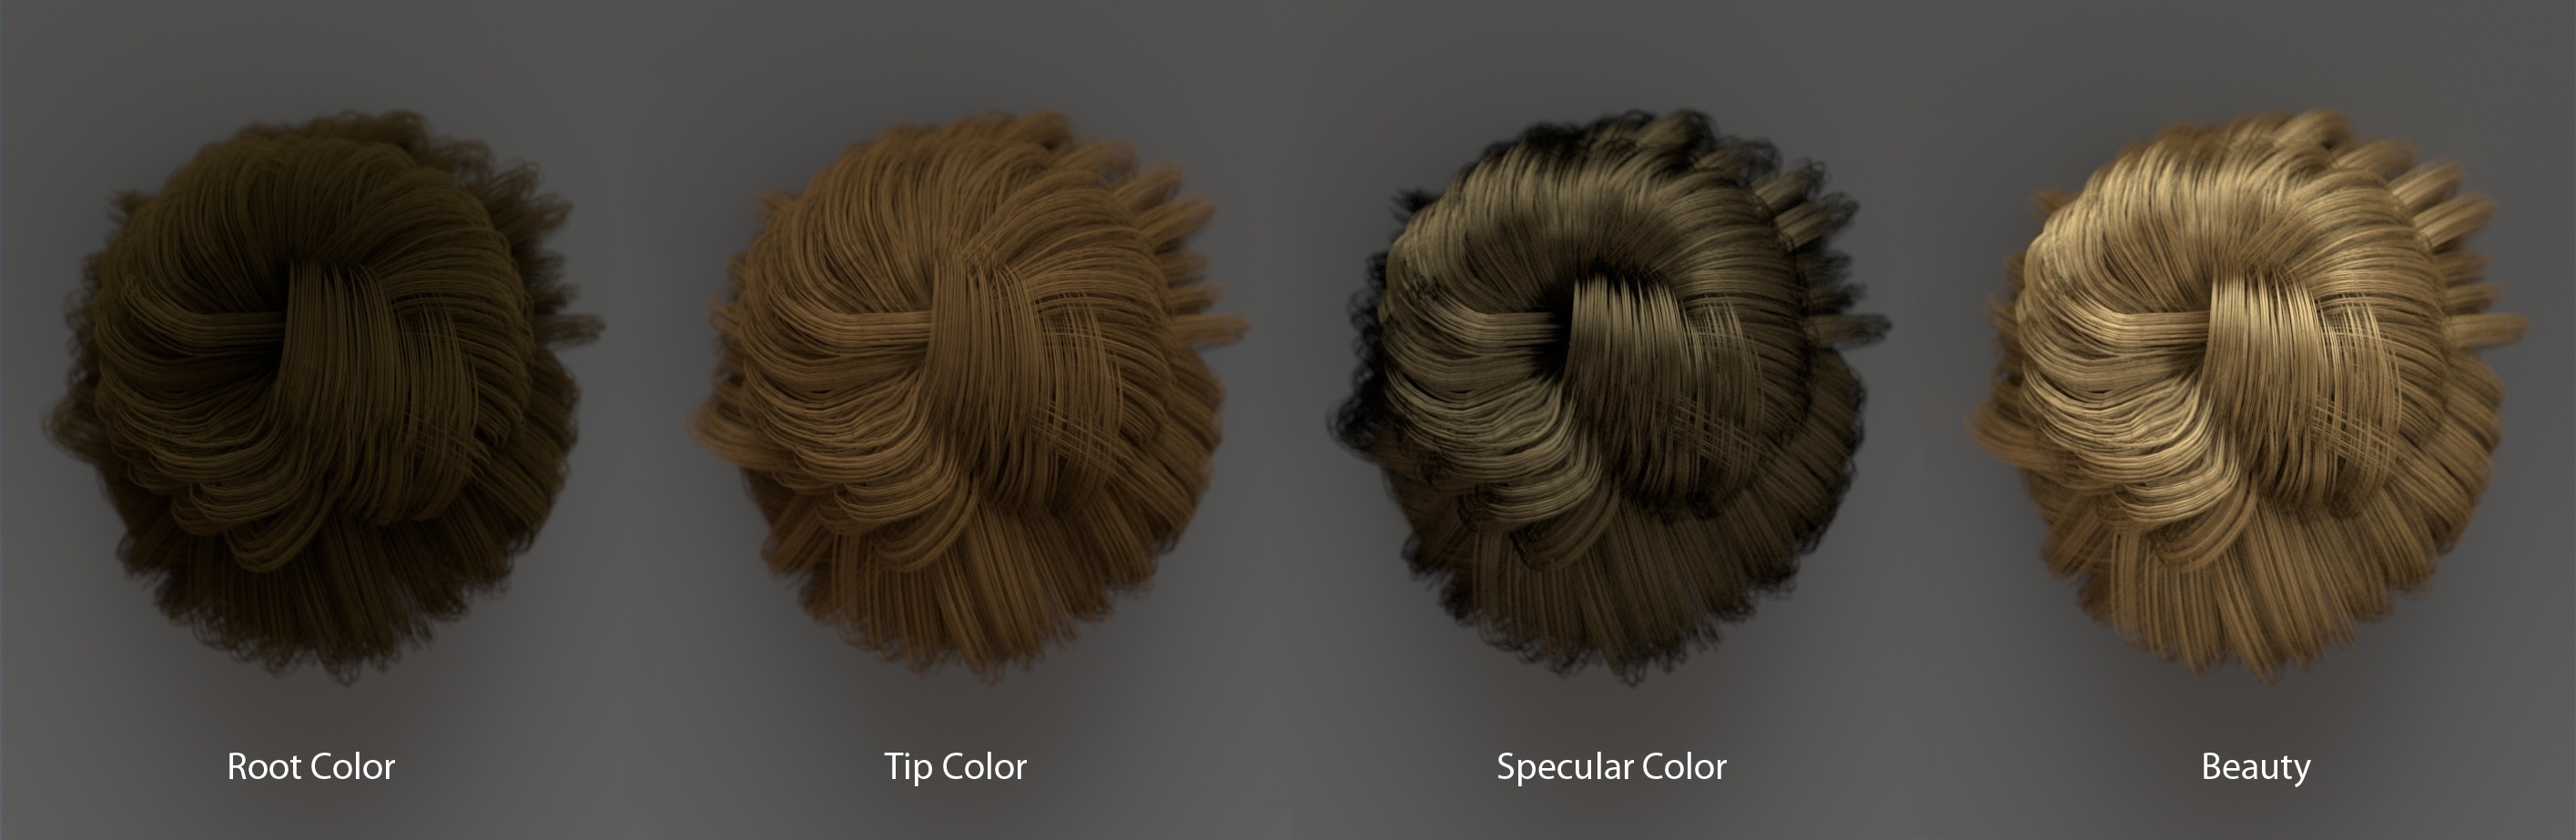
Workflow
The images below show the separate effect of the root, tip and specular colors. The far right image is the resulting combination of these colors.
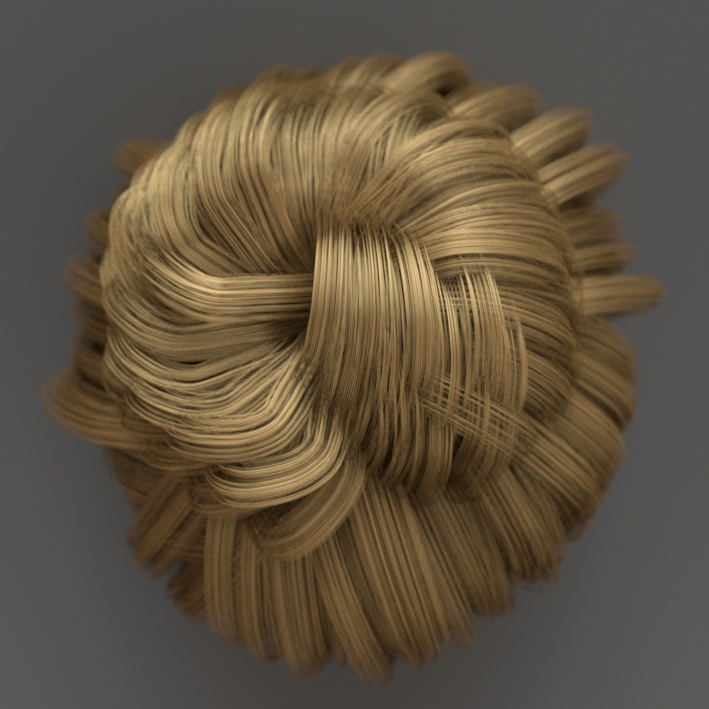
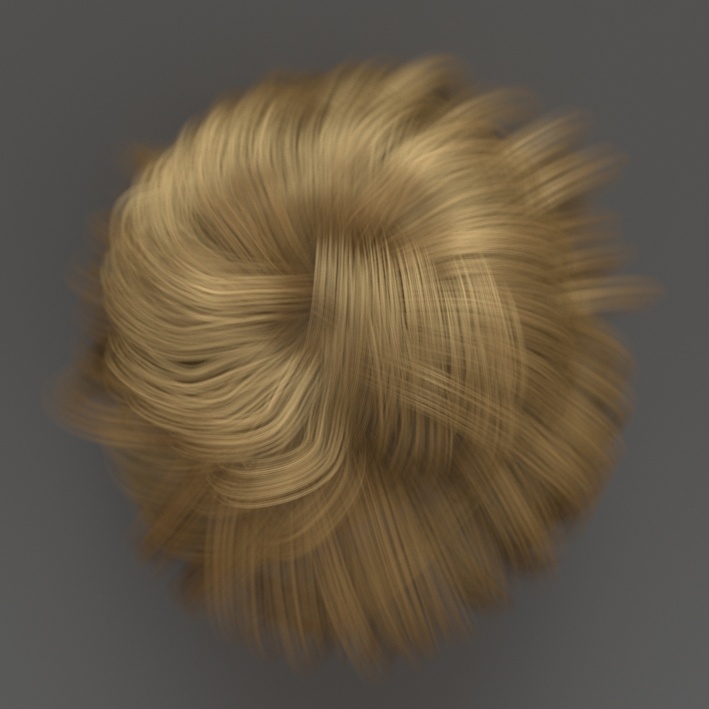
When rendering hair with motion blur, the hair must first be cached, otherwise, you will get incorrect results.
Left: Cached hair (motion blur renders correctly). Right: Hair without cache (motion blur renders incorrectly).