
Export and Print Sheets
You can export individual or multiple sheets to save a copy in your local downloads folder. Exporting also involves extra preparation for multipage sheets and sheets containing links or markups. You can also print sheets.
Enable Browser Settings
Enable pop-up dialog boxes in your browser settings before you export sheets.
- Click the Sheets tool.
- Access your browser settings and enable pop-ups.
Export Sheets
Click the Sheets tool.
Select the checkboxes of the relevant sheets.
Click Export.
In the drop-down click Sheet (x).
 .Note: You can export a maximum of 1000 sheets at once.
You can choose to include the following markups in the exported file.
Note: Click Select all to choose all the following options.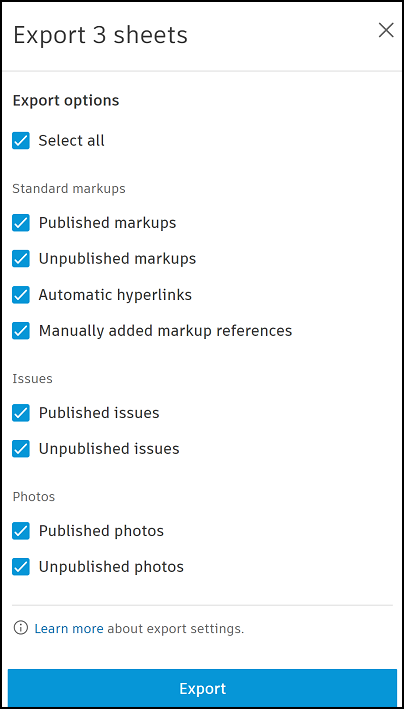
- Published markups: Members with Edit permission or above can publish markups. Published markups are visible to all project members. See, Markups for more information.
- Unpublished markups: These are markups which are created but not published and therefore are only visible to their creator.
- Automatic hyperlinks: The automatically generated markup links created during the sheet publishing process. See Automatic Sheet Linking for more information.
- Manually added markup references: The references linked manually to a markup including, sheets, files, RFIs, forms, submittals, and assets. See Markups Links and References for more information.
- Published issues: Published issues will be visible to anyone on your project with the correct permissions.
- Unpublished issues: Only the issue's creator and assignee will be able to view it.
- Published photos: Published photos will be visible to anyone on your project.
- Unpublished photos: Unpublished photos are only viewable by the photo markup creator.
Make your selections as required and click Export.
A dialog box reminds you that pop-up dialog boxes need to be enabled. Click OK.
If you export a corrupted PDF file, we will help repair it automatically using Ghostscript.
When the repair is successful, the file name of the exported PDF will be appended with (Repaired) to indicate that it is fixed.
Access and View Exported Sheets
When your sheets are exported on web, they will save as a combined PDF in your local downloads area on your computer.
There are a few ways to access your downloads area, depending on your browser settings:
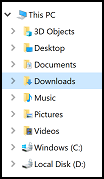
You can access File Explorer in Windows or Finder in macOS and open the Downloads area.
Click the More menu
 in your browser tab and click Downloads.
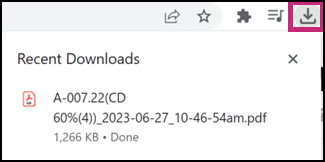
Click the downloads icon in your browser.
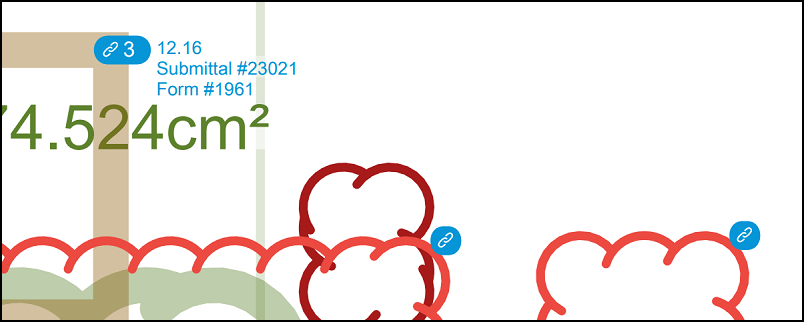
When you open the PDF, you can click the automatic links and added markup links icons to access them in the relevant tool.
Print Sheets
- Click a sheet to open it in the viewer.
- Click the More menu
 in the top right and choose Print
  .
. - Make a note of the recommended printing size, and click Print to open the standard print dialog box for your computer.