
Share Sheets
Members can share links with other project members which open the relevant sheets directly in the Sheets tool.
Project administrators can also enable public sharing. This allows project members with View + Export permission or above to share download links to sheets with anyone.
- Enable Public Sharing
- Access Share Sheets
- Share with project members
- Share with anyone
- Share with Another Project
Enable Public Sharing
Only members with Manage permission can enable public sharing:
Click the Sheets tool.
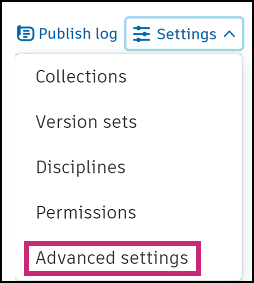
On the right of the screen, click the Settings drop-down and choose Advanced Settings.
Enable public links by clicking the toggle to On.
Set an expiration date for links for between 30 - 365 days.
Access Share Sheets
In the Sheets tool:
Select the checkboxes of the sheets that you want to share.
Click Share to open the Share dialog box.
Tip: If you're already viewing the sheet you want to share, click the More menu and choose Share.
Select whether you want to share with project members, share with anyone, or share with another project.
Share with project members
Select Project members with view-only access or higher to share sheets with members through email or copied links. Project members will receive links that open the relevant sheets directly in the Sheets tool.
- Click the Recipient field to open the Select recipients dialog box.
- Select the checkboxes next to any user, role, or company or start typing to bring up suggestions.
- Click Save after your selections are made.
- Add a note if necessary.
- Click Send
Copy links
- Click the Link tab.
- Copy individual links or Copy all. Paste the links from your clipboard to share as required.
- Click Close.
Share with anyone
You can share sheets with anyone through email or links. When stakeholders who are not a part of your project open the shared links, they can download an exported copy of the relevant sheets.
Select Anyone with the link
Click the Link expires field to specify the date when the links expire.
Enable or disable the checkbox to control whether published markups should be included.
Note: Currently, the issue and photo markups do not export.You can either send links in an email or copy them to your clipboard to share through another method.
Note: The maximum rate for sharing public links to sheets is 10 times a minute.
Select the Email tab and enter the email addresses of the recipients separated by a comma. Add a note if necessary and click Send.
Copy links
Click the Link tab and copy individual links or Copy all. You can paste the links from your clipboard to share as required.
Sheets shared with anyone will appear in the sheets list with the ![]() icon.
icon.
Delete links shared with anyone
You can delete the links to sheets you've previously shared publicly.
- Select the checkboxes of the previously shared sheets.
- Click the More menu
 and choose Delete shared links.
 - Click Delete to confirm.
Manage sheets shared with you
You’ll receive an email when sheets have been shared with you. From the email, you can open a browser page showing a list of the shared sheets. You can export sheets or add sheets to a project from this page.
To export or add sheets to a project from the page showing shared sheets:
Select the sheets that you want to export or add.
For individual sheets, click Export or Add to project next to the corresponding sheet.
For multiple sheets, select the corresponding checkboxes. Click Export or Add to project at the top right of the table to perform the bulk action.
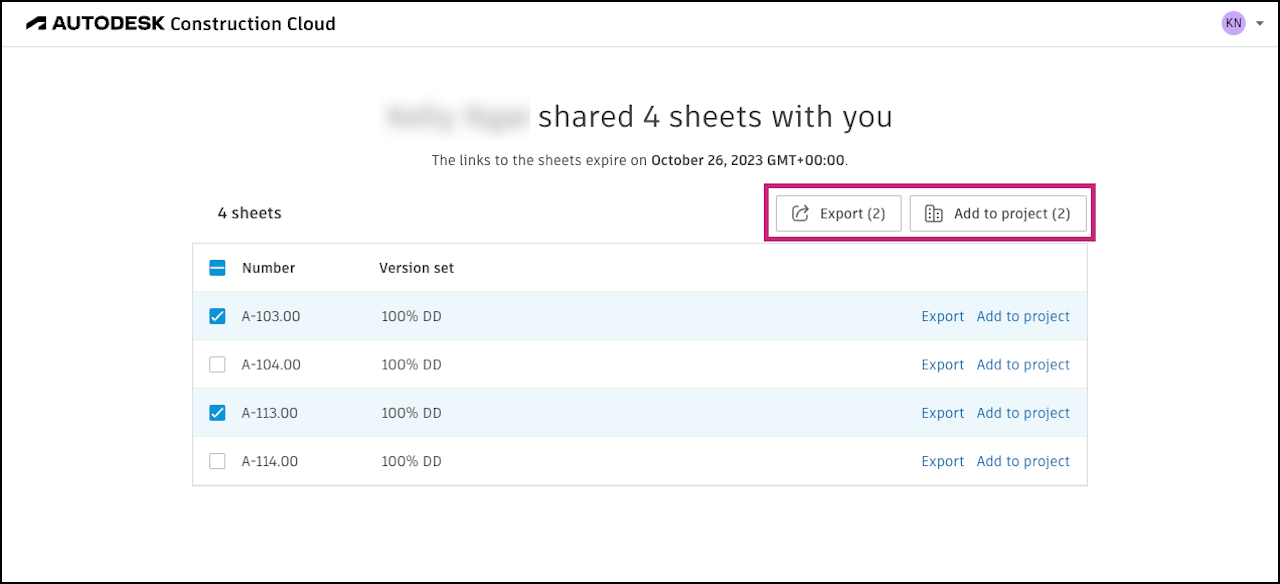
For all sheets, click the topmost checkbox. Click Export or Add to project at the top right of the table to perform the bulk action.
If adding to a project, select the project that you wish to add the sheets to.
Note: You can only add sheets to projects for which you are a project administrator or member with Create + Upload permissions.Click Add sheets. Added sheets will be published to the Sheets list for the project.
Share with Another Project
Bridge is the enabling technology that allows you to easily share project information with other Autodesk Construction Cloud projects and accounts. Learn more about the Bridge tool in About Bridge.
You can share sheets with:
- Bridged projects
- Other projects in which you are a member with Upload permissions or are a project administrator.
Markups aren't included when you share sheets with another project. Learn more about Bridge limitations.
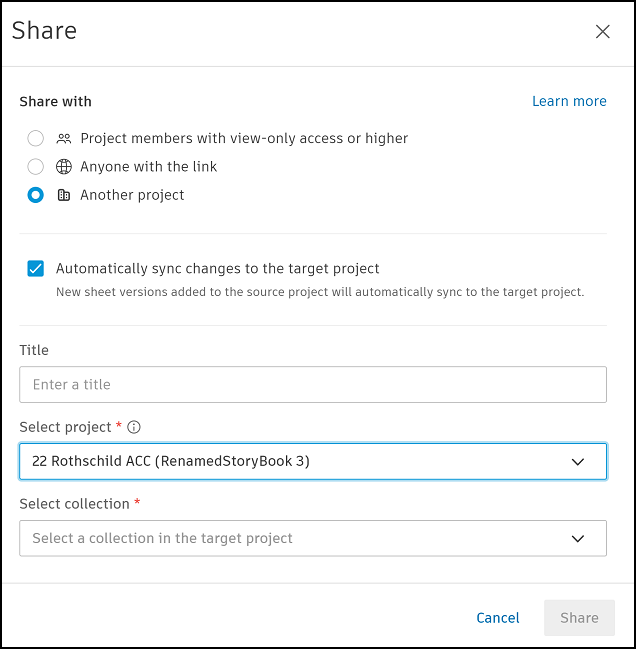
- In the Share dialog box, select Share with another project.
- Select Automatically sync changes to the target project if you want your sheets to automatically update in the target project when new versions are added to the source project.
- Select the target project to share sheets with.
- If the target project has collections enabled, select a collection.
- Click Share.
The sheets will be shared to the other projects. You’ll receive an email when the sheets have been added. Click View Sheets in the email to view the sheets in the other project.
Now, in the Bridge tool, you can track the sheets you share using the Outgoing tab. If you chose to create an automation, you can manage that automation, including pausing or deleting the sync. Learn more in Bridge Automations.