
Automating randomization
In this tutorial, we'll explore how to automate randomization in LookdevX to produce natural variation in scenes without the overhead of creating and managing multiple similar materials.
Introduction
When working on complex scenes, you'll often run into situations where you have a lot of objects that are similar in appearance but should exhibit slight variations for enhanced realism.
Common examples include:
- Nature: Autumn leaves, rocks and pebbles, etc.
- Man-made objects: Books on a shelf, bottles, bricks, etc.
- Particle systems: Confetti, debris, etc.
- MASH: Motion graphics, procedural objects, etc.
Of course, you could create unique materials for each object and manually vary their properties, but this is a time-consuming process. It's also a lot of work to maintain all these materials if you need to make changes later. Additionally, it clutters your scene with many similar materials.
The alternative is to use the randomization features of Arnold and MaterialX. These allow us to create materials in LookdevX which will automatically vary their shading properties, thereby creating infinite variations with just a single shader setup.
This technique is ideally suited for scenarios where you don't care what any specific object looks like, as long as it's different from the others. If you need fine-grained artistic control over the appearance of a particular hero object, then you should consider using bespoke materials for this one and randomizing the rest.
Controlling the chaos
How Randomization works in computer graphics
Without getting into specifics, it helps to have a basic understanding of how randomization works in computer graphics.
It may seem counterintuitive, but the main point to keep in mind is that random numbers produced by the computer during rendering aren't truly random. Instead, renderers typically use a technique called pseudorandom number generation (PRNG) to produce sequences of seemingly random numbers using a mathematical formula.
This makes the output produced by the random number generator deterministic: given the same seed and input value, we will always receive the same sequence of numbers.
We can use this knowledge to our advantage: Knowing that we can influence the sequence of random numbers lets us control how, when, and where randomness gets applied within our scene.
Example
As a simple example, here's a plane rendered with an actual random seed:
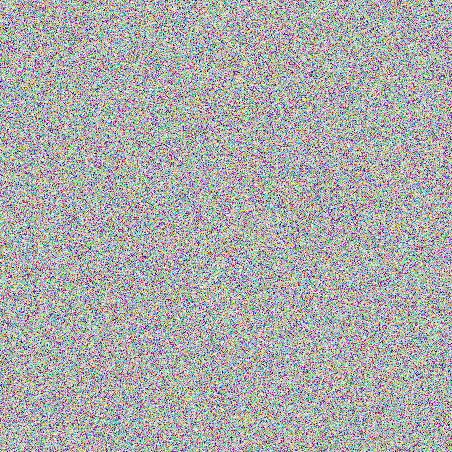
Every pixel is drawn in a different, random color. This isn't helpful; randomizing each pixel just produces a lot of colorful noise.
But thanks to the deterministic nature of the random number generator, we can seed on a different property and get a more useful result:
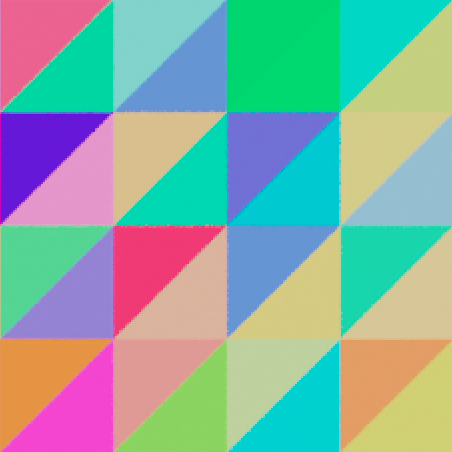
Here, we're using the polygon's unique ID to seed the random number generator. This results in each polygon being output in a random color, which is much more interesting than the previous example.
There is no guarantee that the assigned colors will be unique—that's the nature of randomization. You never know what you'll get.
Choosing a seed value
With the above in mind, the first thing we need to do is determine what we want to base our randomization on.
Arnold and MaterialX offer various shading properties that make for interesting seed values, depending on the effect you're trying to achieve. Examples include:
- The current object's ID
- The current polygon's ID
- The current frame number
There are many options, and it's up to you to decide what makes the most sense for your project.
Tutorial
1. Scene setup
In this tutorial, we'll use the object's ID as a seed value. This lets us randomize properties on any number of different objects with just a single material. We'll be using both native Arnold and MaterialX nodes to achieve this.
For illustrative purposes, we will be using a simple floor tiling pattern where each tile is a separate object in the scene.
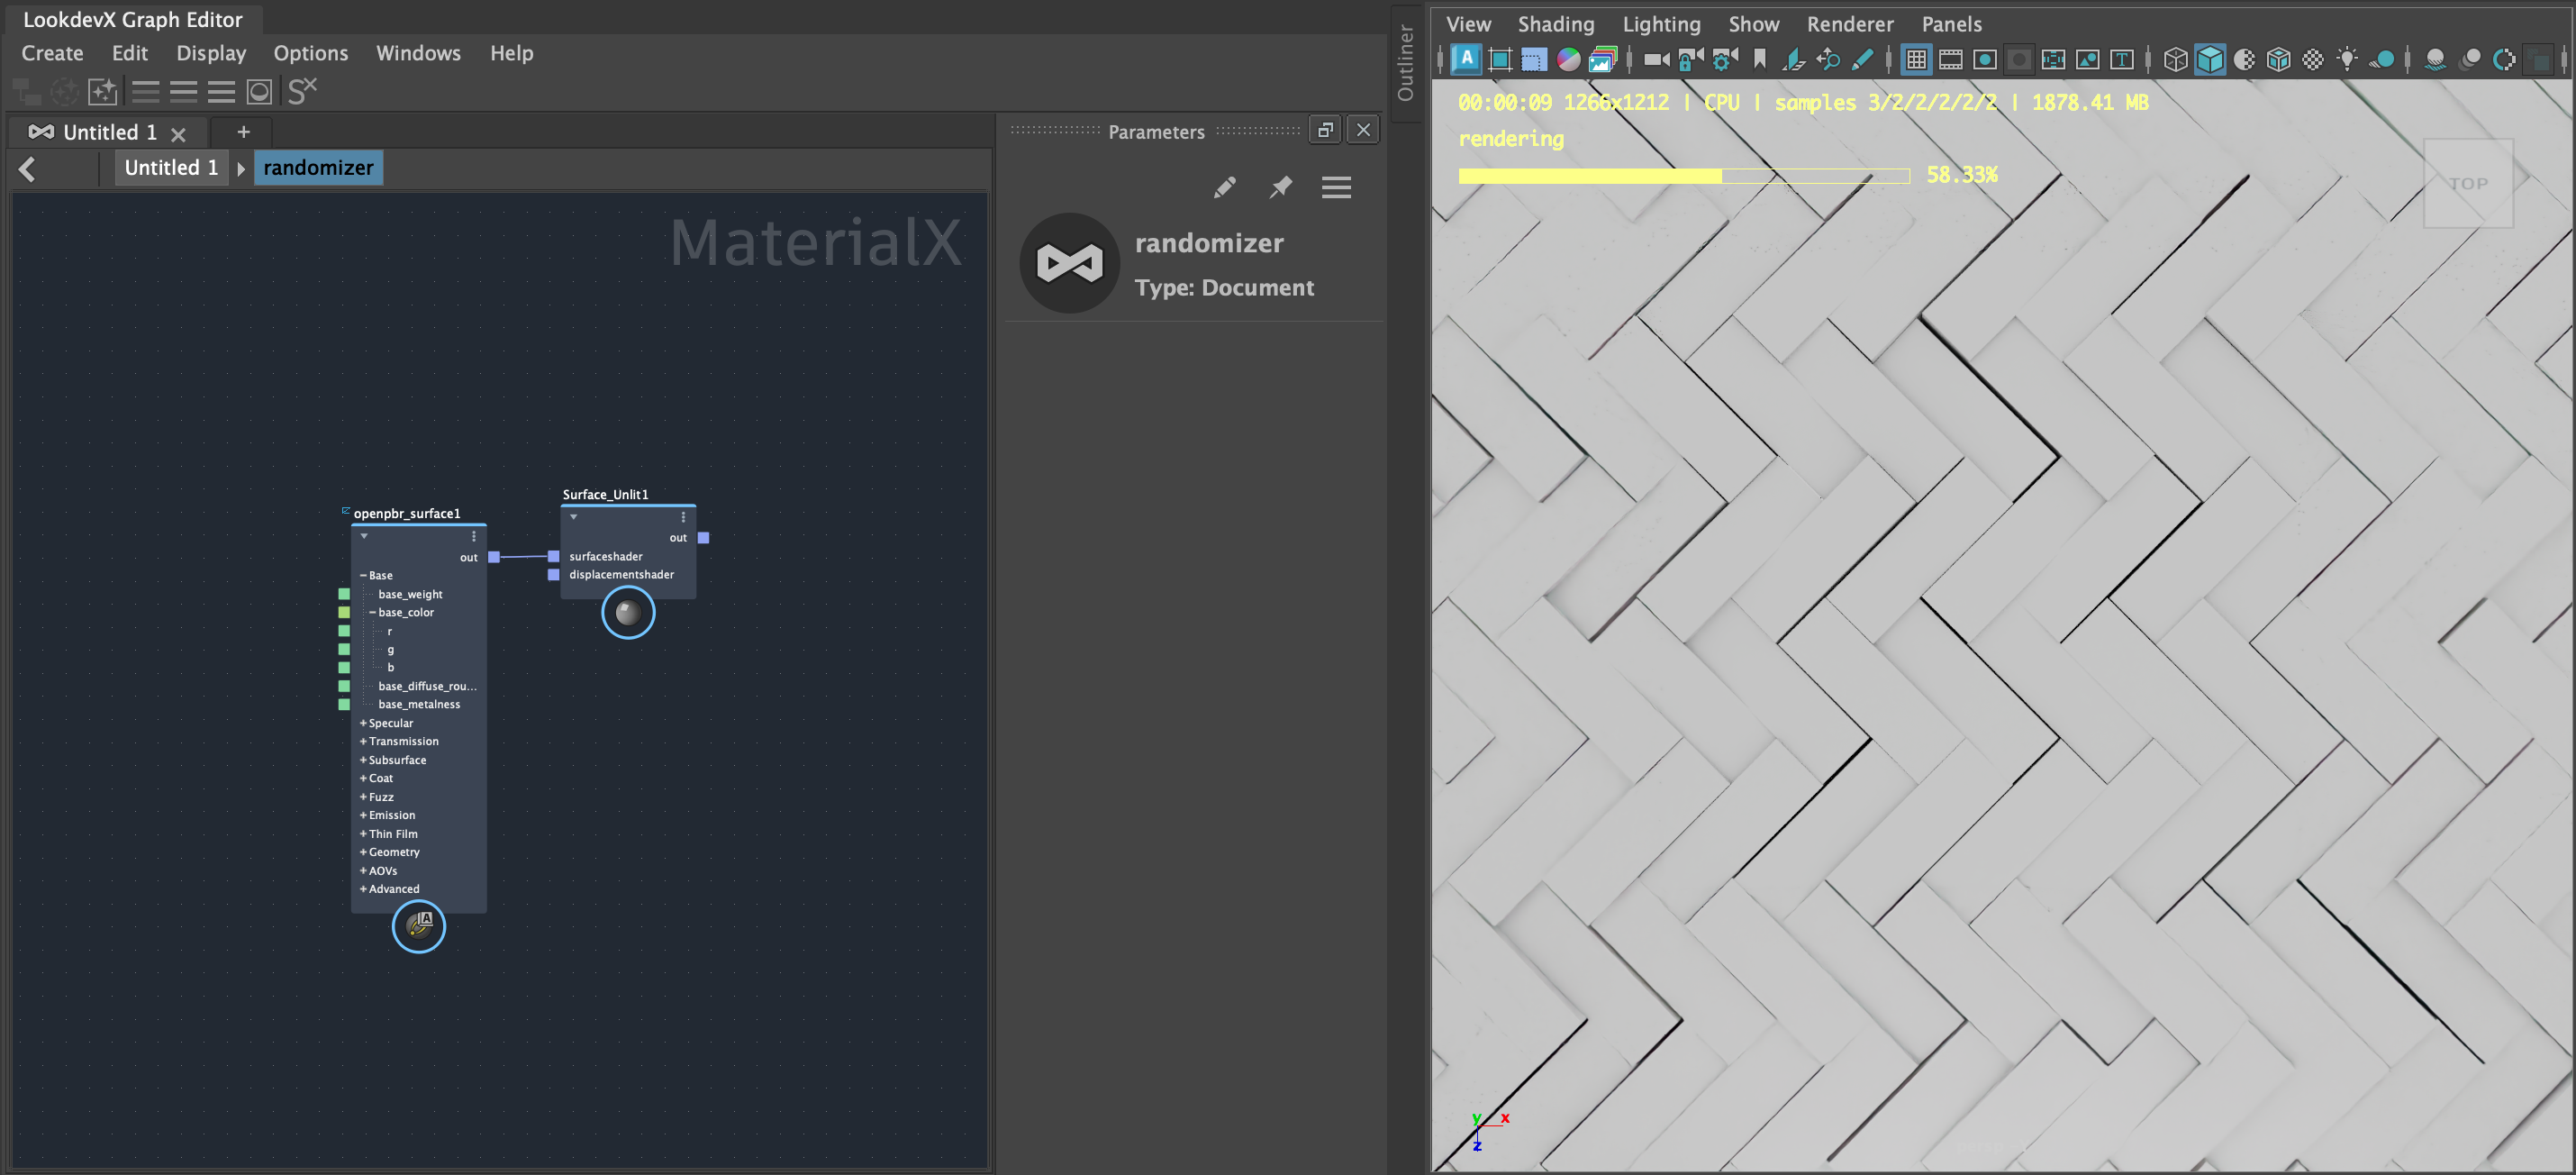
To get started, let's create a basic LookdevX material for our tiles. When we render this, we'll see that each tile is the same color.
2. Randomizing the color
Now, let's make things more interesting and have each of our tiles display a random color.
For this, we'll need two additional nodes:
- ARNOLD_ND_utility: This utility node provides information about the current sample point being rendered, such as its position in space, its UV coordinates, which object it belongs to, and more.
- ND_randomcolor_float: This node produces random colors based on the given input value and seed.
Connect the out output of the ARNOLD_ND_utility node to the IN input of the ND_randomcolor_float node.
Next, you'll need to select the ARNOLD_ND_utility node and set its Color Mode to the desired seed type in the Parameter Editor. In this case, we'll use the obj type, which means we'll get a different seed value for each object.
Every tile is now rendered in a randomly chosen color.
3. Randomizing the color within limits
Unless you're rendering a clown car, you'll probably want to limit the range of colors that can be randomly picked. We can easily do this using the Autodesk Ramp node.
Hook an ND_adsk_ramp node between the ND_randomcolor_float node's out port and the base_color input of your surface shader. You can now use the colors and interpolation methods of the gradient to influence and limit the range of colors that can be randomly chosen.
With this setup, we get randomized tiles with colors within a reasonable range for our bricks.
4. Randomizing the UV coordinates
Finally, let's look into how we can use randomization for effects other than just an object's color. Since you can randomize nearly any shading property using this technique, the possibilities are endless.
To start, let's set up a simple noise shader to use as a bump map for our tiles. We will use the ND_unifiednoise2d_float node for this, but other options will work just as well.
By default, the bump mapping will look identical across all objects: there's a very obvious pattern that's repeated across all tiles.
To fix this, we need to randomize the texture coordinates for each object. For this, we create an ARNOLD_ND_random node and connect its OUT port to the offset input on our existing ND_unifiednoise2d_float node.
You'll notice that there is still no effect. This is because the ARNOLD_ND_random node is producing the same value across all our tile objects — it's missing a seed value.
We can provide this by reusing the ARNOLD_ND_utility node's out port and connecting it to the input_float port of our ARNOLD_ND_random node.
With this in place, each tile is rendered with a different noise pattern, making them unique for a more convincing effect.
You may need to plug a multiplier before the noise's offset to scale the random values to the desired range.
Conclusion
In this tutorial, we've explored how to use LookdevX's randomization capabilities to produce natural variation in scenes without the overhead of creating and managing multiple similar materials. By understanding the deterministic nature of pseudorandom number generation and using appropriate seed values, you can achieve controlled randomness with infinite variations from a single material.
Key takeaways:
- Efficiency: Automating randomization eliminates the need to create and maintain multiple similar materials.
- Control: Using appropriate seed values (like object ID) gives you deterministic, repeatable results.
- Versatility: You can randomize any material property — from colors and textures to bump maps and beyond.
- Realism: Subtle variations across similar objects greatly enhance the believability of your scenes.
This technique is particularly powerful for background elements, environmental details, and any scenario where you need variation without specific artistic control over individual objects. Experiment with different seed types and randomization targets to discover new creative possibilities in your projects.