
Bulk Edit Assets
Bulk editing of assets allows you to edit standard, custom fields, and references for multiple assets at one time. You must have Create or Manage permissions to edit an asset.
In this topic, you'll learn how to:
- Edit an Asset Individually
- Bulk Edit Assets
- Bulk Edit Assets Manually
- Bulk Edit Assets through CSV
- Bulk Delete Assets through CSV
Edit an Asset Individually
In the Assets tab of the Assets tool, click an asset.
In the right panel, click the pencil icon
 to edit any field.
 For text and number fields, you can change the values and will need to click the tick icon
 to apply your changes.
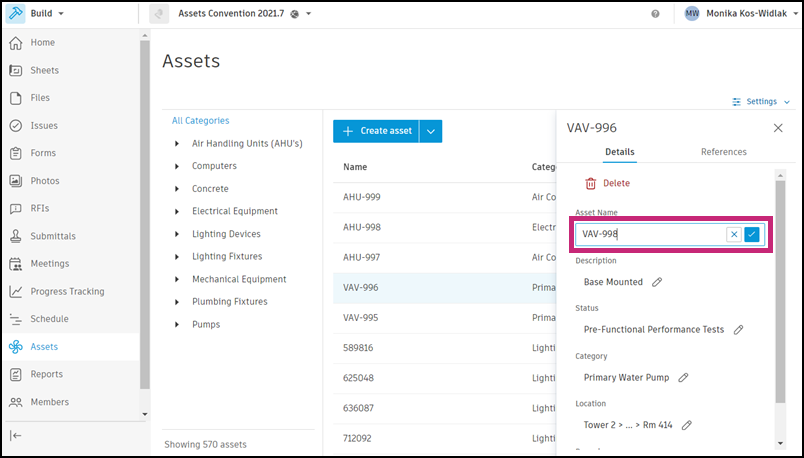
From this panel, you can also add references and see the activity log for this asset.
Bulk Edit Assets
Bulk editing of assets allows you to edit standard, custom fields, and references for multiple assets at one time.
- You filter assets by a category, before selecting multiple assets for editing.
- You select multiple assets for editing and first change the asset category.
- If the custom fields are assigned to all categories, then those custom fields will always be available to edit.
In this topic, you'll learn how to:
Bulk Edit Assets Manually
Select any number of assets in the Assets list.
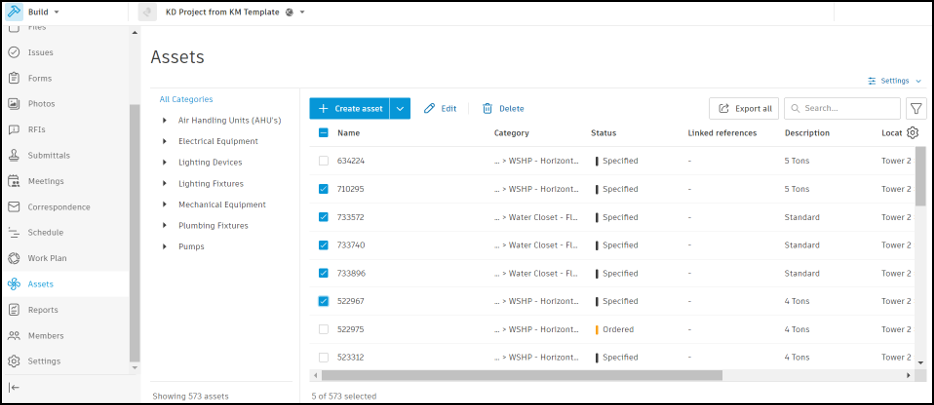
Once you have selected your assets, click edit and the Edit assets panel will show on the right side of the window.
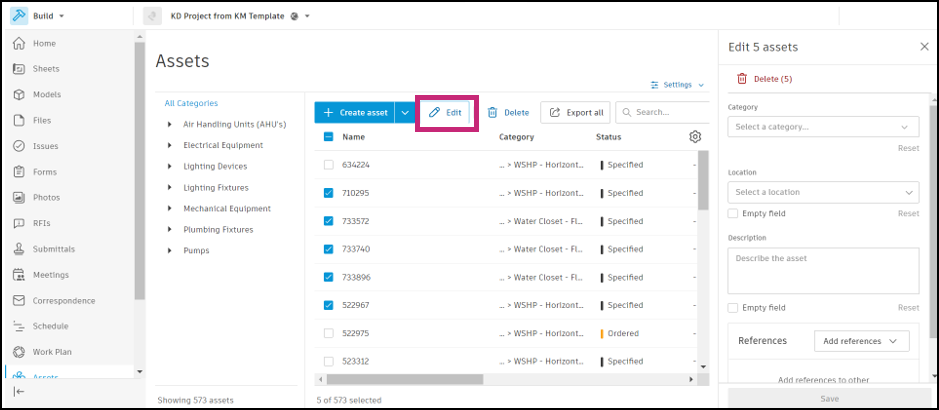
Select the Status, Category, and Location edits you would like to make to your chosen assets. Only members with full Manage permissions can delete.
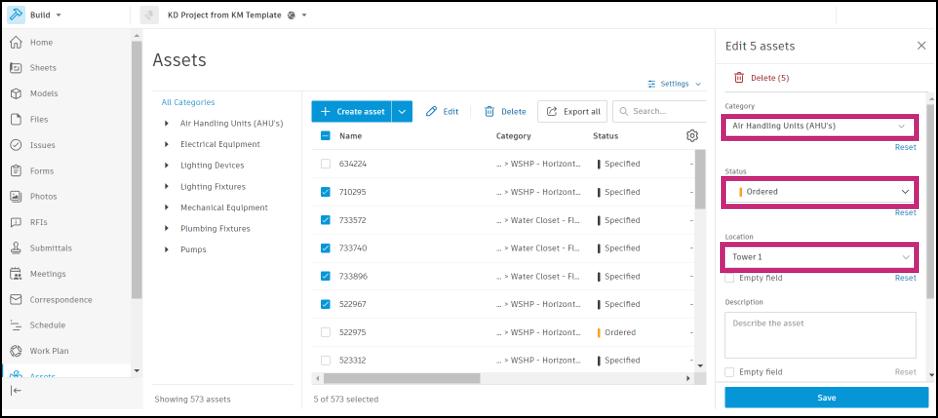
To add references to other project items, click Add references to open the drop-down menu. Choose which reference you would like to add.
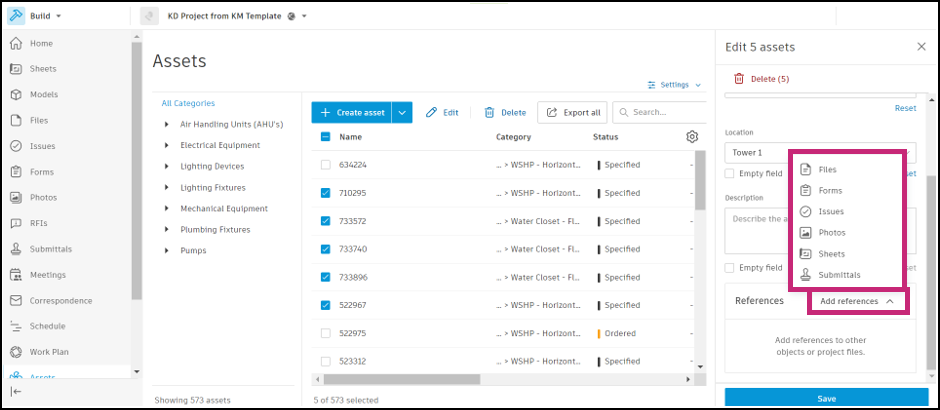
Click Save once all edits and selections have been made.
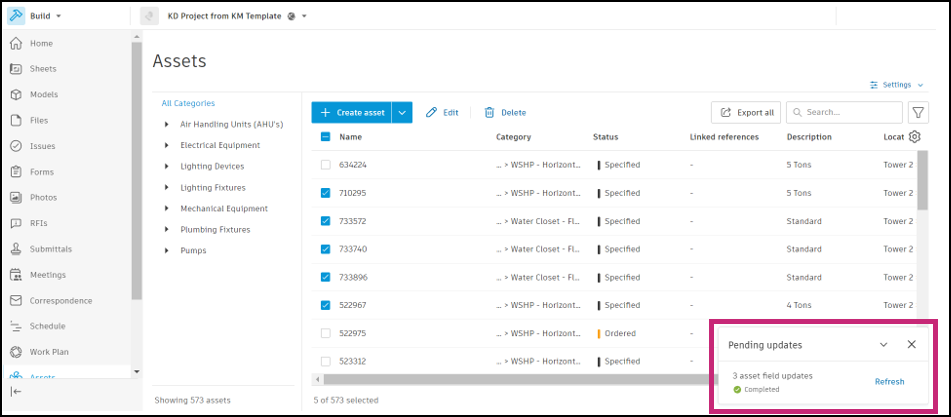
You will see a Pending updates box that shows how many asset fields have been updated.
Bulk Edit Assets through CSV
You can bulk edit asset data by exporting your assets to a CSV report, edit asset fields, and importing the modified file back to Assets.
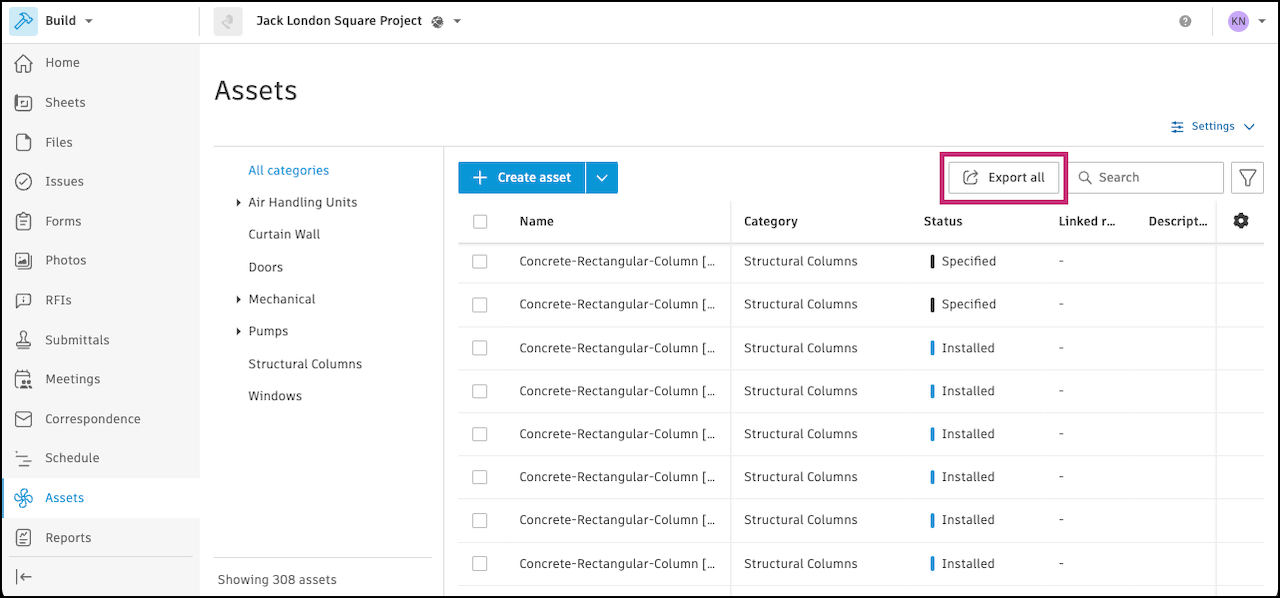
In the Assets tool, click Export all at the top right of the asset list.
After you export your asset report, open the CSV file and modify your asset data as needed.
Save the file and import it back to Assets using the import asset workflow, but with your modified file.
Bulk Delete Assets through CSV
You can bulk delete assets by exporting your assets to a CSV report, marking assets for deletion, and importing the modified file back to Assets.
In the Assets tool, click Export all at the top right of the asset list.
Edit the title (optional), select the CSV file format and click Run report.
After you export your asset report, open the CSV file and add a column on the right side named "Mark for Deletion."
Enter the value "Delete" for any asset that you would like deleted.
Save the file and import it using the import asset workflow, but with your modified file.
All assets marked "Delete" will be removed.