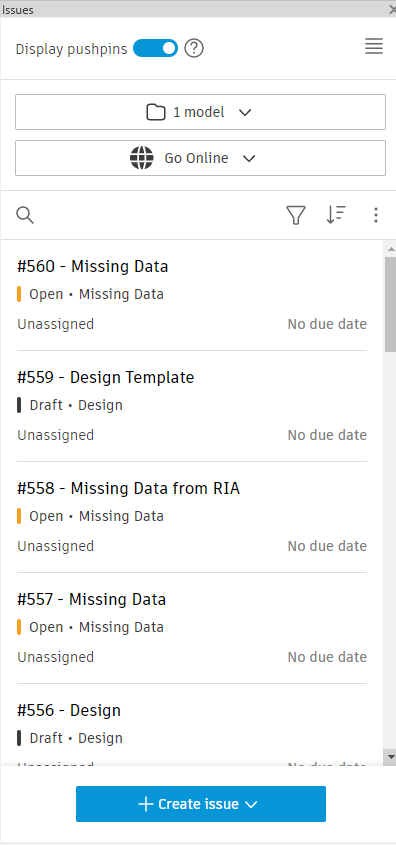
Create issues to track work, communicate areas for improvement, resolve problems, and prevent delays.
Create issues directly from Revit Issues Add-in for 3D Revit main model objects. Assign issues to members, roles, or companies. Assignees will receive an email notification with a link to the issue. See About Issues in the Autodesk Docs help to learn more.
Create 3D Issues on main models
- Open the model you want to create an issue for.
- Click the Issues tab
Manage Issues.
- Open a 3D view you want to create an issue for.
- In the Issues panel, click Create issue.

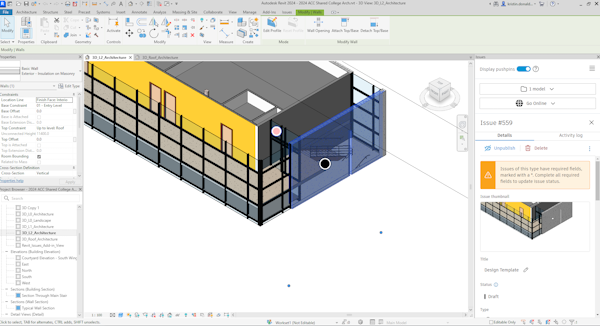
- Click on the model to place the issue pushpin and create the issue.
- The new issue is displayed in the Issue details panel.

- Use the Details tab to edit the issue details. The fields displayed depend on the issue type or template selected.
Tip: By default, the Title is prefilled based on the type or template selected, but can be edited. Status will also be prefilled based on the type or template selected, but can be edited.
The new issue can be viewed and edited in Docs, Build, Model Coordination, and Design Collaboration. Click the
 button in the Issue menu or the
 button in the Issue panel to sync data between the Autodesk Construction cloud and Revit Issues Add-in. See
Limitations to the Issues Add-In for more information about the limitations associated with creating issues on 3D models.
