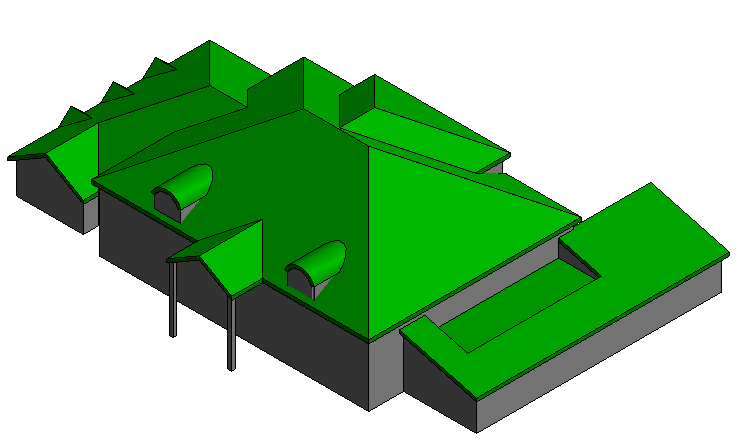
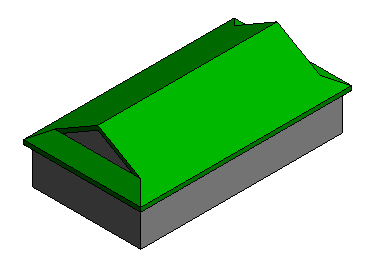
Explore sample basic roof shapes in Revit.
The file contains examples of the following, as well as a building using a combination of roof types:
- hip roof
- gable roof
- shed roof
- basic flat roof
- flat roof modified with a slope arrow
- flat roof modified with shape editing
- barrel vault
Download the sample file
- Click the file name: roof_sample_file.rvt
- Open the file in Revit.
- To interact with a roof in the sample project, select it in the drawing area, and click Edit Boundary to see the sketch of the roof.
Note: For the example where the roof has been shape edited, the shape editing tools will display in the contextual tab of the ribbon.
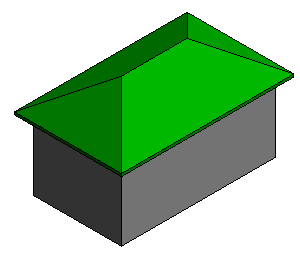
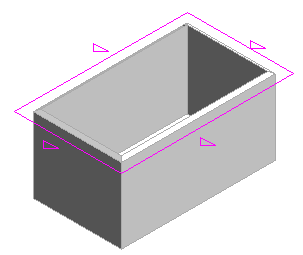
Hip Roof
All edges of the sketch are set to be slope defining.
|
|
Gable Roof
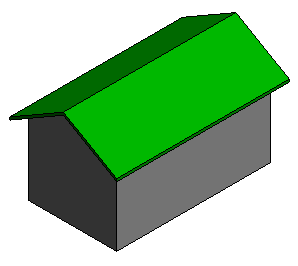
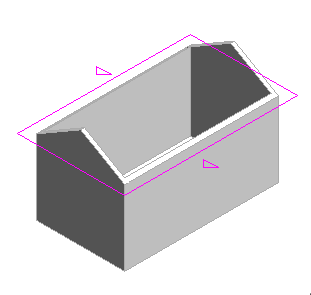
2 edges of the sketch are set to be slope defining. The walls are attached to the roof so they will fill the gable ends of the roof.
|
|
Shed Roof
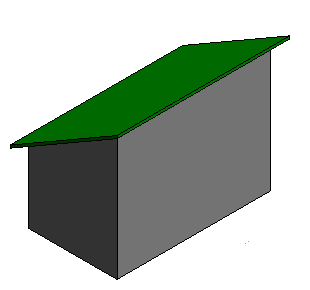
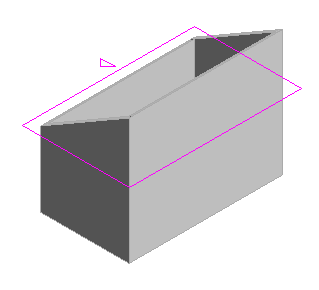
1 edge of the sketch is set to be slope defining. All walls attach to the roof.
|
|
Flat Roof
None of the edges are set to be slope defining. Roofs without any slope defining edges can be modified using shape editing tools. Shape editing tools are available when you select the roof element in the drawing area.
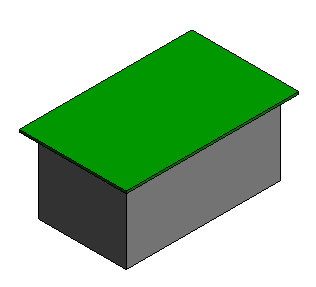
|
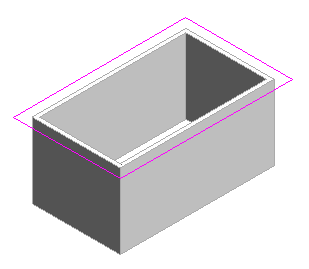
|
Slope Arrow
Use a slope arrow to create a slope on a roof. The slope arrow does not have to follow an edge and can be used on a portion of an edge. In this example, the slope arrow defines the slope of the roof from one corner to the other corner.
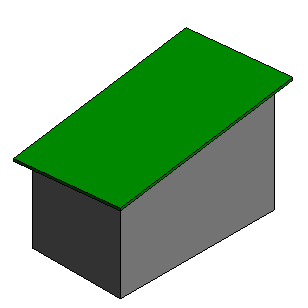
|
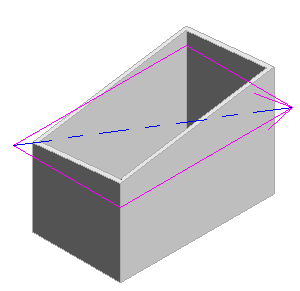
|
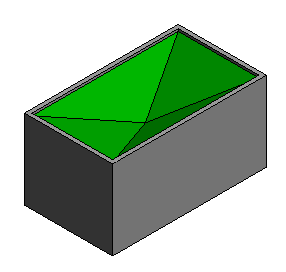
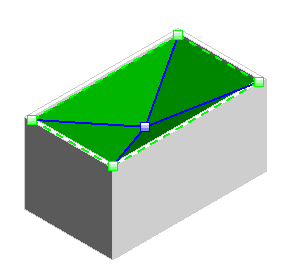
Shape Edited Roof
Shape editing allows for points and edges to be positioned independently. In this example, a point is added to the center of the roof and then positioned lower to create a depressed area of the roof.
|
|
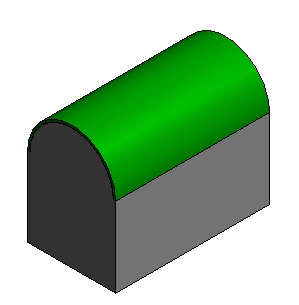
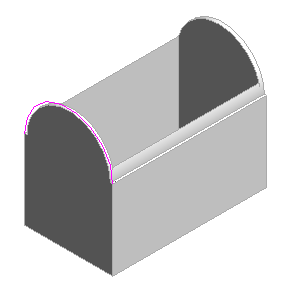
Barrel Vault
Roof by Extrusion extrudes based on the shape of a sketched edge. In this example, an arc is used as the sketched edge to create a barrel vault roof. Walls are attached to the roof element. Select the roof, and use the Edit Profile tool on the contextual tab to edit the sketch of the extruded roof.
|
|
Roof Sketch Modifications
Change the properties of sketch lines used in roof elements to affect the geometry. The slope of each roof edge can be set independently. Use the “Offset From Roof Base” property to create a “Dutch Hip” or set alternate eave heights for each side of the roof.
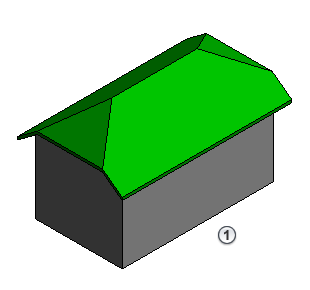
|
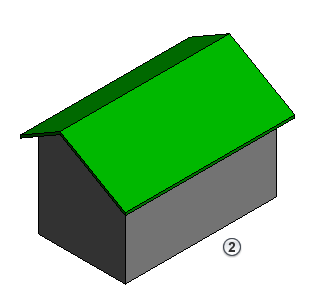
|
Slope arrows used on segments making up a roof edge will create a dormer along the roof edge.
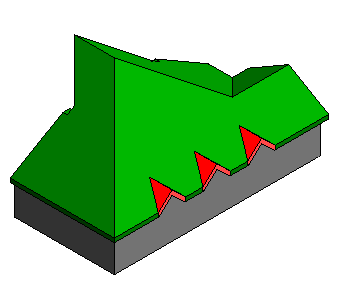
|
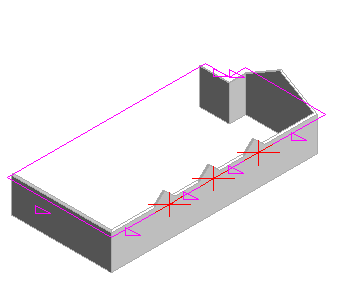
|
Combined Roof
The example model uses a combination of roof elements to compose the overall roof. You can select and edit each roof element individually.
- The roof join tool is used to join different roof elements and dormer elements together.
- The dormer opening tool was used to cut holes in the main roof for the dormers.
- Slope arrows were used in line with a roof edge to create dormers with a shared eave line.
- The roof edge at the larger dormer is cut with an in-place void element.
- A “Dutch gable roof” is made with 2 roof elements. The first the roof making up the lower portion is created using the “Cutoff Level” property and a “Cutoff Offset”, then a second roof is created and placed at the cutoff level of the first roof. Once in position the 2 roof elements are joined together.
