Issue:
How to assemble components together by utilising joints to represent functional and moving products in Autodesk Fusion.
Solution:
See these videos for demonstrations of joints and assemblies in Fusion:
- Deep Dive into Joints
- Fusion Tutorial — How to get a handle on Assembly and Joints in Fusion - YouTube
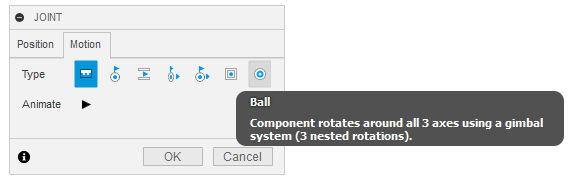
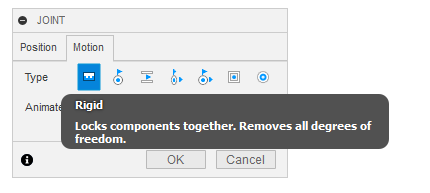
Use the Joint command and select the required motion under the motion tab:
1. Rigid – Can't move or rotate (locks all 6 degrees of freedom
2. Revolve – Releases 1 degree of freedom and allows rotation around one axis (spins)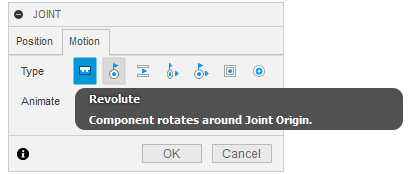
3. Slider – Release one degree of freedom of translation in XY or Z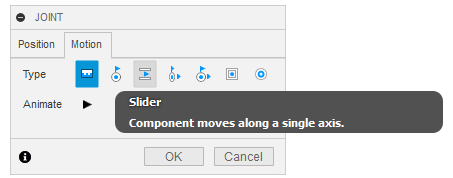
4. Cylindrical – Releases one rotation and one linear movement in X Y or Z
(Rotates and slides in one direction) for example, sliding hinge
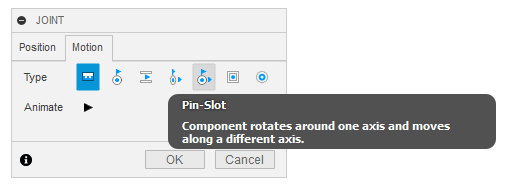
5. Pin slot – Releases one rotation and one translation in X Y or Z
(Combination of slider and rotation) for example, Lever
6. Planar - Allows two translations in X and Y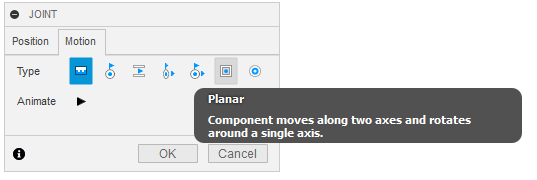
7. Ball - Allow to animate Pivot points between the wheel and suspension of the vehicles.