
Issue:
How to insert and engrave an SVG files in Autodesk Fusion
Solution:
Insert the SVG file to a sketch
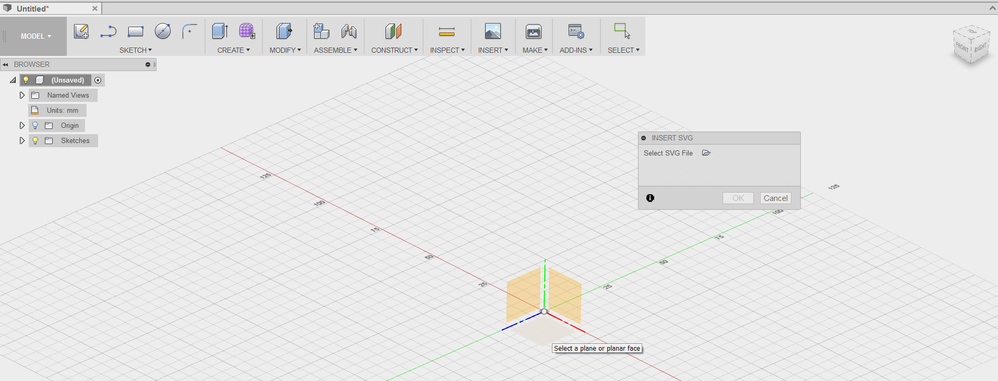
- From the Insert Menu, select Insert SVG.

- Selecting the Insert SVG option will prompt you to select the plane you want to sketch on.
- After selecting the plane on which to insert the SVG, the manipulator will allow you to move and resize the SVG sketch.
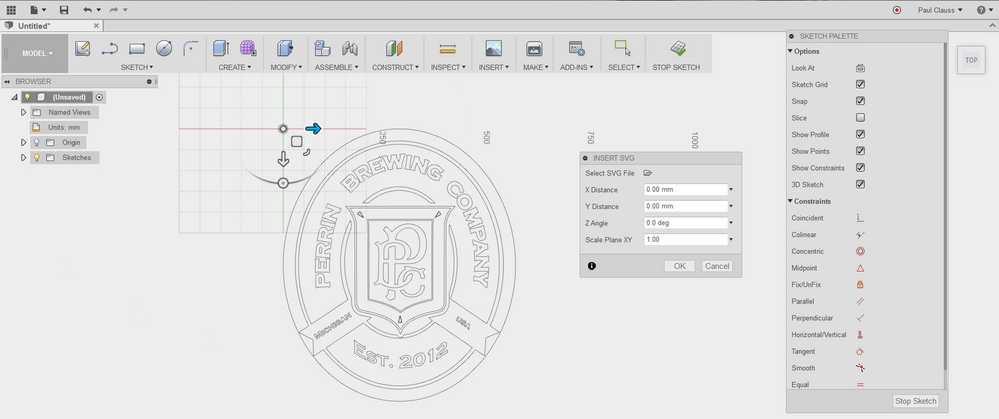
The manipulator handles will allow you to move, rotate, and scale the SVG image on the active sketch plane.
- Once the sketch is in the correct location and scaled correctly, select “OK” in the Insert SVG dialogue box.
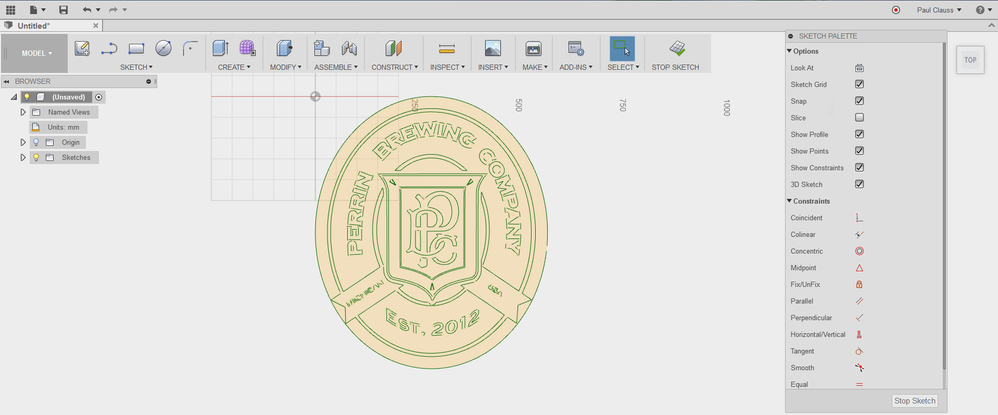
- Now you can create 3D geometry from your imported SVG file in the same way as you can with sketch geometry native to Fusion.

This allows you to create bodies and components using any of the methods available in Fusion from your imported SVG sketch. The part is now ready for 3D printing or the Manufacture environment.
To machine the SVG sketch.
- The Engrave toolpath can be used with a closed profile.
- The Trace toolpath can be used for machining both open and closed profiles.
See Also:
- How to import or open a file in Autodesk Fusion
- SVG files cause Fusion to run slowly and crash
- Scale and Unit issues after importing SVG file in Fusion
- The selected SVG file contains no information or some unsupported information
- Insert SVG causes an error
- How to engrave single line text in Fusion
- Importing SVG Files as Sketches
- Import and Move SVG files
- Fusion 360 CAM: Engrave vs Trace