Activity 1: Plan a change order
Fusion Manage requires a separate license and can be used with Fusion or independently. Learn more.
In this activity, you'll plan out the work that is required to complete the change order and then carry out this work. You'll play the part of the person who will plan out the work to complete the change order and schedule the required tasks.
- It is assumed that you are performing these tutorials in your production environment. Therefore, we recommend that you read through the relevant help pages and activities so that you know what the result will be before creating or modifying anything.
- A change template is mandatory when creating a change request and change order. Therefore, in order for you to complete this and subsequent tutorials, you must either be given access to create your own change template or use one that someone else has created. The change coordinator must then assist you in completing your tutorials. Speak to your team and administrator to determine the best approach for you.
- The activities in this tutorial assume the chosen change template matches the one created in Admin Tutorial 4.
Prerequisites
Before you can complete this activity, you must:
- Complete Tutorial 7 which has generated a change order.
- Ensure your administrator has assigned you (or the specified CO coordinator) the Editor [Change Orders] role so that you plan and edit the change order.
Steps
Familiarize yourself with the purpose of change orders and change tasks.
- See and Change tasks for more information.
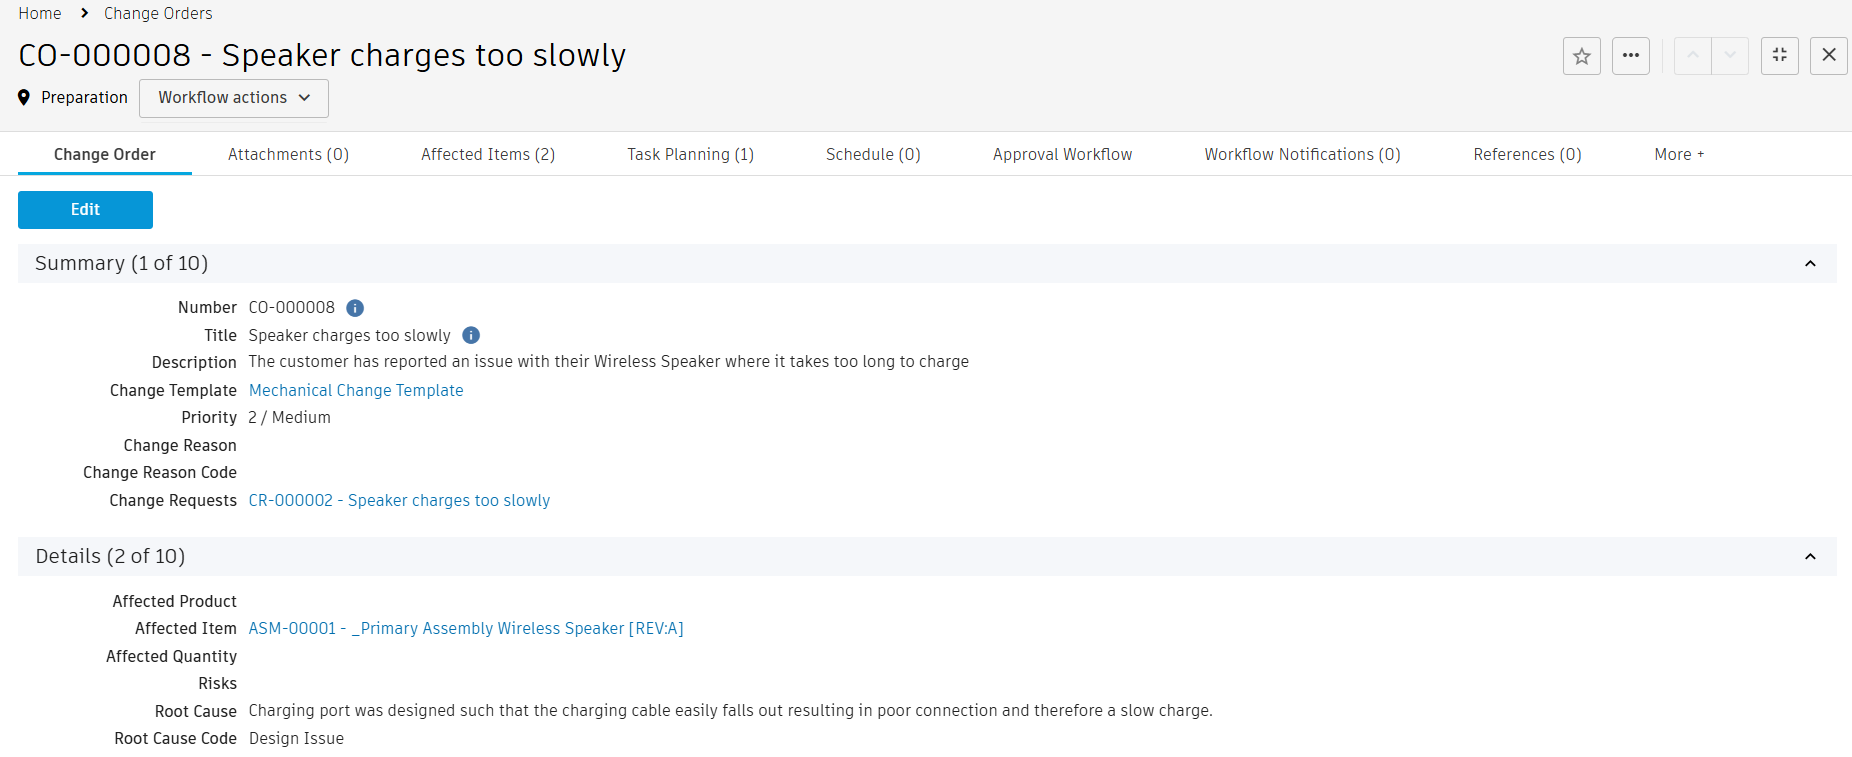
In Tutorial 7, you generated a change order automatically from a change request. Navigate to that change order.
Open the change request.
Expand the Related Processes section.
Click the Change Order link.

Notice the information that has been carried forward from the change request, and the preceding problem report.
The Summary and Details section of the change order is populated with information from the related problem report and change request.

The Affected Items tab of the change order show the Outer Shell and Wireless Speaker items that were copied from the change request.

In addition to the change coordinator, which has already been set from the change template, the change order must have at least one approver to review the information contained in it once it reaches the Change Control Board Review state. Set yourself as the approver.
- In the Approvals & Confirmations section, click the Additional CCB Approvers field and add your name.
- Click Save.
The Task Planning tab can be used to define the list of activities to be completed before the change order is submitted to the change control board for review. Once tasks are specified in this tab, you cannot send the CR for CCB review until all tasks are complete. In Tuturial 4, you didn't do this and were able to fast track it directly to CCB review. Since you chose a change template in the problem report, tasks from there have been copied into this change order. Assign the tasks to yourself and set a target completion date for each task. A task has already been added from the change template to the Task Planning tab to carry out the design change. Assign the task to yourself, add components to change, and set a target completion date for it.
In the Task Planning tab, click Edit.
In the Assignee column, click to add your name to each task.
In the Target Completion Date column, click to set the date one week from now for both tasks.
In the Components to Change column, add the Outer Shell and the parent Wireless Speaker assembly items. This is because a change to a component will affect its parent assembly as well.

Click Save.

Add a second task to update the drawing.
Click Add.
Enter the following details. Required fields are marked with a red asterisk.
ID: CO02
Title: Drawing update
Description: Update Wireless Speaker drawing with design changes
Priority: High
Depends on: CO01
Assignee: Yourself
Components to Change: Wireless Speaker drawing
Target Completion Date: one week from now.
 Note: You cannot select items from the Drawings workspace here, but you will be able to add the drawing to the task, which will copy it to the Affected Items tab on this CO.
Click Save.
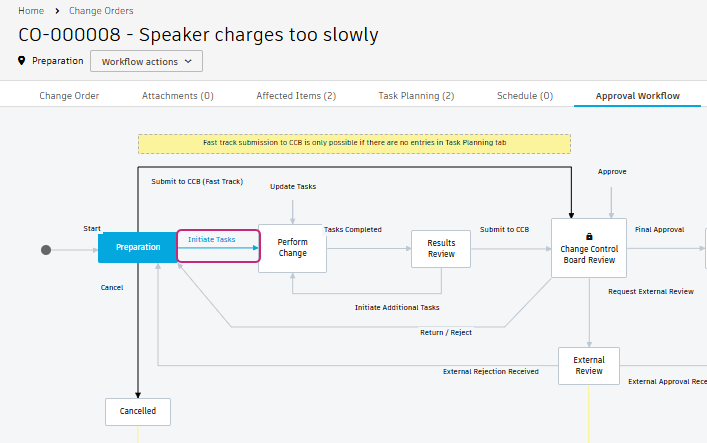
Initiate the tasks.
Option 1: From the Workflow tab, click Initiate Tasks transition.
Option 2: From the Workflow Actions drop-down, select Initiate Tasks.

The workflow moves to the Perform Change state and change tasks are created for the two activities added in the Task Planning tab. These change tasks are placed in the Change Tasks workspace and receive a number in the format
<CT>-<CR number>-<ID>-<Title>.At the far right of the Task Planning tab of the change order, the Task column shows link to these tasks. Observe that these tasks are added to the Schedule tab according to their Target Start and Completion dates. Since you assigned them to yourself, you'll find these tasks in your My Outstanding Work list.
The first task
CT-<CO number>-CO01-Update mechanical designis automatically put into the Assigned state. The second taskCT-<CO number>-CO02-Drawing updateis put into the Planned state because it depends on the first task being complete first.
Activity 1 summary
In this activity you added tasks to the change order that must be completed as part of the change order.
