Having created the basic form of the bottle, now add the features that give it a ‘sports’ character.
The finger grip area is created by removing part of the body surface, and replacing it with a birail surface which follows the grip profile, and blends in smoothly to the body.
Open the tutorial file (optional)
If you successfully completed part 1, proceed to the next step: Make space for the grip detail.
If you were not successful in part 1, open the file called showergel_Part1.wire, located in the wire folder of the CourseWare project. This file contains the completed model from part 1.
Make space for the grip detail
To make space for the finger grip, split the body surface, and discard the part you are replacing with the grip feature.
Because the isoparms on the surface are at a convenient location, you can use the Detach tool to split the surface at an isoparm. You can snap to a particular isoparm, using the ![]() (Windows) or
(Windows) or ![]() (Mac) key.
(Mac) key.
Before detaching, delete the construction history of the surfaces.
- Maximize the Perspective window.
- Choose Pick > Object
 and select all the surfaces.
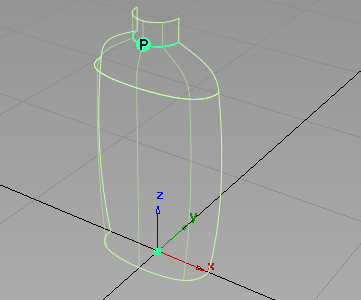
- Choose Delete > Delete Construction History
 and answer Yes when prompted. Note:
Detaching leaves a good quality edge on the surface. However, it is not reversible, so we recommend that you save before using Detach.
- Choose the Object Edit > Attach > Detach
 tool. Hold down the
  (Windows) or
  (Mac) key and select the isoparm shown.
 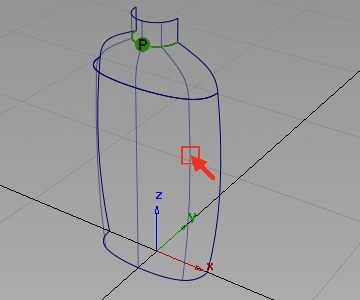 Tip:
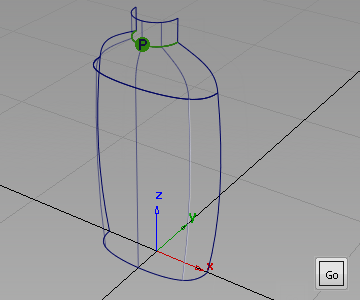
Tip:Move the mouse to check that the detach tool has locked on to the isoparm.
The isoparm is highlighted and a Go button appears.
- Click Go to detach the surface.
- Choose Pick > Object and select the smaller piece of surface (square#2).
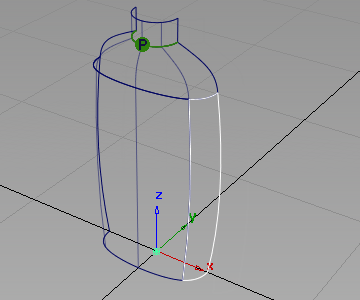
- Press the
 key to delete the small surface.
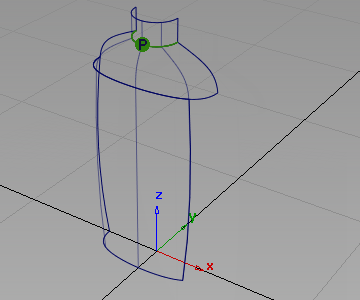
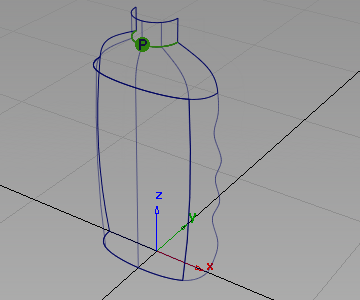
A curve has been provided on the GripCurves layer to define the profile of the finger grip.
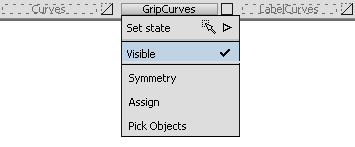
- Turn on the visibility of the GripCurves layer by selecting Visible from its layer tab menu.
Create the Birail Surface
Now create a Birail surface for the finger grip. Make the Birail tangent to the edge of the body surface and tangent to the shoulder surface. Match the birail surface to the curve at the base with positional continuity, and have Implied Tangency on the finger grip curve, where you later mirror the surface.
- Choose Surfaces > Swept Surfaces > Rail Surface
 . Double-click the icon to open the option box.
 -
In the Generation Curve section, choose 2.
In the Rail Curve section, also choose 2.
Choose Go Position for each of the four Continuity options (you can change these options after the Birail surface is created).
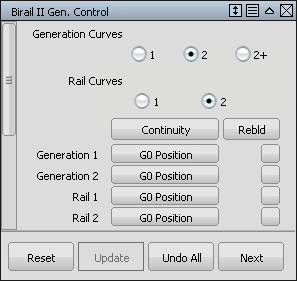
If any of the Rebld boxes are checked, click them to remove the check.
Tip:The Rebld option can improve the parameterization of an edge, typically a trimmed edge. As all your edges and curves have good parameterization, do not use it in this case.
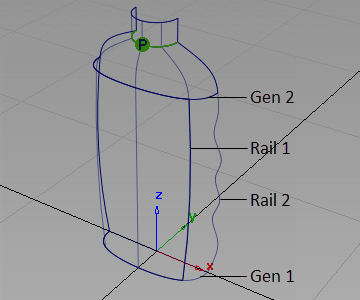
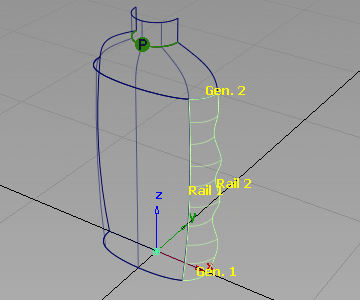
- You are prompted to select the edges of the birail. Select the curves in the order shown:
The birail surface is created.
With the surface still selected, and the option window still open on screen, you can now adjust the continuity options at each edge.
- Change the following continuity settings:
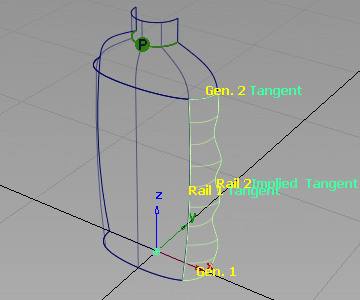
gen2 G1 Tangent rail1 G1 Tangent rail2 Implied Tangent 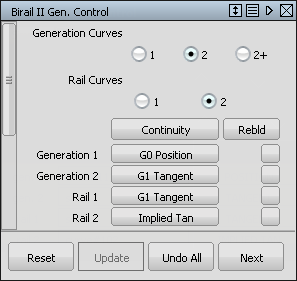
The surface is rebuilt with the new continuity settings.
- Choose Pick > Nothing
 to deselect the surface and use diagnostic shading to evaluate the design.
 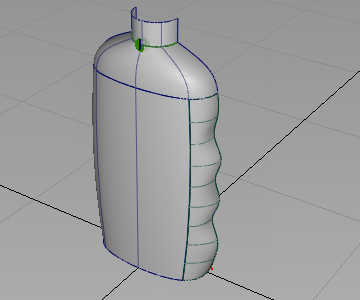 Tip:
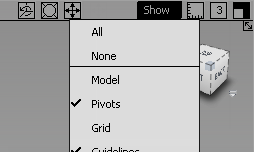
Tip:Use the Show menu on the window pane to turn off the model and the grid. Remember to turn them on again when you remove the shading.
Create the Base Surface
Create the base of the bottle as a flat plane.
- Choose Surfaces > Planar Surfaces > Set Planar
 .
. - You are prompted to drag/select curves. Pick the two base curves.
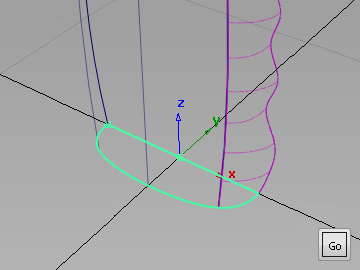
- Click Go to create the planar surface.
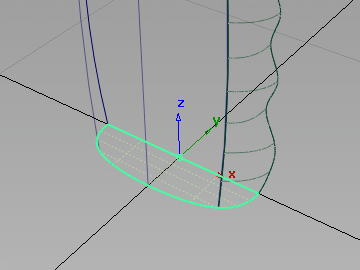 Tip:
Tip:You can use the space bar as a short cut instead of clicking Go.
- Make sure that all the surfaces are assigned to the Bottle layer.
- The curves are no longer needed, so turn off the visibility of the GripCurves layer.
Save your work
- Save your work in the wire folder of the Lessons project.
- Name your file myshowergel2.wire.