Use the groups and subgroups you created in Part 6 of the tutorial to move and rotate components of the lamp.
The groups you created previously are still in the model.
- In the Object Lister, click the arrow
 to the left of Upper Assembly. The Lampshade and Arm subgroups are shown.
These groups and subgroups allow you to move and rotate different components of the lamp.
- Maximize the perspective view.

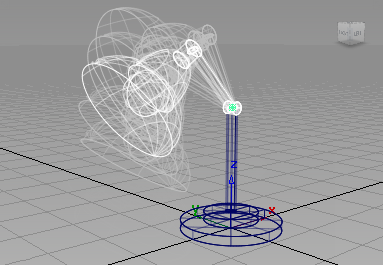
- Click the Upper Assembly group in the Object Lister.
- Choose Transform > Rotate
 . Rotate the upper assembly about the y-axis using the
  .
. 
- In the Object Lister, click the Lampshade.

- With the Transform > Rotate tool still active, use the to rotate just the lampshade about the y-axis.
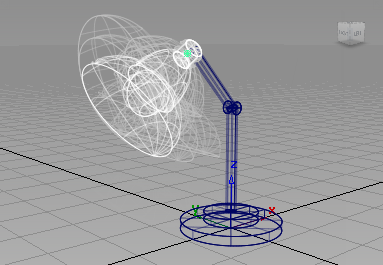
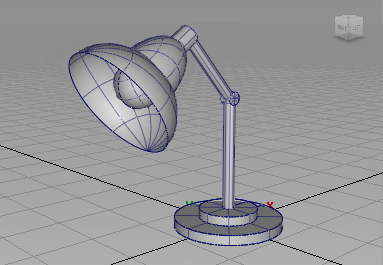
You can position the lamp in many different poses, by picking and rotating individual groups around the x, y, and z axes.
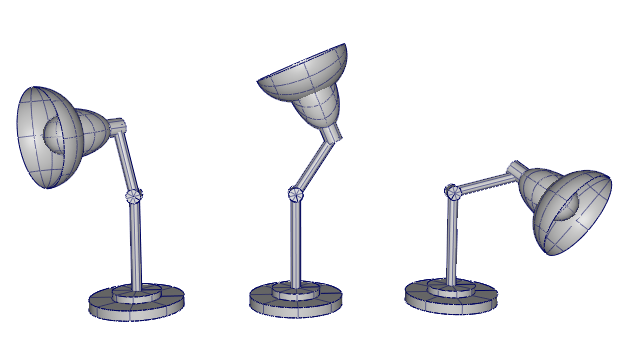
Use Diagnostic Shading
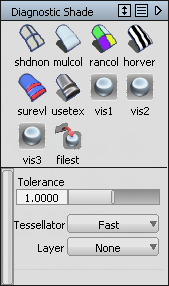
The wire model can be shaded to give a more realistic view of the geometry. Access diagnostic shading in the Control Panel to the right of the Alias interface.
Note:
If the panel is not shown, choose ObjectDisplay > Diagnostic Shading  to make it visible.
- Choose Pick > Nothing
 .
. - Color all objects in the scene by choosing the Multi Color shade icon
 .
. 
To return to the wireframe view, choose the wireframe icon
 .
.