In this part of the lesson, create a primitive object, a cylinder, for the base of the desk lamp.
Creating a primitive object
What are primitives?
Primitives are ready-made objects in familiar shapes. The primitives are made from a single surface, or a group of surfaces that form an enclosed volume.
In Alias, you can create the following primitives:
- Sphere
- Torus
- Cylinder
- Cone
- Cube
- Plane
Placing Primitives in views
Use the 2D views (Top, Left, and Back) to place the primitives. The window you choose affects which way up the primitive is created.
For example, placing a cylinder in the Top view creates a pillar.
Placing the cylinder in the Left or Back views creates a fallen pillar, or a log.

Create the lamp stand
Now create a cylinder for the base of the lamp stand.
- Create the first cylinder using the Top window.
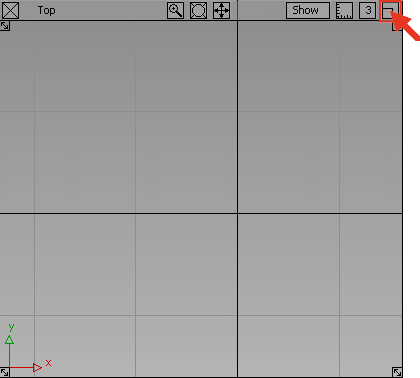
Maximize the Top view by clicking the icon in the top right corner.
- Choose Surfaces > Primitives > Cylinder
 from the palette. If the palette is not open, choose Windows > Palette
 from the menu bar.
 To choose the Cylinder tool, press and hold the mouse button on Sphere icon until the entire Primitives submenu appears.
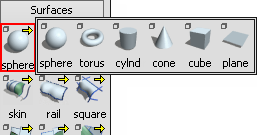
Then, click the Cylinder icon to choose the Cylinder tool.
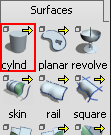
The Cylinder tool displays in the Surfaces palette, and is outlined in red to indicate that it is the active tool.
- You can control the exact placing of a primitive using various snapping modes. In the next steps, use grid snapping to align all the cylinders centrally on the grid origin. The grid origin is where the two dark grid lines cross.
To turn on grid snap mode, hold down the
 (Windows) or
  (Mac) key.
 While holding down the
(Windows) or (Mac) key, press and hold the mouse button near the origin. Keep holding down the (Windows) or (Mac) key and move the mouse until the new cylinder snaps to the correct grid point. 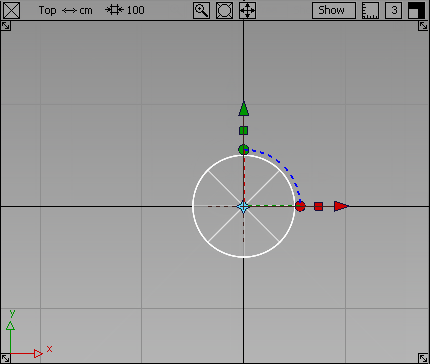
Release the
(Windows) or (Mac) key and the mouse button. - To display all four views, choose Layouts > All Windows > All Windows
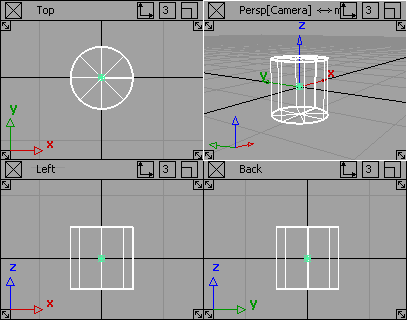
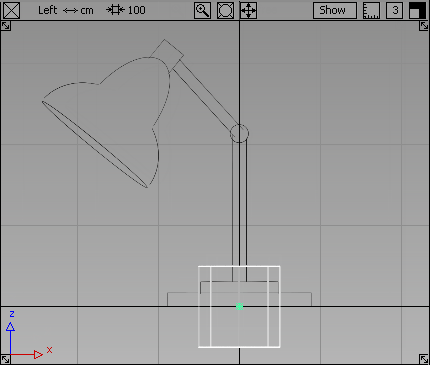
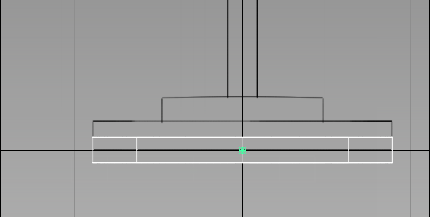
 or press the F9 key. Check that the cylinder has been placed correctly, as shown.
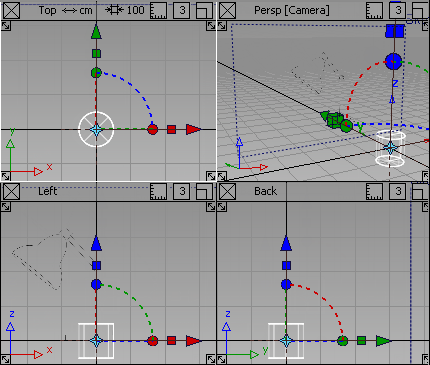
The cylinder remains picked, or active. Picked objects are drawn with white lines, and objects that are not picked are drawn with dark blue lines. Most tools and commands work on picked objects. Since the Cylinder is picked, any tools or commands you choose are applied to it.
Note:The cylinder has a manipulator attached to it, as do all primitives when they are first added to the scene. The manipulator can be useful for transforming a primitive, but is not relevant to this tutorial.
Tip:To delete the cylinder, press the
 key.
key.
Scale the lamp base
Next scale the cylinder to the correct size.
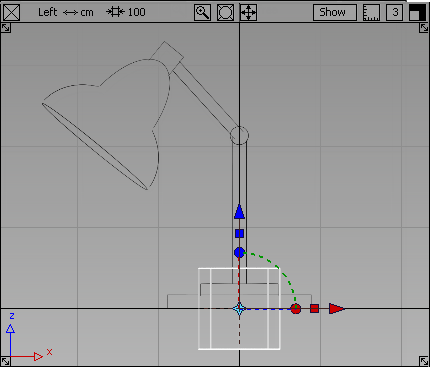
- Maximize the Left view and continue to work in it.
- Choose Transform > Scale
 .
. 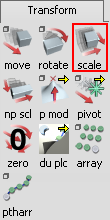
The Scale icon is outlined in red to indicate that it is the active tool. At the same time, cylinder manipulators disappear.
- To scale the cylinder equally in all axes, click and drag with the
 .
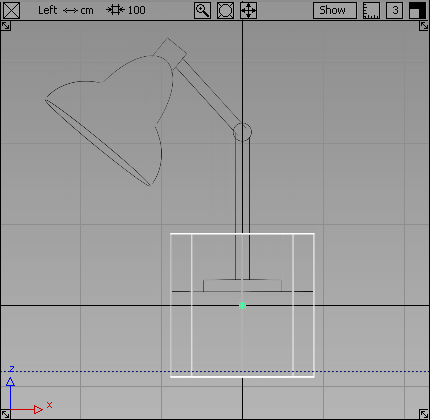
. Scale the cylinder to fit the width of the bottom cylinder shown on the sketch. This forms the base of the lamp.
The Transform > Non-p Scale
 tool (nonproportional scale) modifies the x, y, or z scale of an object separately. Use it to stretch or squash an object.
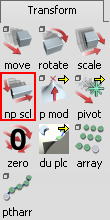
The mouse buttons are used to control the nonproportional scaling. For this section, use the 2D views (Top, Side, and Back) to control the transforms. In these views, the mouse buttons work as follows:
free transform  horizontal transform
  vertical transform
 Next use the
to adjust the vertical height of the base. - Choose Transform > Non-p Scale.
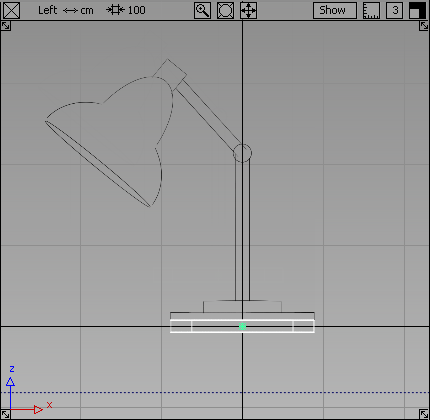
- Click and drag with the to adjust the height of the cylinder. Make the height approximately the same as shown in the sketch.
 Note:
Note:The cylinder is centered on the origin.
In the next part, you line up the cylinder to the grid line, to make the lamp base sit on the ground.
Save your work
Now save the lamp as a new file.
It is always important to save your work at each stage. However, to safeguard the files in the CourseWare project, it is write-protected. You cannot save any new work in the CourseWare project.
To save your work you must create a project folder. Project folders are special folders created by Alias that allow you to store all the files related to a specific project together.
Save your work in a Windows environment
- Choose File > Save As
 .
. The file browser opens.
- On the Go To menu, select Current Home to move up one level to the user_data folder. The user_data folder contains all the projects, including the new_project.
- Click New Project.
A new project is created and displayed in the file browser.
- Rename the project Lessons.
- With Lessons selected, click Set Current to make Lessons the current project.
The wire folder of the Lessons project now displays in the file browser.
- In the File name field, type mydesklamp and press
 .
. Alias saves the file mydesklamp.wire in the Lessons project.
Tip:It is good modeling practice to save often as insurance against having to start from the very beginning when you make a mistake.
Save your work in a Mac OS X environment
- Choose File > Save As.
The file browser opens.
- Click Create and in the Name of new Project field, type the project name Lessons.
- Click Create.
A new project is created which is immediately displayed in the file browser.
- In the Save As field, type mydesklamp and press
 .
. Alias saves the file mydesklamp.wire in the Lessons project.
Tip:It is good modeling practice to save often as insurance against having to start from the very beginning when you make a mistake.