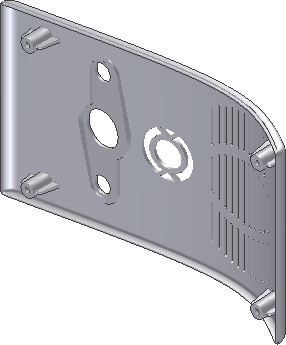
In this section, you add a plastic part to a new mold design assembly. The plastic part contains multiple solid bodies and the required body must be derived into the mold assembly.
- On the ribbon, click Mold Layout tab
 Mold Layout panel
  Plastic Part
 .
. - In the Plastic Part dialog box, select the PFTuorial_complete.ipt part file and click Open to add the plastic part to the mold assembly. Note: Click Yes to close the message box that states the file is not in the active project path.
- A warning message appears indicating there is more than one solid body in the part. Click Yes to continue.
- Right-click PFTutorial_complete_1 in the left frame and select Rename. Enter PFTuorial_Top_Shell as the new name.
- Clear the check marks near Solid4, Solid5, and Solid7. The only Solid Body selected in the right-hand frame is Solid2.
- Click OK to derive the plastic part.
- Left-click in the graphics window to place the part with the default alignment option. The plastic part appears, as shown in the following image.
- Alternately, if you have enabled Prompt for File Names, click OK to accept the defaults in the File Naming dialog box to place the part.
