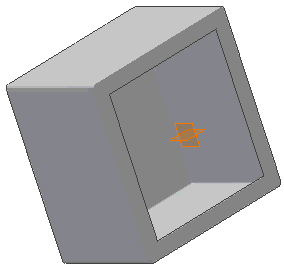
The panel and cover that you created in the first two tutorials will be placed relative to faces on the box you created. They will also be place relative to the assembly origin planes (which are not currently displayed).
- Hold down the Ctrl key, and click the YZ and XZ origin plane browser nodes so that they are both selected. The planes highlight in the graphics window. Click the following image to play an animation that illustrate how the planes will highlight.
- With both planes selected, right-click one of the planes in the browser, and then select Visibility. The planes are now visible in the graphics window.

You use these planes to attach, or constrain, the panel and cover parts to the box part.
Note: Your origin planes could be a different color.