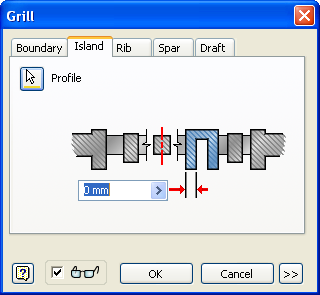
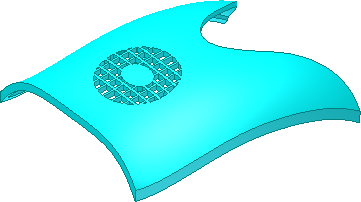
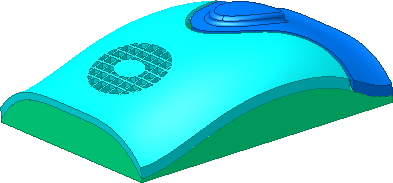
In the next section, we create a vented opening called a Grill.
- In the Solid Bodies folder, make sure the visibility of the bottom solid and the embossed solid is off. Make the large top solid visible.Note: If you turn off the visibility of bodies, Inventor does not include them in a feature operation.
- Turn on the visibility of the Grill Sketch in the browser.

-
 On the 3D Model tab, Plastic Part panel, click the Grill command.
 - On the grill sketch, select the large outer ellipse to satisfy the Profile selection in the Boundary tab. Accept the default settings for size.

- Select the Island tab and then select the small center ellipse to satisfy the Profile selection. Accept the default of 0-mm.

- Select the Rib tab and then select all the remaining line geometry to satisfy the rib selection. Accept the size defaults.

- Click OK to create the grill.

- Turn on the visibility of all bodies.
- Save the file.
Congratulations, you have completed the Spline and Surfaces tutorial.
