In this section, you place the mold base into the assembly. The mold base must be added to the assembly before the slider and lifter assemblies can be generated.
- On the ribbon, click Mold Assembly tab > Mold Assembly panel > Mold Base
 .
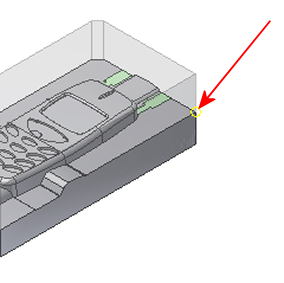
. - On the Mold Base dialog box, the Placement Ref Point
 selection tool should be active. Select the point shown in the following image.
- On the Mold Base dialog box, expand the Vendor and Type menu.
- From the Vendor menu, select DME.
- If Immediate query is not checked, click the Query button.
- From the window, select E.
- From the Size menu, select 296 mm x 346 mm.
- Expand the Mold Base dialog box by clicking the arrows at the top or bottom of the right-hand side of the dialog box.
- In the Component list, click E 400 296x346x56.
- On the right of the selected component, click Property Settings
 .
. - In the E 400 dialog box, modify the H_ parameter value to 76 mm.
- Click OK on the E 400 dialog box.
- Click OK on the Mold Base dialog box.
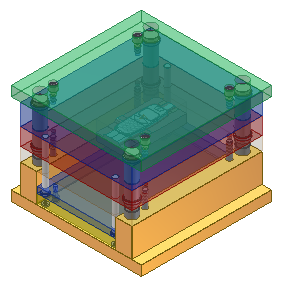
- Click OK on the File Naming dialog box to accept the defaults and generate the mold base.
- The full mold base assembly appears as shown in the following image.
