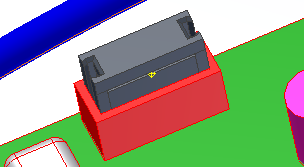
Place three mate constraints to constrain the ribbon cable connector in place. The following steps use the Constrain command, but you can also use the Assemble command.
- Activate the top-level assembly, Enclosure_Assembly.iam.
-
 On the ribbon, click
Assemble tab
 Position panel
 Constrain
.
 - Ensure Show Preview is selected.
- Ensure Mate constraint and the first selection button is selected, and then click the face of the ribbon cable connector.
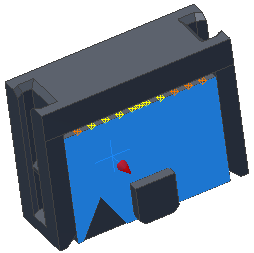
- The second selection tool is now active. Click the wall of the RC Male Connector as the geometry to mate to.
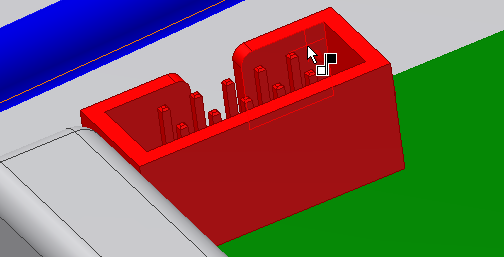
- When the preview shows the connector has moved into place, click Apply to create the first mate constraint.
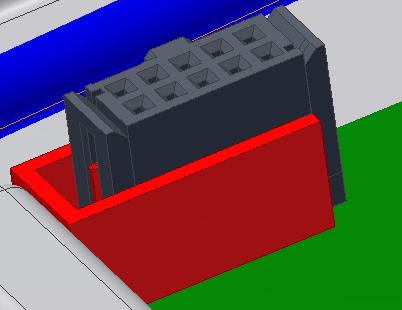
- For the second mate constraint, click the top face of the ribbon cable connector.
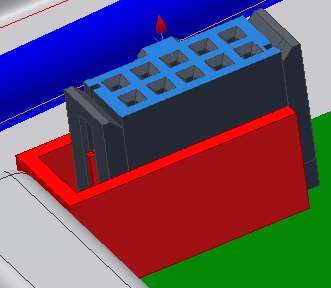
- Click the bottom face of the RC Male Connector.
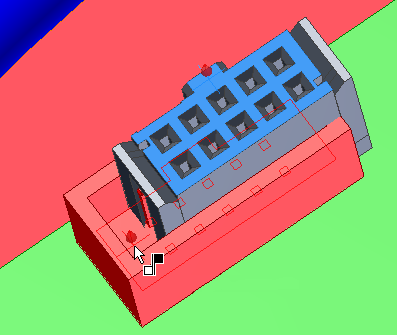
- When the preview shows the connector has moved into place, click Apply to create the second mate constraint.

- For the final mate constraint, click the right side of the ribbon cable connector.
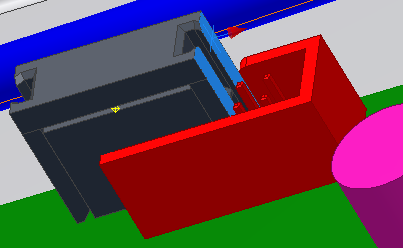
- Click the inside face of the RC Male Connector.
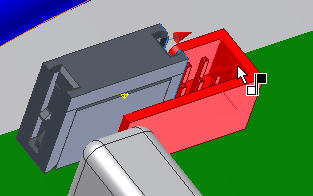
- When the connector moves into place, click OK.
