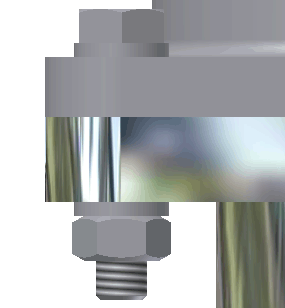
- Above the hole thumbnails and descriptions, select the Click to add a fastener text. The available bolts display.
- Select ISO from the Standard menu to filter the selection.
- Select ISO 4016. The selected bolt previews in the graphics window.
Notice also that the program selects a length long enough to pass through the chosen components automatically.
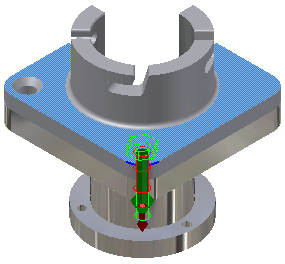 Note: If your Content Center library does not contain the ISO standard, or this particular bolt, select All from the Standard menu, and then select a similar bolt.
 - Select the Click to add a fastener text, located directly under the bolt thumbnail, and then select ISO 7092.
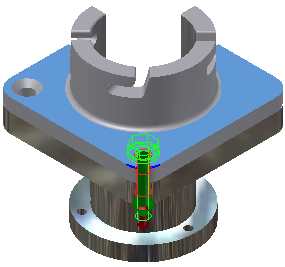
The generator logically filters the available selections. For example, when you add fastener hardware between the bolt and the top hole, the program presents only washers for selection.
- Select the Click to add a fastener text located below the lower hole thumbnail, and then select ISO 7092.
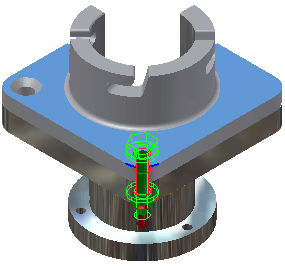
- Click the Click to add a fastener text located below the lower washer thumbnail, and then select ISO 4032. The fastener stack is complete.
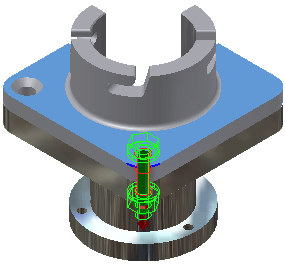
- Click Apply.
The File Naming dialog box opens where you can specify the Display name of the bolted connection and the File name settings.
- Remove the checkmark next to Always prompt for filename option, and click OK.
